Barndommen kommer
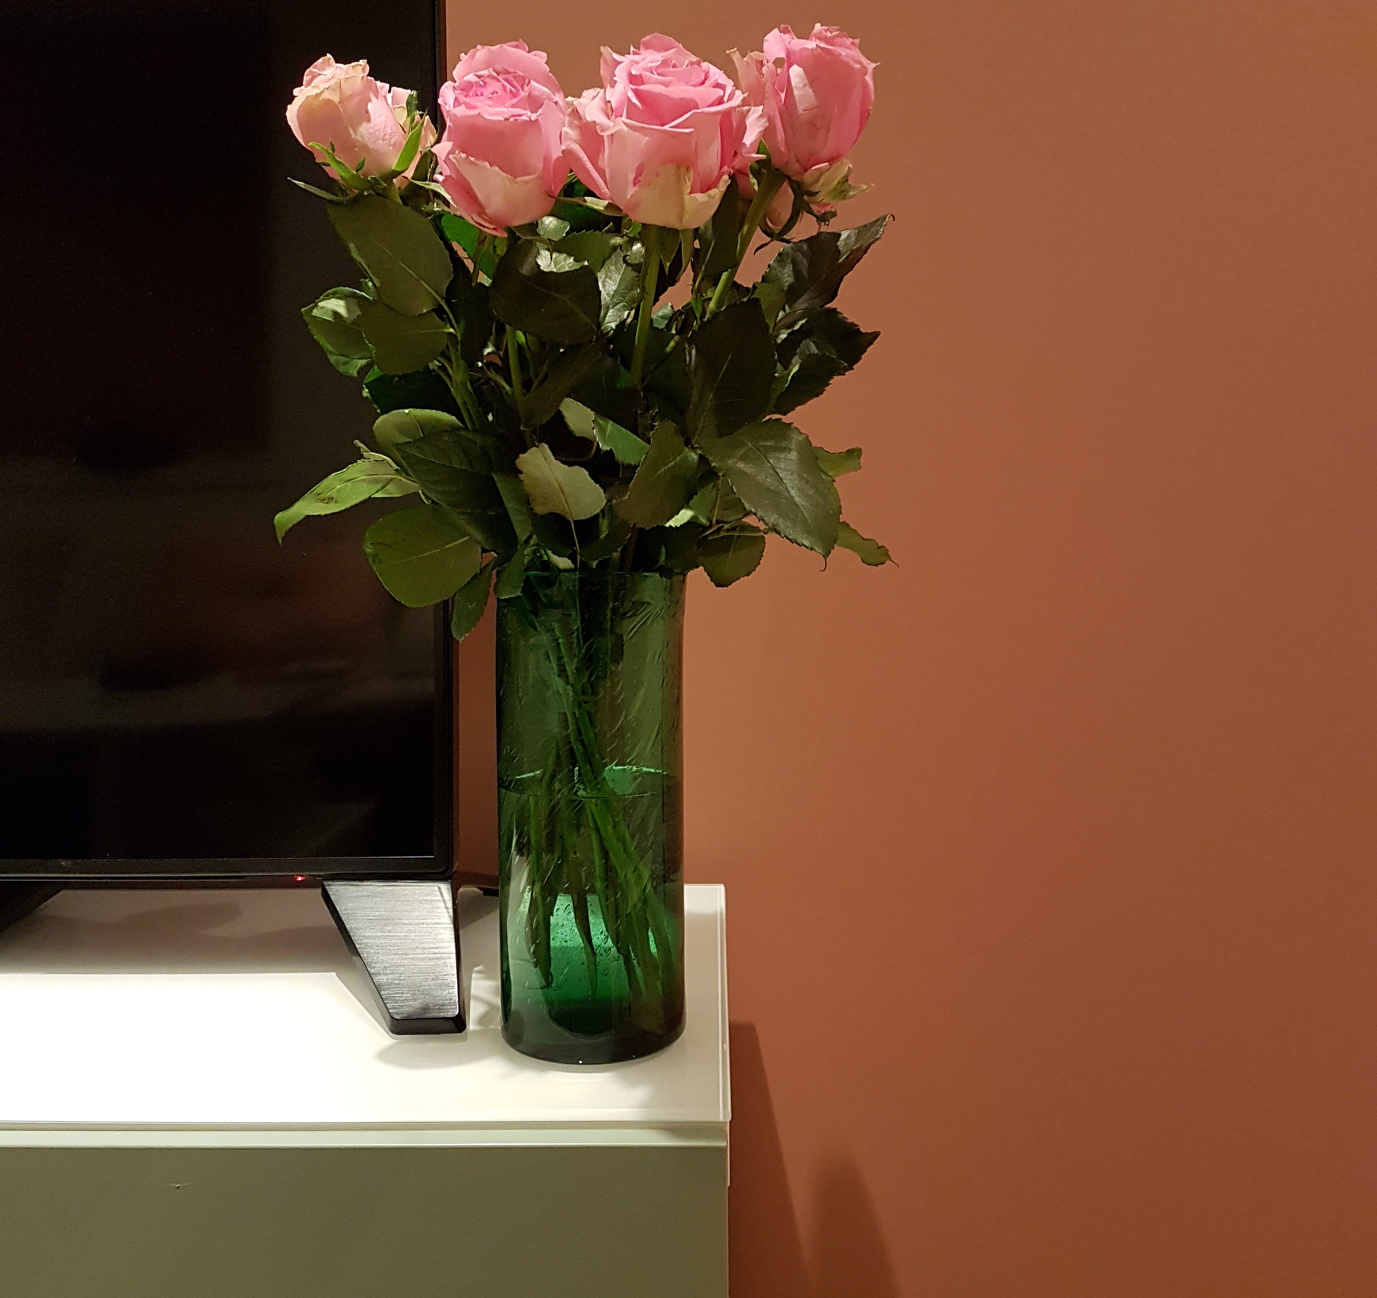
Nesting, det å bygge rede er ofte navnet på prosessen før barnet kommer. I denne fasen skal man gjøre det trygt i hjemmet. Foreldre går over alle flater og deler av huset som kan være farlige for barn. Mange leser seg opp på tips og føringer fra DSB, Helsenorge eller andre om hva som skal ryddes, fjernes eller beskyttes. Designerhjemmet til to barnløse voksne må nå endres, og denne sosiale kontrakten er noe man synes er ok. Den er tross alt en midlertidig fase i starten av livet. Blomstervaser må vike for rene flater.
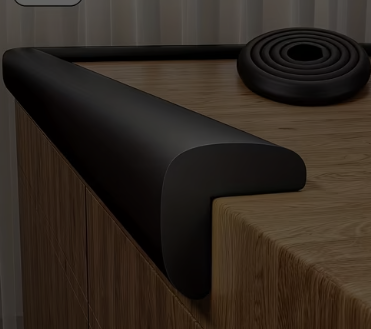
Skarpe kanter som ikke kan fjernes må polstres og huset vil komme til å annerledes ut. Men, det er greit. Vi gjør alt for barna!?
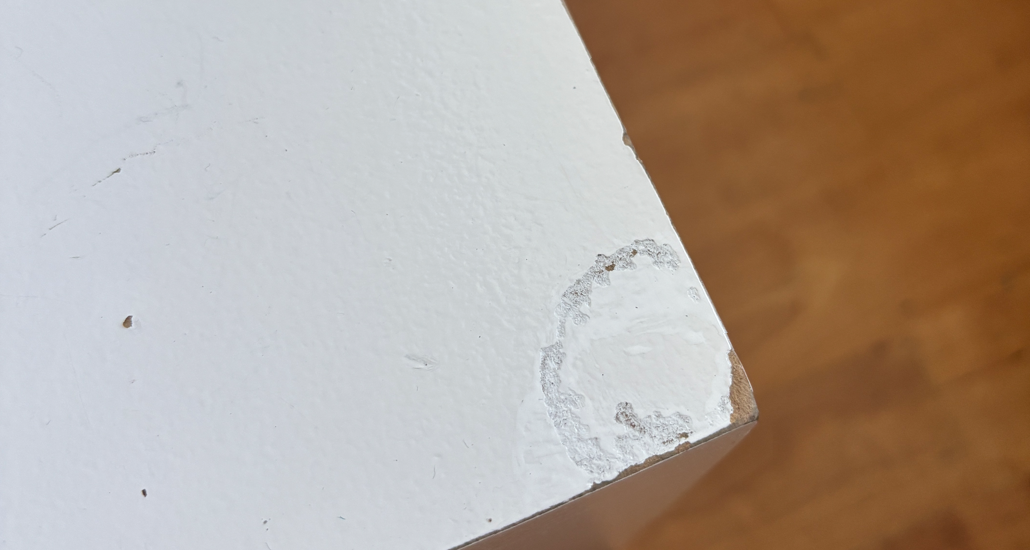
Etter at ungene har vokst opp, vil det fortsatt være merker igjen etter barn i huset på møbler og på vegg. Små hint som viser til en tid forbi og huset kan nå designes og se stilig ut. Man kjøper kanskje ny sofa og pusser opp gulv og vegger.
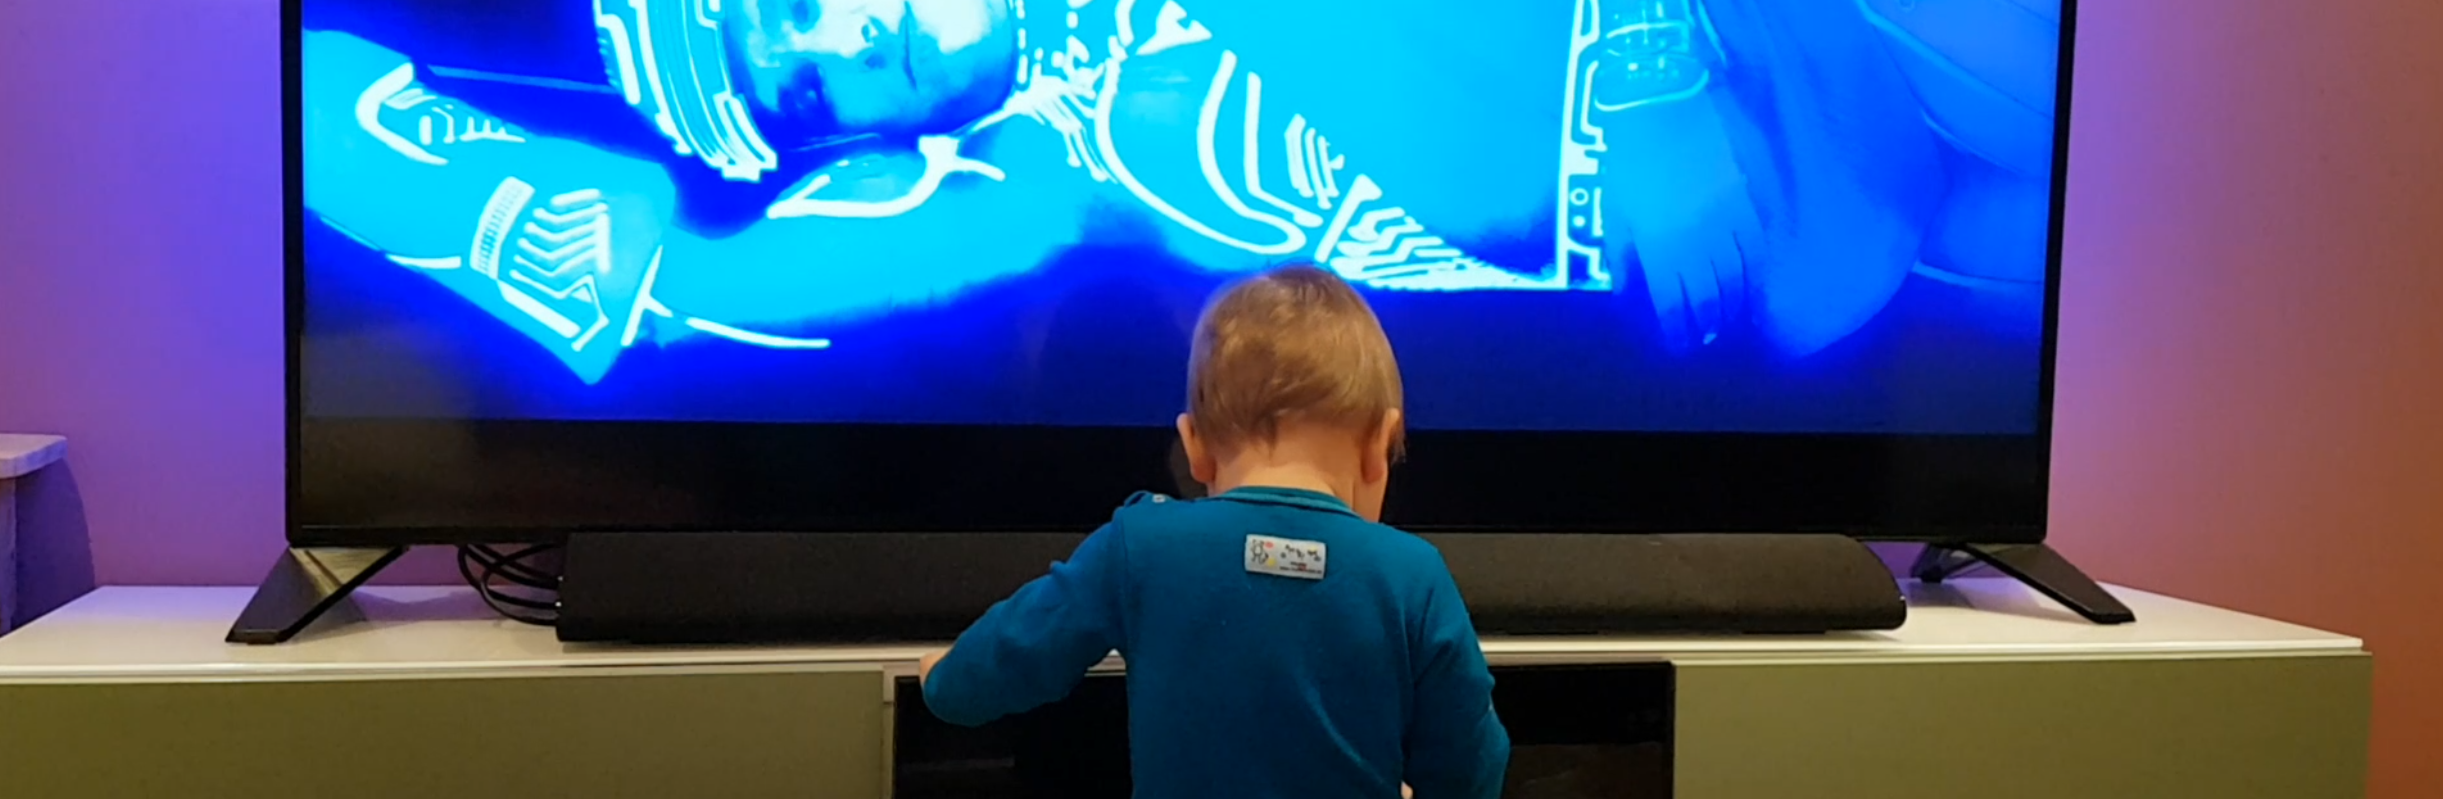
I den første delen av livet er vi villige til å gjøre endringen, det er en hel industri med produkter for å beskytte barn. Man skaper et litt mer institusjonspreg i hjemmet, men du hjelper barnet ved å ha det ryddig. Dette er sosialt akseptabelt. Men så går det 50+ år og denne fasen starter på nytt, men nå er det du som må rydde for dine foreldre. Da er det plutselig ikke greit med institusjonspreget, rene flater og polstring. Industrien som selger produkter for å beskytte voksne er ikke helt på samme sted.
Alderdommen kommer
For mange så kommer dette brått på, det starter ofte med et fall, og Helsedirektoratet kan informere om at de som har falt én gang har dobbelt så stor sjanse for å falle igjen. Fallene kommer av mange grunner, men de ikke bør komme av er dårlig fallsikring i hjemmet. Fallforebyggende tiltak i slutten av livet er like viktig som barnesikringen i den tidlige delen av livet. Her må de eldre innstille seg bedre på denne endringen. Krimskrams og møbler må vike for et langt og friskt liv. Livet er i endring og krever en ny hverdag.
Over et helt liv har vi samlet opp og dekorert veggene med minner og gulvene med møbler. Det er også vanskelig for mange å skille seg med ting. Det er plutselig ikke like sosialt akseptabelt å stenge trappen for en på 90 som en på 9 måneder. Man er plutselig redd for at hjemmet skal bli en “institusjon” eller for sterilt, uten sjel. Men som i starten av livet er dette kun midlertidig og en viktig del av den siste tilværelsen.
Det trenger ikke være en labyrint i huset hvor de eldre må snike seg rundt møbler for å komme til sine stoler. Man må også kunne lene seg på fast inventar uten at det velter. Designerhjemmet må vike for livet.
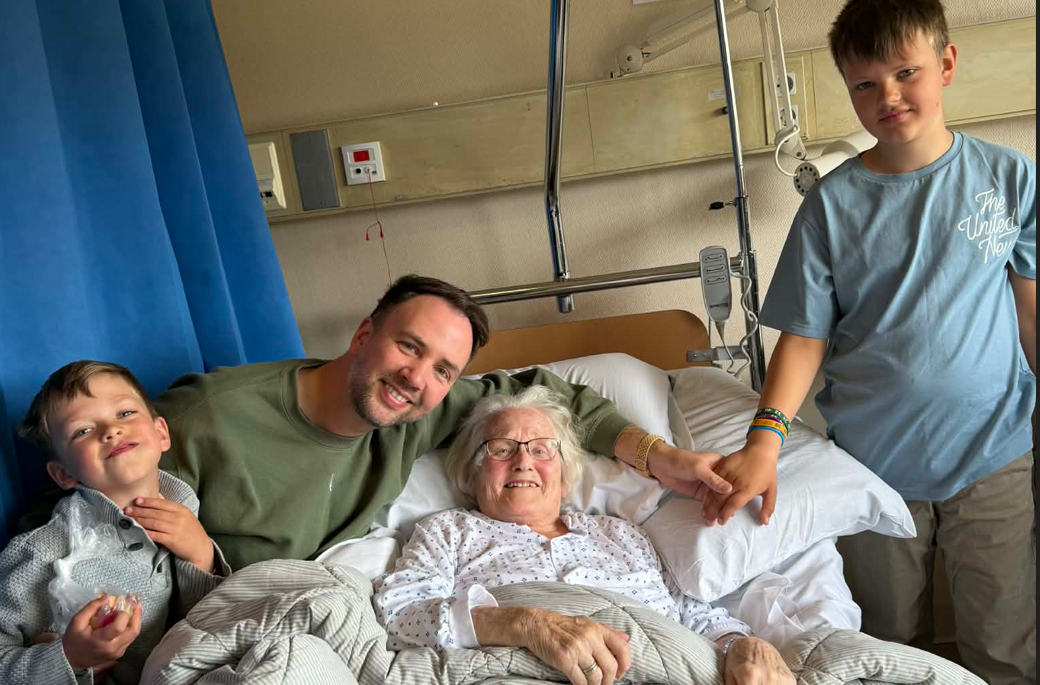
Mormor falt
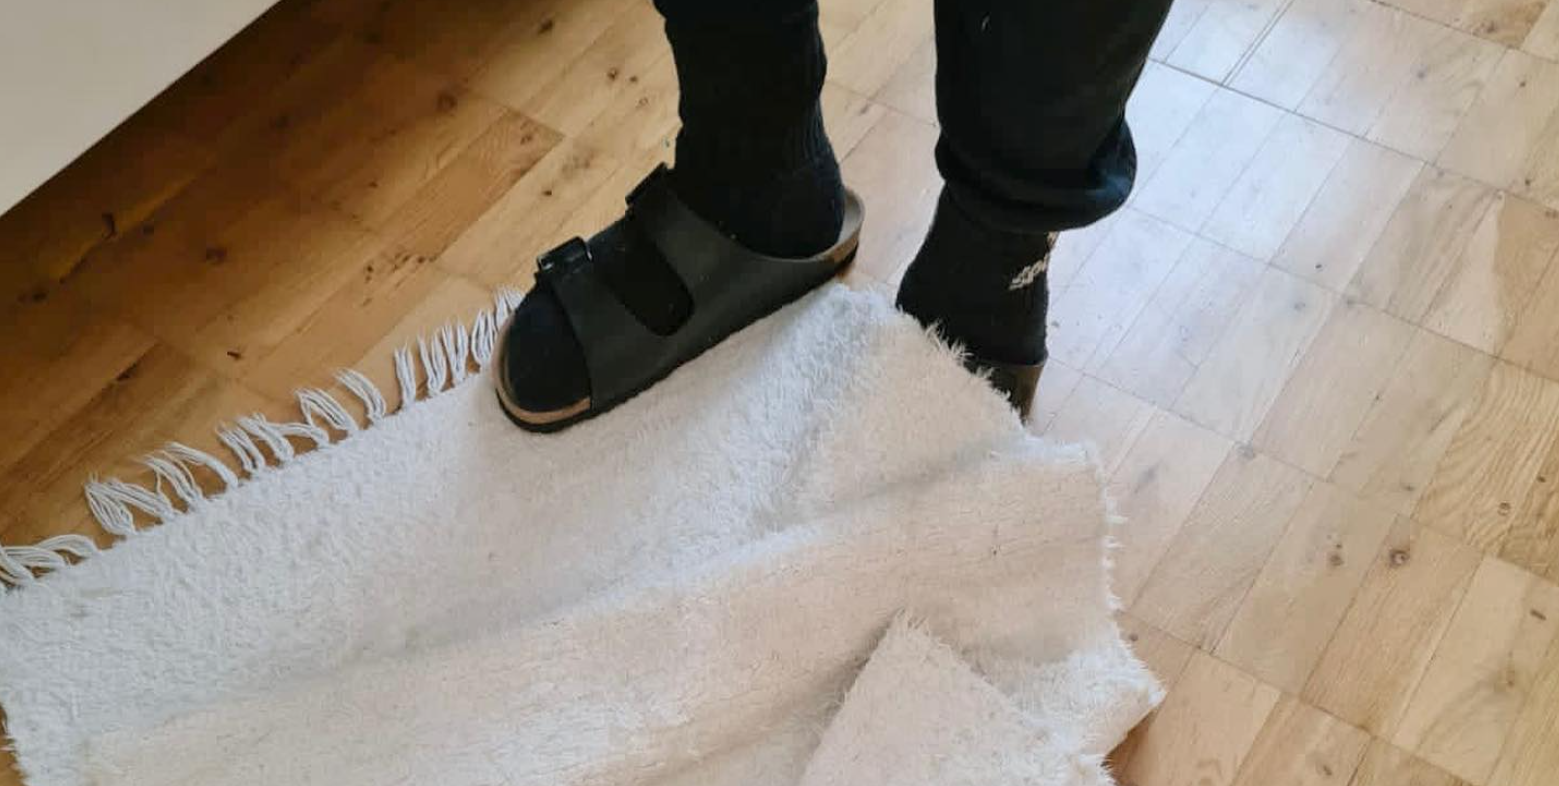
En natt i 2026 så falt mormor hjemme og det førte til sykehusinnleggelse, operasjon, komplikasjon, re-operasjon, depresjon, død. Mormor falt ikke i teppet eller i terskel, men snublet i sine egne klær. Fallet bidro til å dramatisk korte ned på den tiden hun hadde igjen.
Dette bør du lære deg og kunne hjelpe dine foreldre med:
Rydde vekk tepper
Rydde vekk møbler
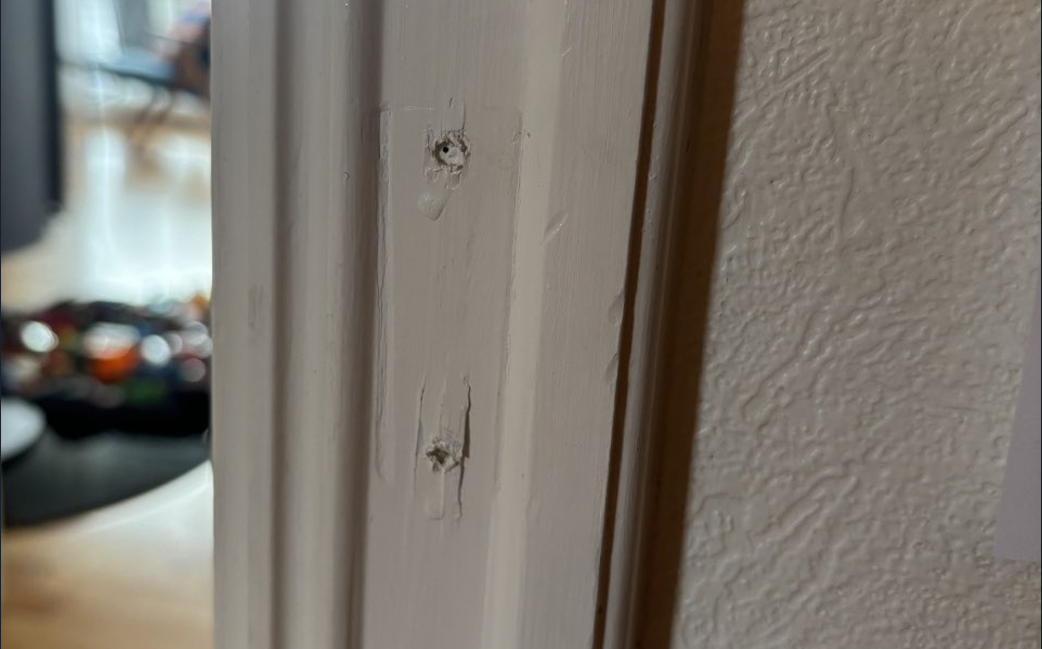
Feste håndtak på vegg med drill og skruer
Feste håndtak på bad(fliser) med drill og skruer
For barn holder det ofte med å feste ting med tape, for voksne må du lære deg å skru eller bore. Små tiltak kan gjøre mye.
Ikke fall
Inger Lise Siegel 16.05.2026


You must be logged in to post a comment.