Search

Håvard Siegel Haukeberg

Paste life: Ctrl+C -> Ctrl+V

Category

Smart Home

Home Automation – Xiaomi Smoke Alarm (Sensor)

Hi there, here is a video and some pictures of how the Xiaomi Smoke Alarm works and how you can mount it. It is a photoelectric sensor and it is quite sensitive. I have another post where you can see how sensitive it is.

To add the smoke alarm into your Xiaomi app, have a look at the pictures below.

Remember that you can configure the sensor sensitivity by setting it to “smoke free zone” by default Chinese smoke a lot so this sensor is in default “little smoke zone”.


As usual I got this item from Banggood in one of my shopping sprees.
https://www.banggood.com/Xiaomi-MiHome-Honeywell-Fire-Smoke-Alarm-Detector-Remote-Alert-Photoelectric-Smoke-Sensor-p-1148105.html?rmmds=search

The alarm works on ZigBee and you need the Xiaomi Gateway in order to get a notification or trigger any automated actions.
SORRY FOR THE WRONG ORIENTATION IN THE VIDEO
All haters please comment below and let me know how bad it is 😦

Home Automation – Xiaomi ZigBee max range

Hi there, today I made a video to show how far you can place a sensor in the ZigBee network and still be in touch with the Xiaomi Gateway.

I am using this Xiaomi Gateway:

https://www.banggood.com/Original-Xiaomi-Upgrade-Smart-Home-WiFi-Remote-Control-Multi-functional-Gateway-p-1047282.html?rmmds=detail-top-buytogether-auto__3

And this door sensor:

https://www.banggood.com/Original-Xiaomi-Intelligent-Door-Window-Sensor-Control-Smart-Home-Suit-Kit-Accessory-p-1017541.html?rmmds=detail-top-buytogether-auto__2&cur_warehouse=CN

I have the gateway placed in the middle of my house so to say, right in the staircase.

Home automation with Xiaomi Yeelight and Motion sensor.

Hi there. On one of my regular shopping sprees on https://banggood.com I came across these really nice Xiaomi Yeelight Ceiling lights

They are really good looking and super easy to mount. They also have a powerful light with multiple white color temperatures.

I can not express enough how well made this product is. Even if you just want a plain ceiling lamp, get this one. There is a quick connector to remove the lamp unit. The power connector unit does not require any screws for power and there are plenty of holes to fasten it to the roof or a power-socket box using standard lamp screws.

Anyhow, I connected three of these lamps to two motion sensors and thought the Xiaomi Gateway I set up an automation.

“Once you enter the room, turn on the lights” 

and

“Once there is no motion within 2 minutes, turn off the lights”

Really simple, here is how it works:


Home Automation with Xiaomi Wall Switch and door sensor

Hi and welcome, here is how you can automate your ceiling lights to turn on/off when you open the door.

With this setup I have automated the following task:

“Open door, turn on lights”

and

“Close door, turn off lights”

The automation works because I switched out the lighting switch with a Xiaomi Aqara Wall Switch that is connected to the Xiaomi gateway. I mainly do not use the switch so it works kinda like a relay.

Due note that the wall switch does NOT fit into the EU wall socket boxes. In order to make it fit I bought a ELKO DIMMER BOX / RISER and put it over the wall socket.

Works just fine, take a look below:


Upgrading to Ring Video Doorbell 2

I am super happy with the Ring Video Doorbell. It has proven both practical and efficient when I receive guests or packages or simply want to see what is going on outside. I have even spotted deers passing by in the night.

As they announced the Ring Video Doorbell 2 there were two things that mainly caught my eye.

  1. Full 1080p Video
  2. Quick Release battery.

The version 1 only had 720p and you had to unscrew and remove the entire doorbell to recharge it as the battery was integrated.

Some negative aspects:

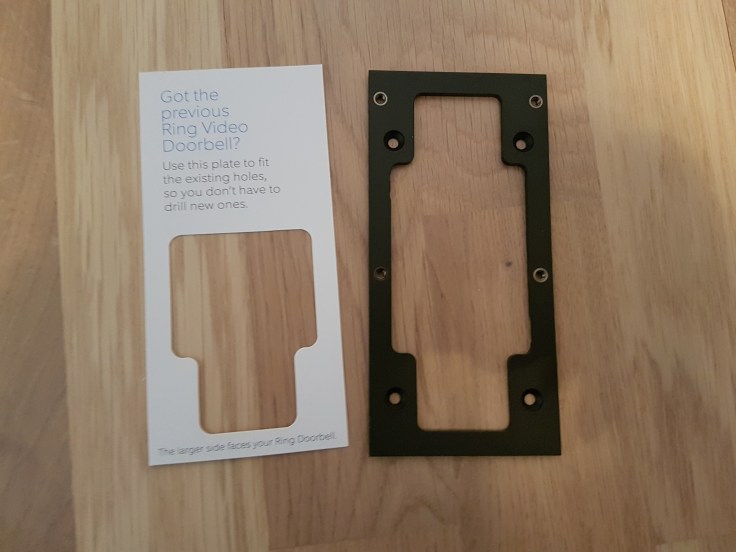
The version 2 comes with a mounting bracket so you can use the existing holes, you still have to remove the version 1 plate.

Ring version 1 adapter

The fit with the adapter bracket is not perfect, it is actually really bad since it leaves a large gap at the top of the unit for water to enter. This is because my wood wall is not entirely straight and the version 2 unit has screw holes not on the top to force it onto the plate.

Ring video doorbell 2 misalignment

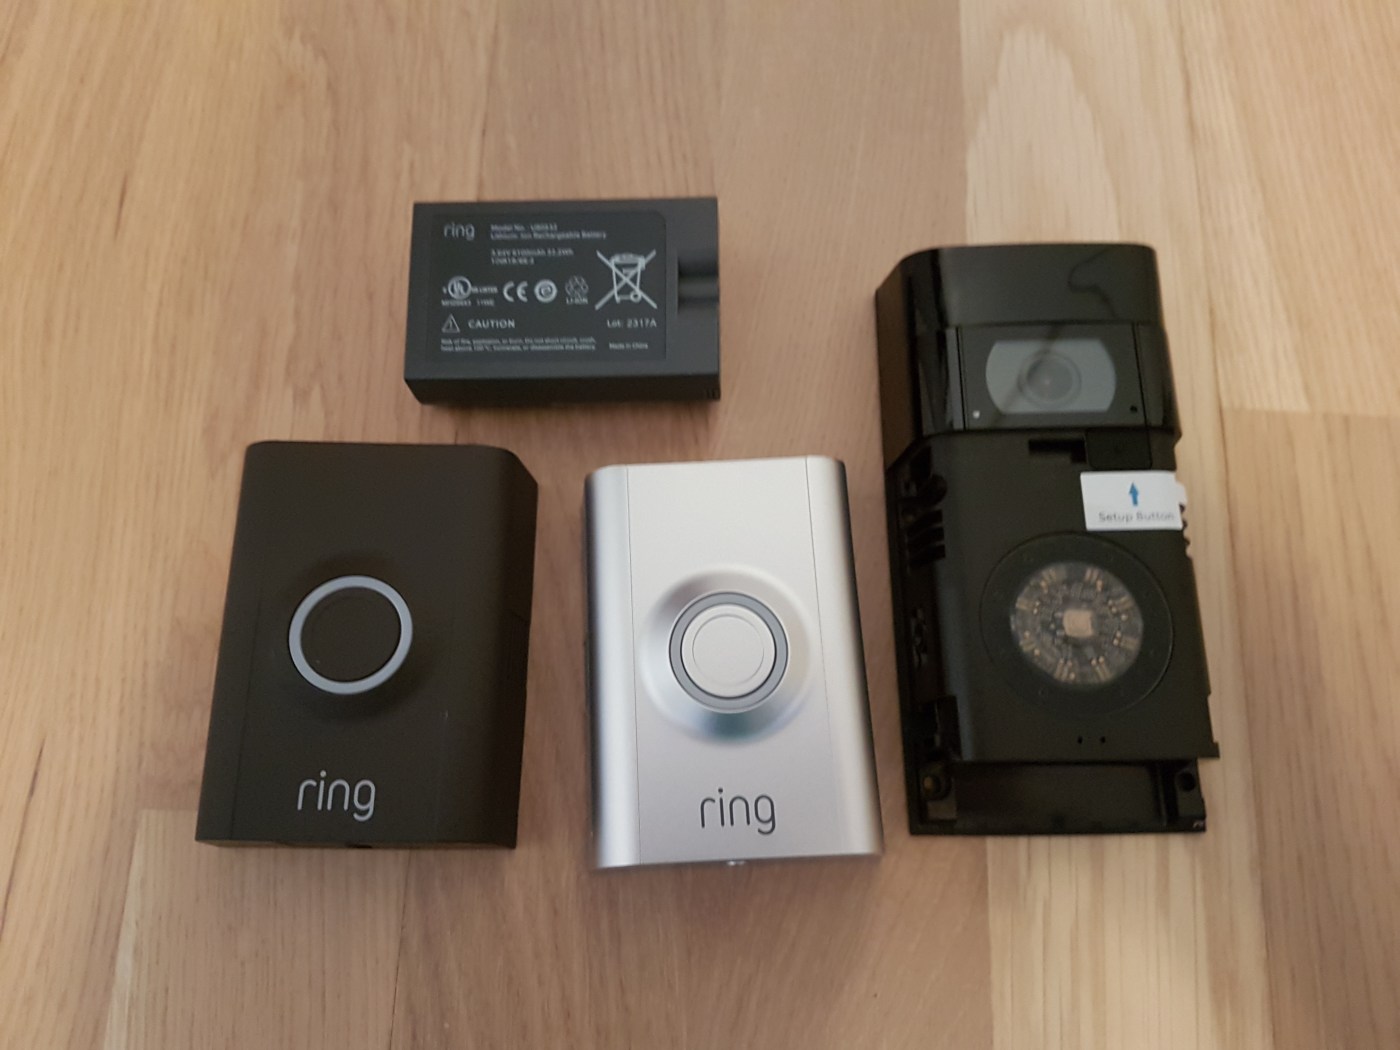
The finish on the version 1 is really good. Looks nice and feels nice. Premium material. The finish on the version 2 is really cheap and made of plastic. Center in the image below you see the version 1 in venetian bronze.

Ring video doorbell v1 and version 2 faceplates

The silver plate looks way to cheap so I have to go with the dark one.

Ring video doorbell v1 and v2 faceplate


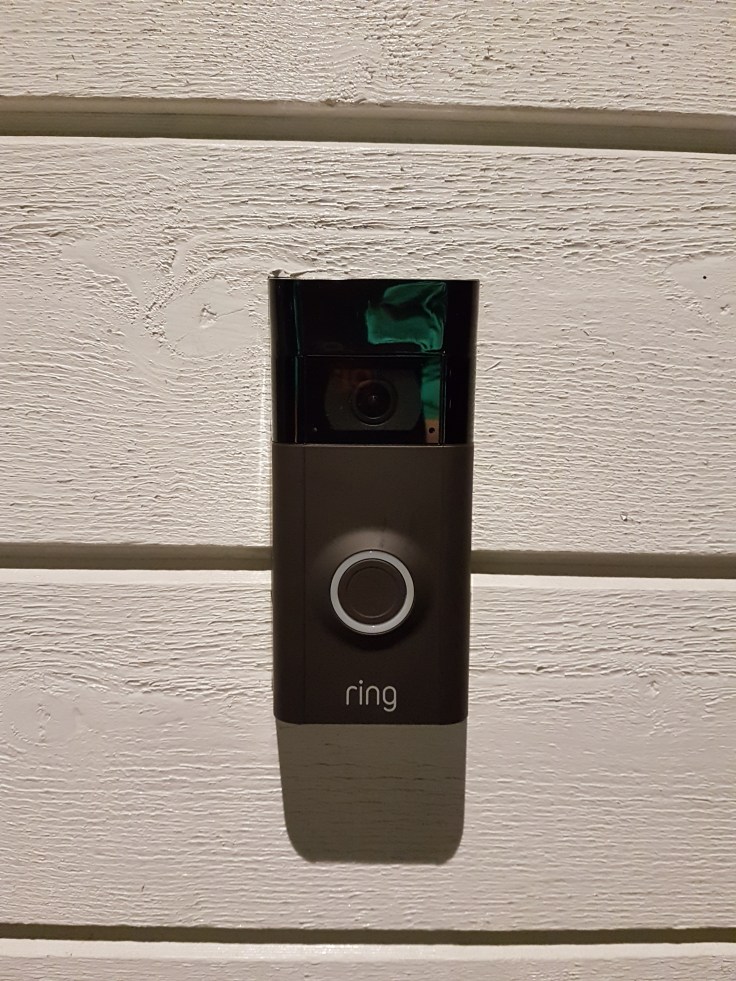
Here is the end result:

Ring Video doorbell 2

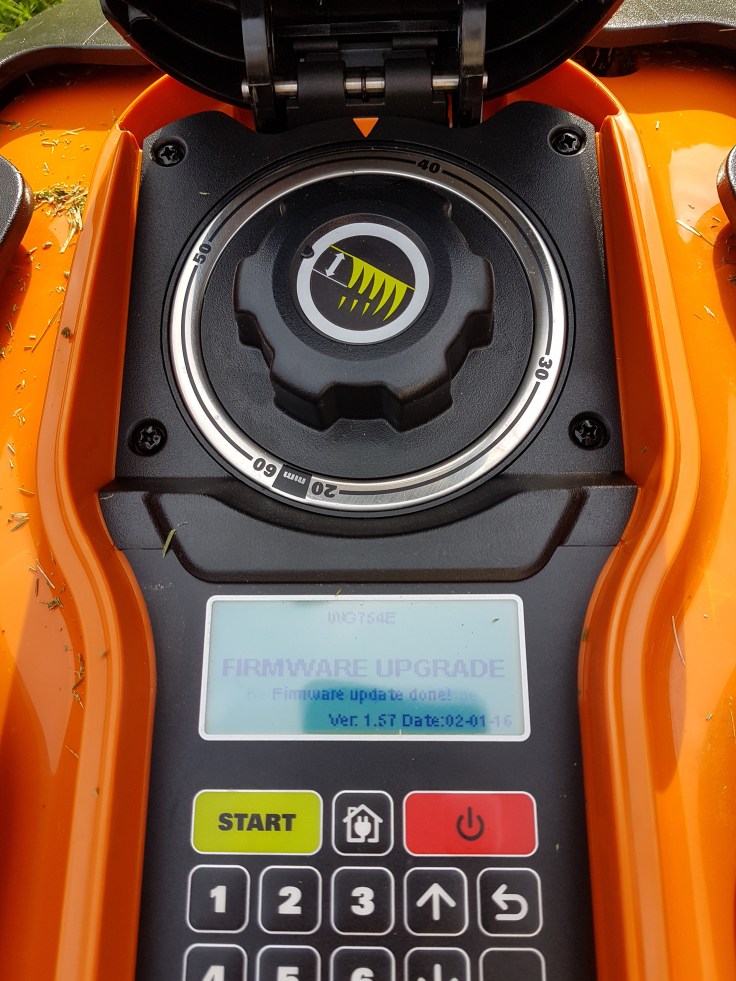
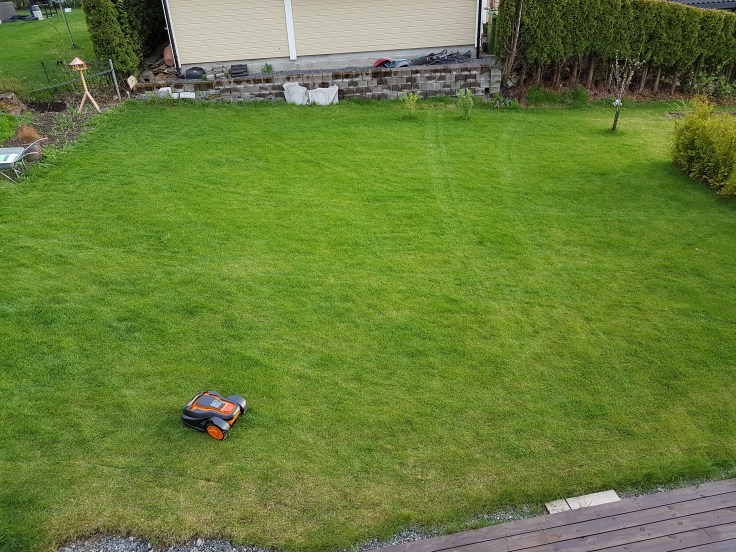
Firmware Upgrade Worx Landroid

What is the first thing you need to do when buying a brand new robot mower?

-Upgrade firmware of course!

It actually runs smother around the edges with the new update!

×Updated

Firmware download has changed. I do not know at this moment how to obtain the firmware as I have sold my house with the lawnmower. It might be that you need to register the robot on your landroid account.

It was easy to download the firmware at https://www.worxlandroid.com/nb-NO/software-update/check all you need is the serial. You can find that under the lid on a small removable sticker. I recommend that you remove the sticker and put it in your garage or so.

One you have downloaded the firmware put it on a FAT 32 USB stick and go out to your robot mower.

Flip it around and unscrew the 4 screws protecting the battery and find the usb here:

landroid usb

Now simply insert your usb stick and flip your robot back over

20170519_194705

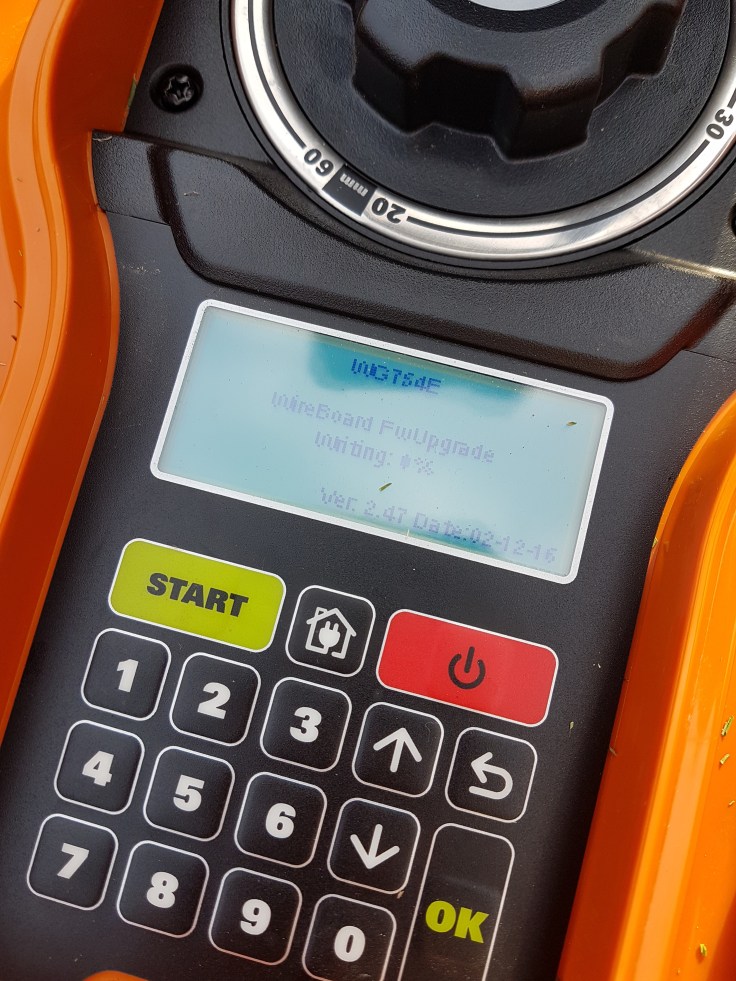
Turn it on and firmwareupdate will start automatically.

20170519_194742

It will tell you in some seconds to remove the USB. Just flip the robot back over and remove the USB key and screw the plastic case back over the battery with the 4 screws.

20170519_194647

Now just wait a second and you are done.

Easy.

And I highly recommend doing this as the droid works way better around the edges than before.

20170519_195540

The unit was super cheap at Coop Obs bygg. Only 5990kr all cables and pegs included.

Really Smart AC & Heatpump control

So, I just made my AC (Toshiba Daiseikai) really smart!

AirPatrol AC WiFi remote with IR sensor. No need to change anything at all.

Here is the only thing you need: http://www.airpatrol.eu/shop/airpatrol-wifi/

It was super easy and now I can control my AC and heatpump from away and set it to a schedule that will lower the heat during hours of sleep or when we are not at home.

Here is my normal schedule.

  • 22.30-06.00 Night 17 Degrees (save mode)
  • 06.00-08.00 Morning 22 degrees (heat mode)
  • 08.00-15.00 work day (save mode)
  • 15.00-22.30 at home (heat mode)

You can override it at any time with the app.

Drawbacks:

  • It needs power, hence you need to set it up close to an outlet. Its not a standard 220V socket, instad it uses a “cellphone” charger. so cabling can be an issue.
  • It uses IR with your AC unit, so it needs to be in line of sight of the unit.


Connecting the Smart Garage door – Step 3

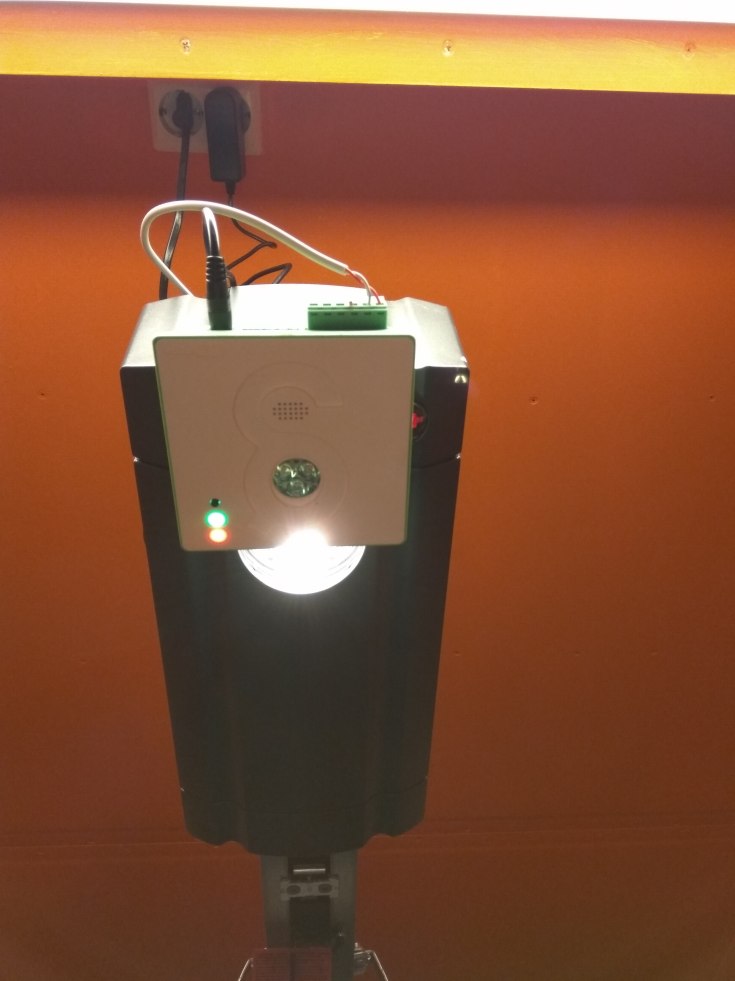
Connecting the garage door with right cable and can be tricky since there are no manual for your specific Garage door opener. Luckily at https://gates.gogogate.com/gates.php there is a garage compatibility lookup tool.

I simply entered my Hormann ProMatic 3 and I got a easy to understand wiring diagram

wire-diagram


Lucky me. If I did not have this there is no way I would find this out by myself. This configurator should be showcased on the front page in my opinion.

The rest was easy, I simply put the cables in and there, done! used the adhesive pad to stick the sensor underneath the opener. Not very beautiful but, it is only a garage 🙂

img_20161218_192846img_20161218_220725

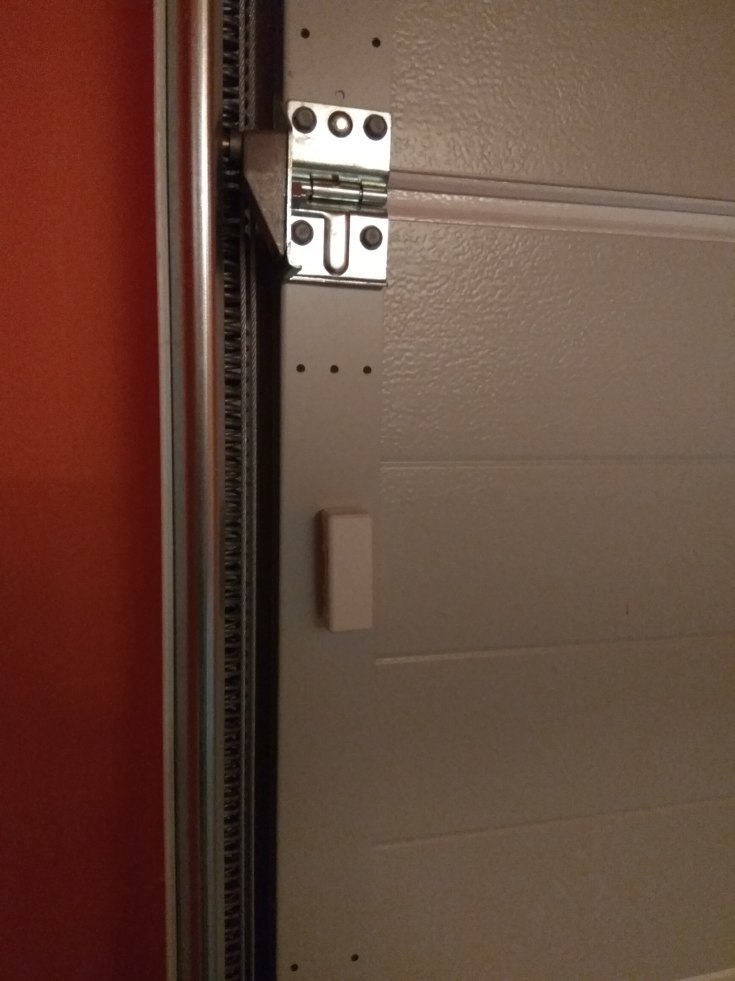
Don’t forget that you need to place the door open/closed sensor on the garage door itself. IMPORTANT that you place the sensor on the middle of the door. Some doors tend to be tilted and the sensor might give off a wrong reading if it is on the top.

img_20161207_220651

Setting up GoGoGate2 app – Step 2

Before you do any physical work with your garage door you need to configure the box, app and share it with the users in your house, here is how the box up:

Remember, you need an additional PC:

This slideshow requires JavaScript.

Here is how you set up the app and connect it you the service.

This slideshow requires JavaScript.

Here is how you add users, so everyone can open the garage door with their phone.

This slideshow requires JavaScript.


Blog at WordPress.com.

Up ↑