Search

Håvard Siegel Haukeberg

Paste life: Ctrl+C -> Ctrl+V

Category

Office

Microsoft Office and Office 365

Transkriber dine intervjuer automatisk i Office 365 med Word Online

I Word Online kan du nå teste ut en forhåndsversjon av Microsoft sitt transkriberingsverktøy. Denne forhåndsversjonen støtter kun engelsk.

Det er to scenario’s som støttes nå:

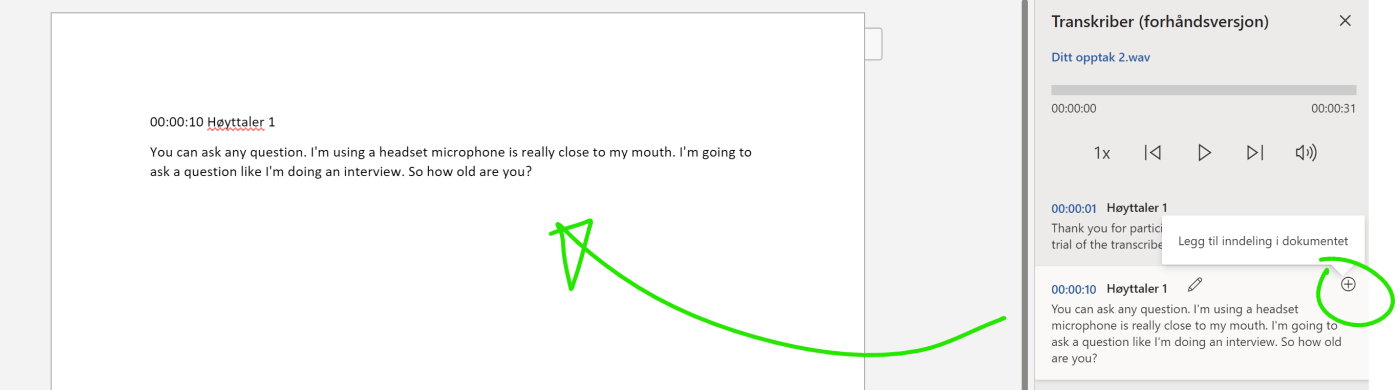
  1. Bruk en mikrofon og spill inn intervjuet på din PC* mens du har Word Online oppe og noterer
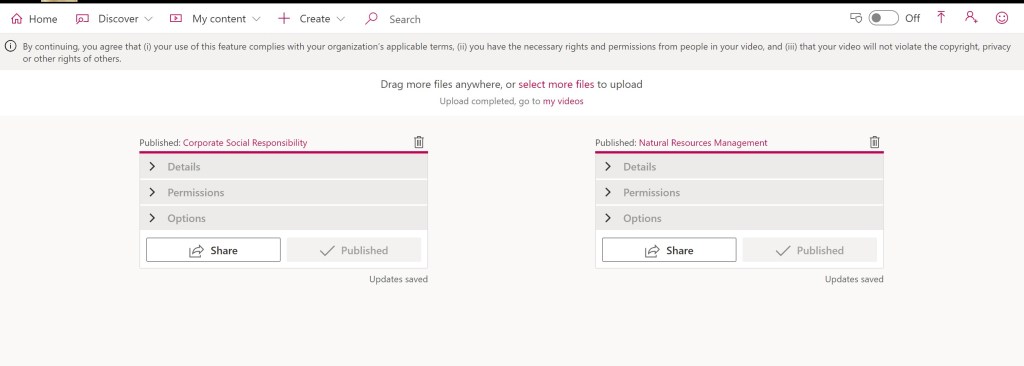
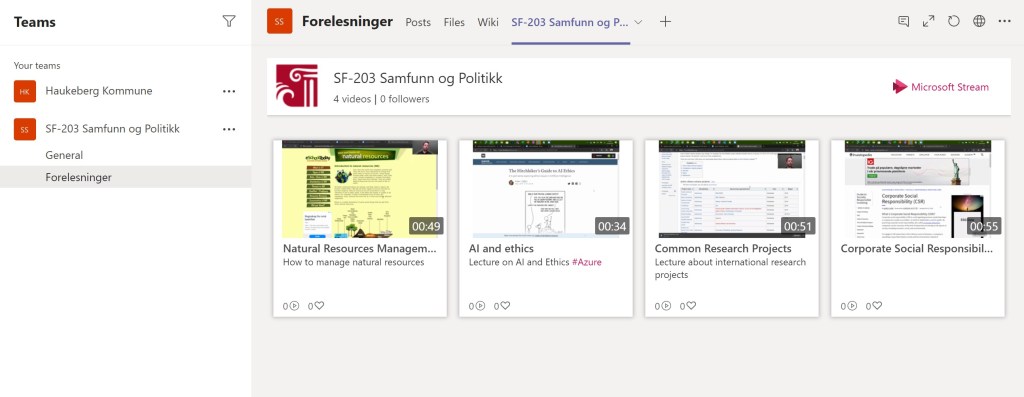
  2. Ta et lydopptak og last det opp i Word Online og vi transkriberer det for deg til word.

*fungerer muligens i edge/chrome på ipad også, test gjerne og gi beskjed

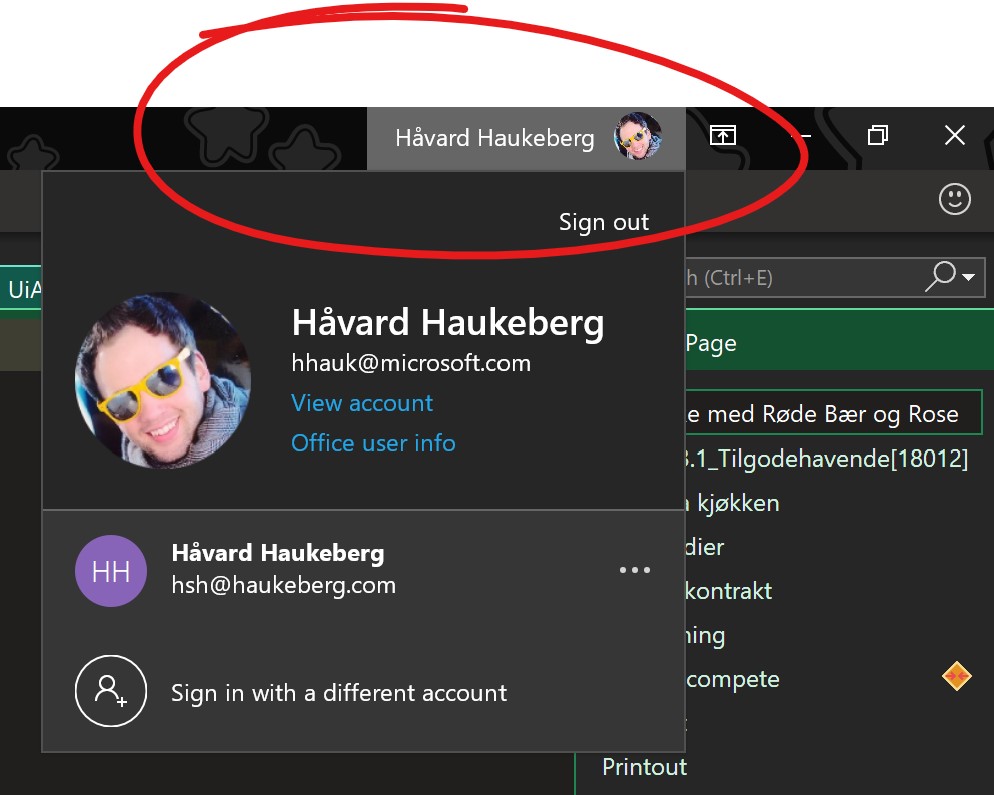
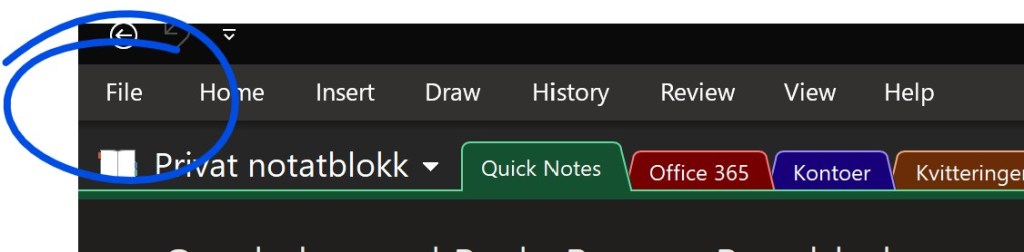
Før du starter må du gjøre en ting (spesielt viktig for oss i Norge) og det er å bytte skrivespråket til Engelsk (USA). Det er kjempelett og gjøres slik.

  1. Sjekk om Transkriber er grået ut slik:

2. Hvis dette er tilfellet gjør dette:
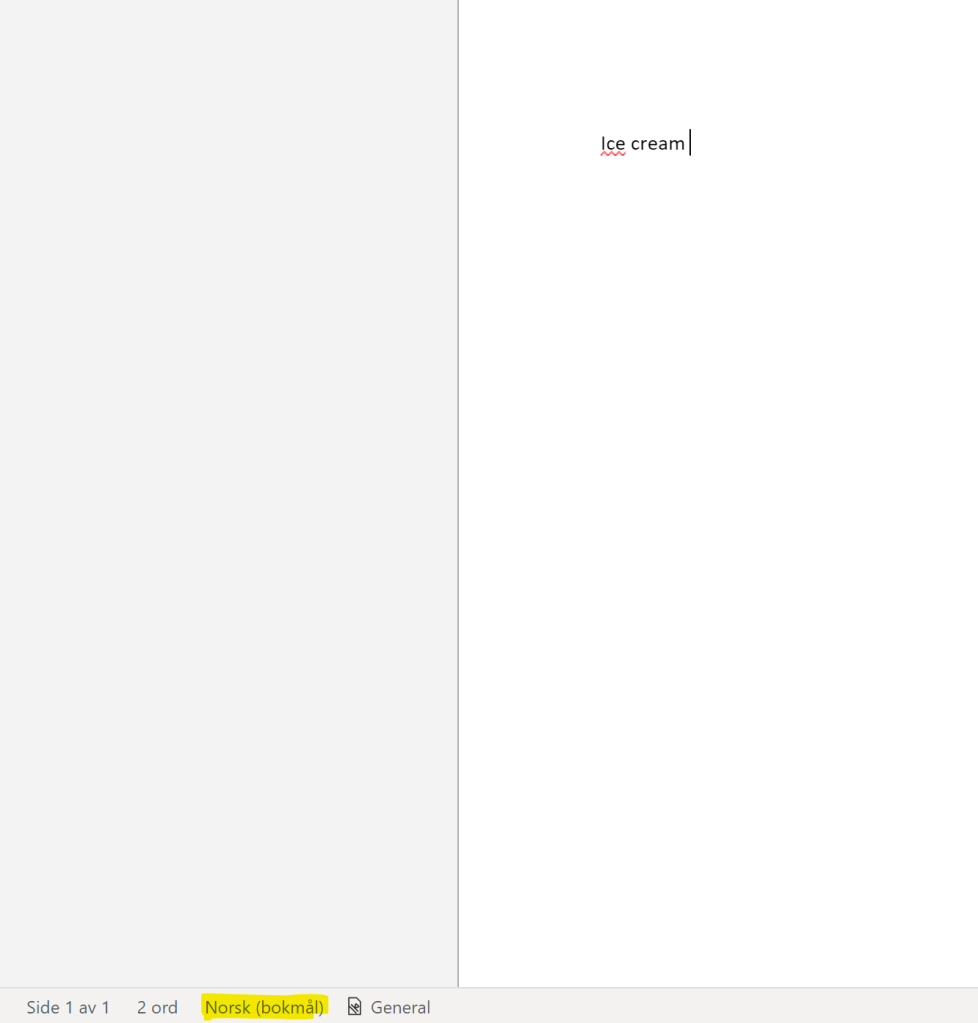
-Skriv bare noe tekst på engelsk
-Merk teksten
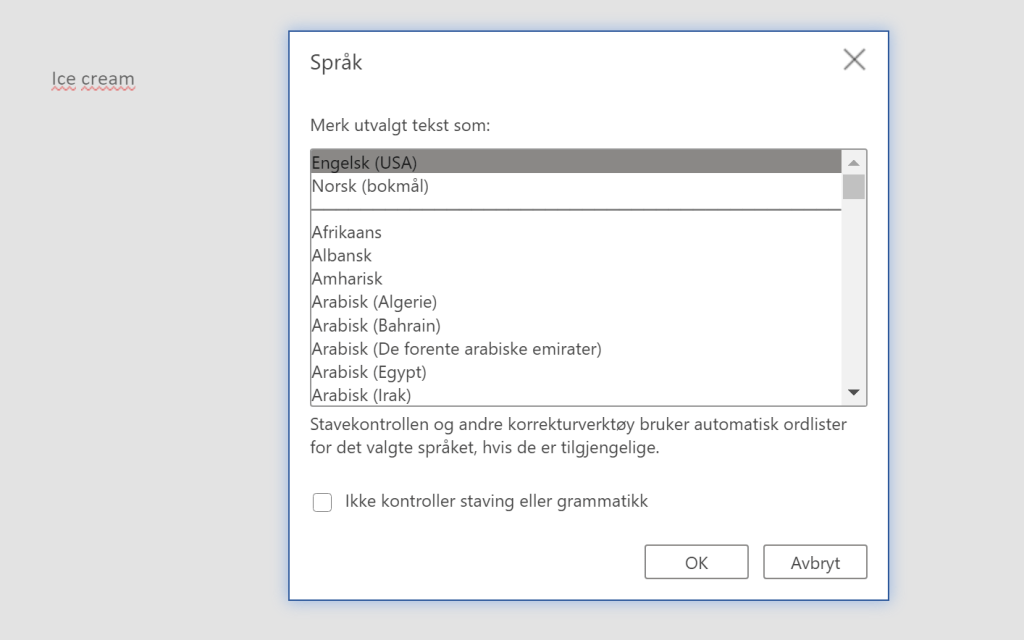
-Trykk på Norsk (Bokmål)
-Velg Engelsk (USA)
-Trykk OK
-Det engelske ordet skal ikke ha en rød linje under seg og det skal stå Engelsk (USA) når markøren er forran eller etter ordet.

3. Oppdater siden

4. Sjekk nå om du har fått Transkribering

Hvis dette virket så er du klar til å starte!

Verdt å notere seg
1. Lyden behandles av Microsoft Speech Services, den lagres ikke. Microsoft Speech Services er ikke en del av Microsoft Online Services Terms.

2. Lydfilene du spiller inn lagres automatisk til din OneDrive for Business.

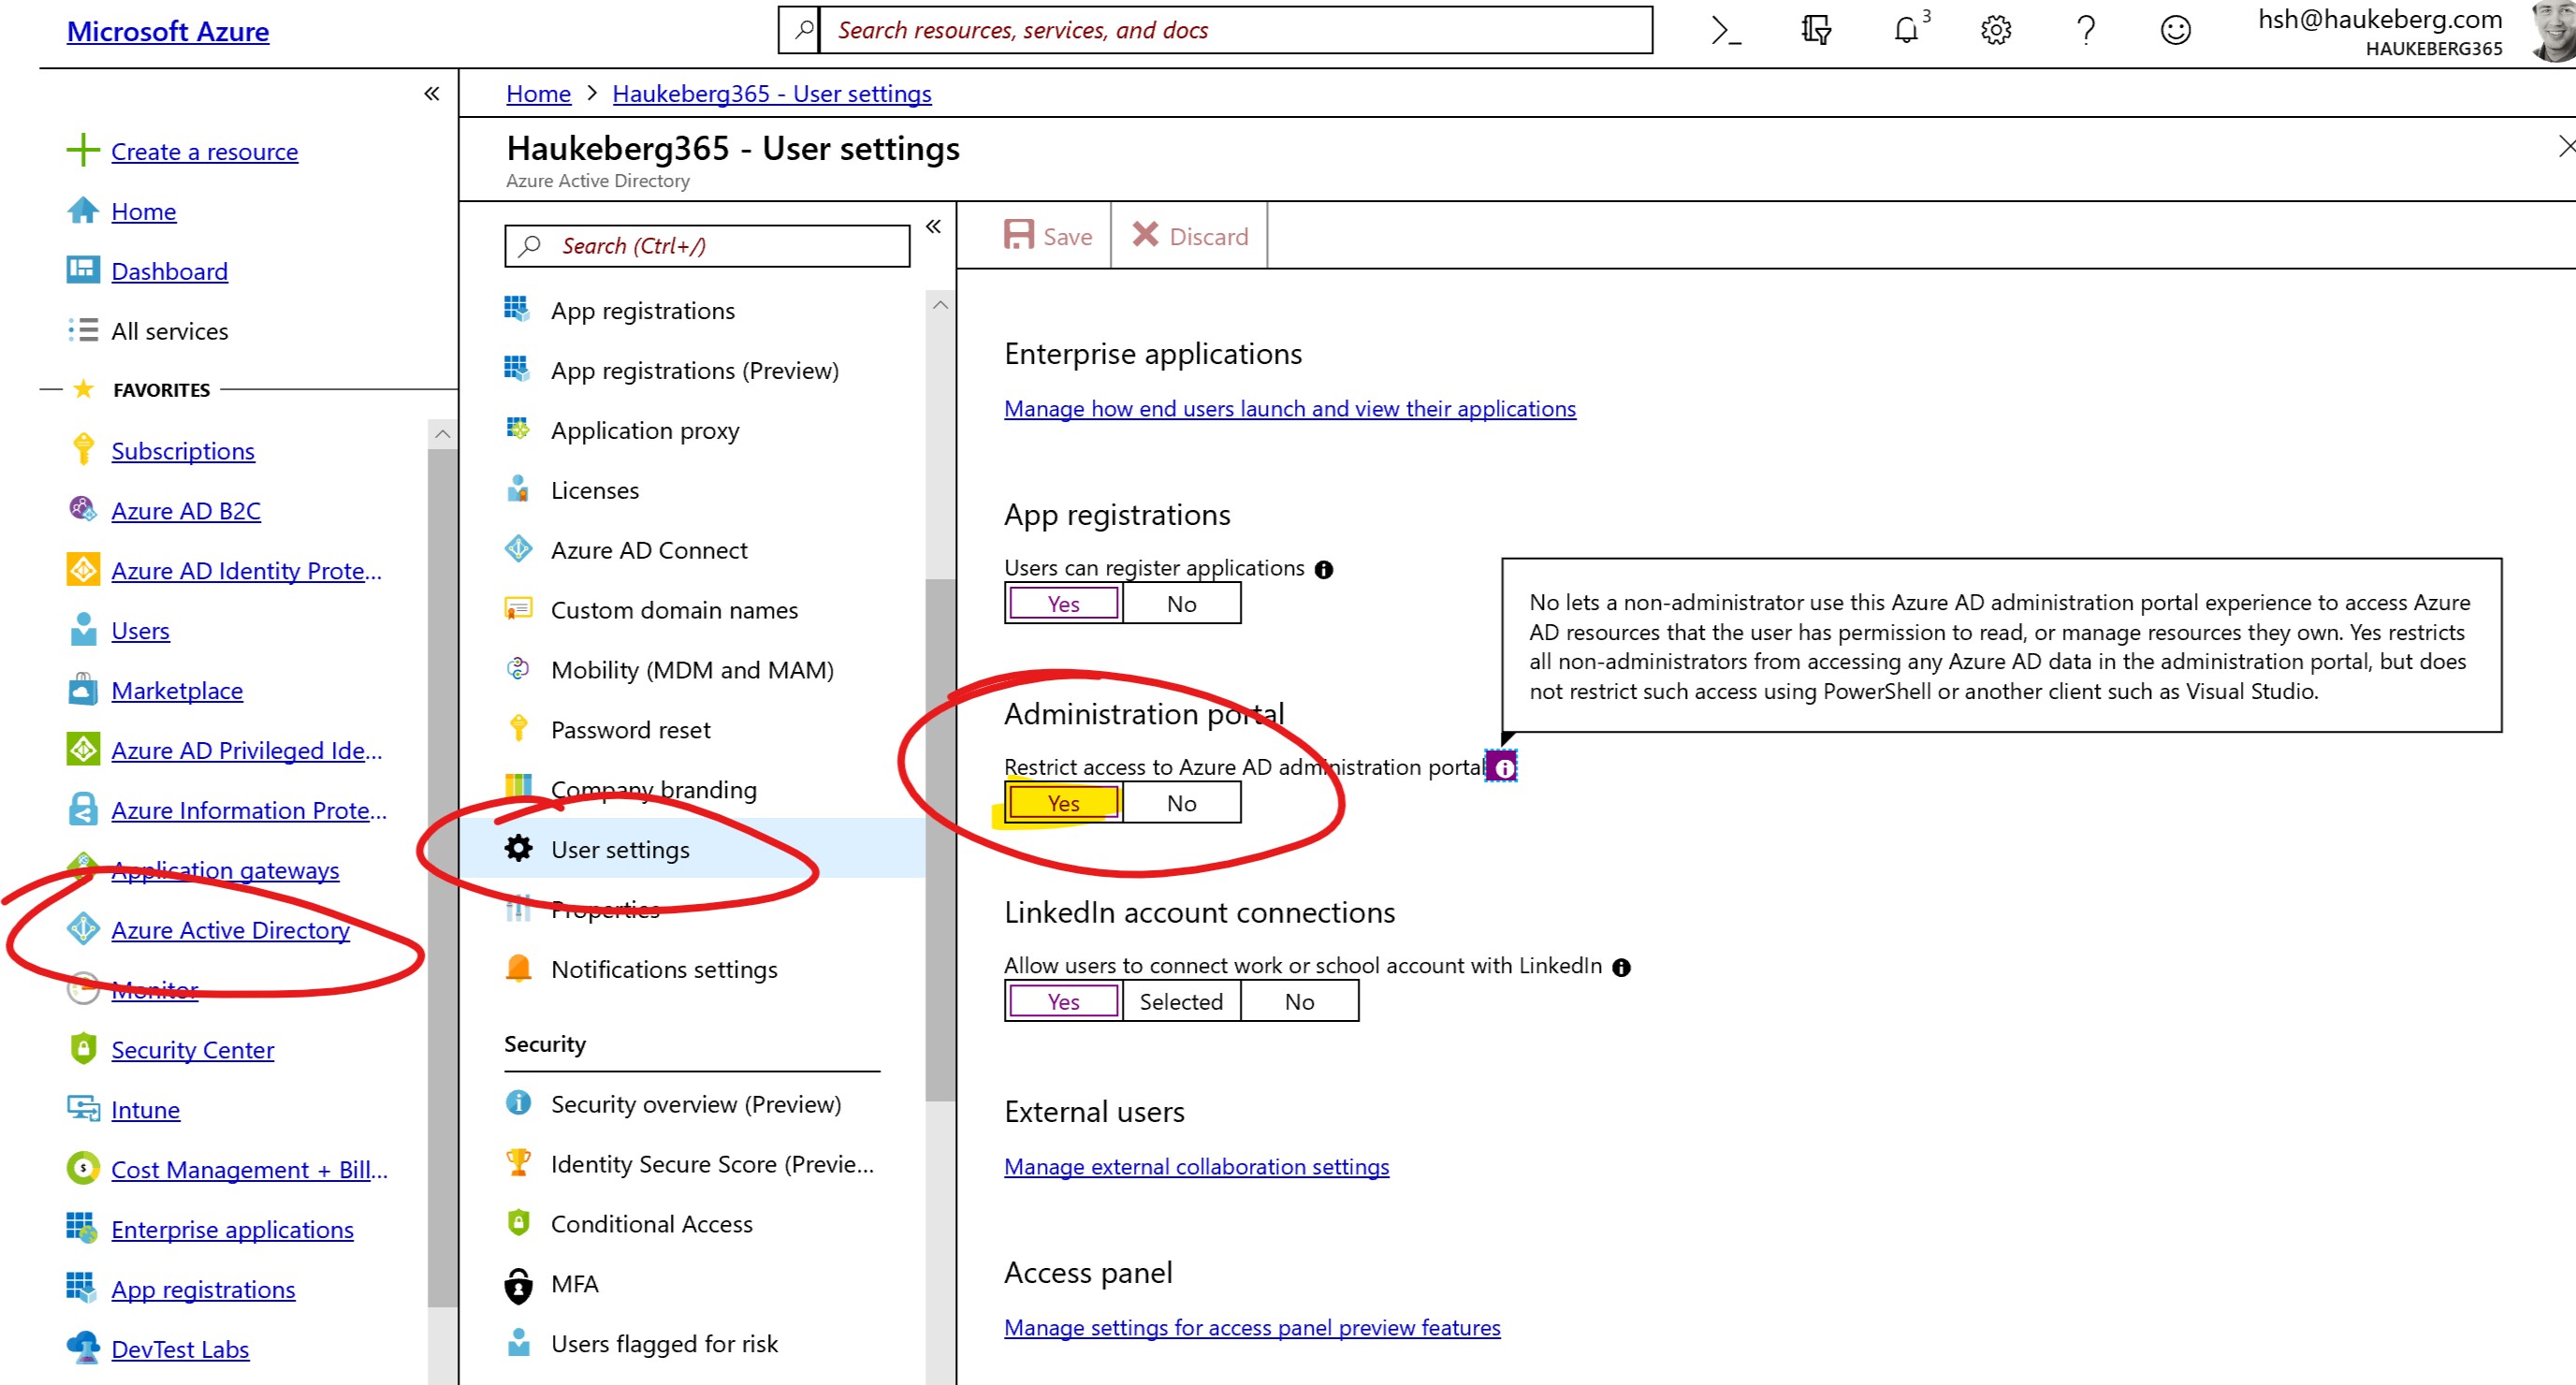
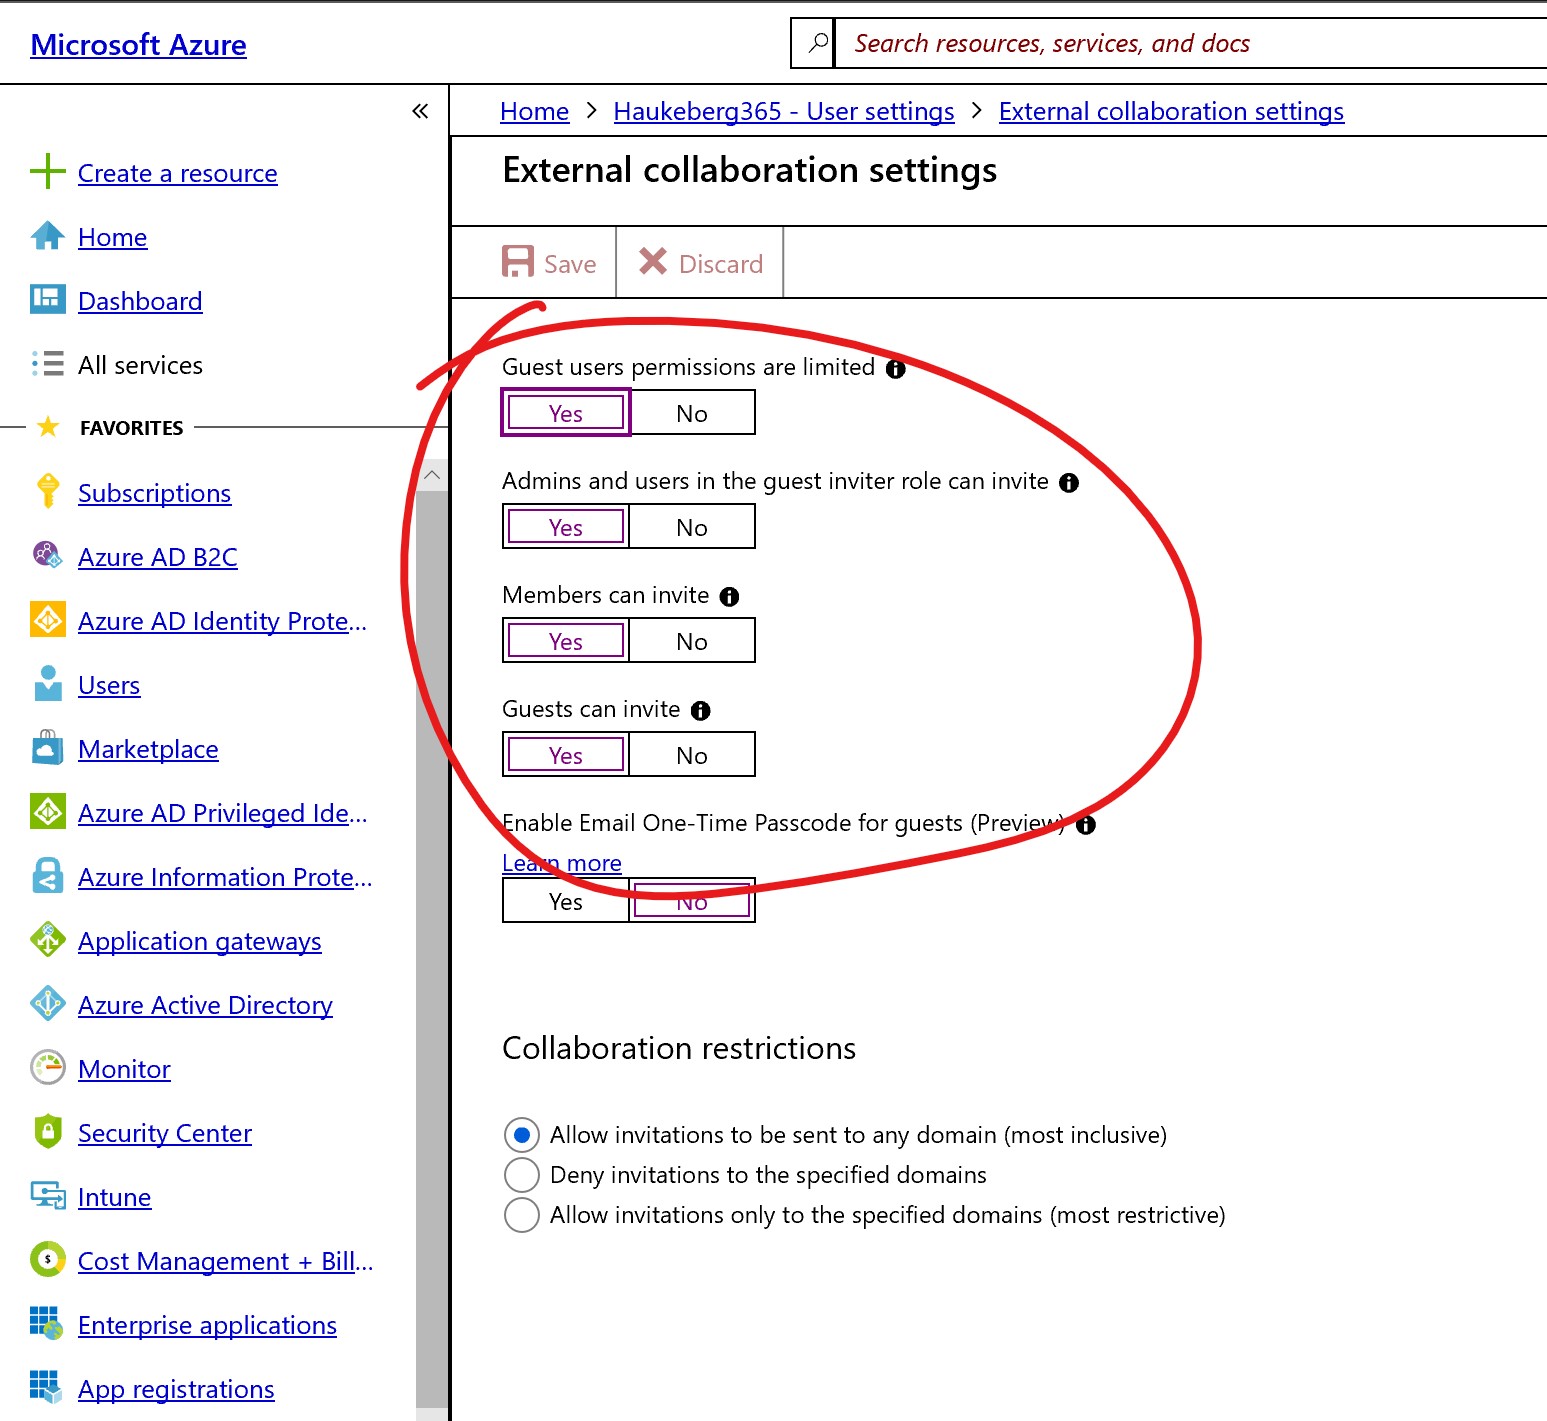
3. Hvis din organisasjon har skrudd av “Connected Experiences” kan du ikke bruke denne funksjonen.

Forelesning med Zoom bot i Teams og Stream

Nå kan du enkelt bruke Zoom inne i Teams rett fra nettleseren for å spille inn forelesningen og lagre den tilbake inn i Teams.

Slik kan det se ut:

Her har jeg laget et eget team for faget og en egen kanal for forelesninger. Alle i teamet kan bli med i dagens forelesning ved å gå til denne kanalen
Foreleser kan starte forelesningen i denne kanalen ved å kalle på Zoom botten. Alt rett fra nettleseren
Etter møtet så tar du innspillingen i Zoom og laster opp i Stream
Her har jeg laget en egen fane i forelesningskanalen som viser en Stream kanal med fagkoden SF-203

Sjekk ut hele videoen her:

How to copy or move a OneNote to Onedrive

If you have a OneNote notebook on your harddrive or on a shared drive like H: or L: etc. it is easy to move it to your OneDrive or OneDrive for Business. This guide will not work in the OneNote App. Use OneNote 2016 to move your notebook then use the app to open it.

Here is what you must do.

  1. Open OneNote 2016 or OneNote 2013 and ensure that you are logged in with your OneDrive account where you would like to store the notebook

2. Open your Notebooks by going to File and find your notebook.

If your Notebook is on your harddrive you will see the “Share on Web” button. If you do not see this button click the “Settings” on the notebook and select “properties” Jump to point 4 if this is the case.

3. If you saw the share button simply click it and select the location and click “Move Notebook”. You are done and you may now use the OneNote App and open the notebook from that location you selected. Remember to log in on your app with the same account.

And you are done

4. If you do not see that “Share” button, click the notebook and click properties

5. Click change location and save it temporarly to your harddrive (or onedrive, if you have synced it)

6. Now you may go back to Step 3 and move the notebook to Onedrive.

How to get complete Microsoft Teams Chat and channel history with eDiscovery

Did someone say something? or Do you just need to document what has been said for later?

Here is how you can use eDiscovery to get chat and channel history. In this guide I use the two following scenarios:

1. I need to find a chat with one certain keyword

2. I need to find all chats with a certain user or between certain users.

Here is what it looks like:

Search result from a private chat
search result from a channel

Here is what you need to do:

1. Get an admin to grant you an eDiscovery Role. You need this in order to view or pull reports. Have a conversation with your organization about having a manager or a reader role. There are plenty of roles to choose from but you MUST have a reviewer role to see the preview-results

How to set eDiscovery Manager premissions
Select the user and remember to click Save.

2. Now it is time to create an eDiscovery Search. Logon with our user that has the new rights (remember, even a global admin needs to be assigned this right. https://protection.office.com is where you log in. Then click “Search” and “Content Search”

Here is what the new search experience look like. You may switch back to the old one if you want to, black circle.

3. It is time to create some conditions in order to scope the search. I have images of two conditions below. One where I lookup a keyword and one where I lookup an user or external user. Remember, dont click save just yet. Jump to point 4 first below these images.

Here it will look for the keyword “Kommune”
Here it will look for a specific users interaction on your tenant

4. Now you may modify where to look in order to minimize the time it takes to run the eDiscovery query. Click on Modify and in this scenario I want the first option only for Microsoft Teams. Check the first slider and click save.

The search can also be scoped to users and groups or even teams inside this location picker.

5. While you run eDiscovery, your administrator will be notified by email. It looks like this:

eDiscovery has been executed by me.

6. I prefer the old eDiscovery preview so I will switch to the old panel in order to browse the results. Then select your search, if you do not see it just click refresh. Now on the right side click “Preview Search results” if your query is large it might take some time for the preview to be avaliable.

Time to get your results
This result will get the latest instance when I used the word “Kommune”

7. If you need an element simply click “Get Original item” and your chat string will be downloaded to you as a *.eml

That is it. Simple but with some clicking.

Dual Content Streams in Teams Live Event

If you have Microsoft Teams and the proper licenses you may initiate a Teams Live Meeting. The technology behind it is described there: https://docs.microsoft.com/en-us/microsoftteams/teams-live-events/what-are-teams-live-events

In all simplicity, you want to stream a presentation to very many participants on a multitude of devices. Anyone can join from wherever.

Here is how you have a synchronized dual view of both a video stream and content stream during your live event.

First start a meeting:


Remember to select Teams Live Event
This part enables recording in Microsoft Stream
Rememer to Turn on your camera here or on the next screen
Select Dual Screen
To add more than video click the share button
Now press “Send Live” and click “Start” Recording starts automatically
This is what your participants can see
Recording starts automatically

Hide Azure Active Directory from users

If any user in your organization decides to use Microsoft Azure, he/she can by default log in at https://portal.azure.com and view the entire AAD catalog with object details. Within their own subscription the user can add a credit card andcspin up resources. The user can also invite users from the corporate catalog. Resources will be billed directly to the user’s credit card if not a subscription from the corporate enrollment has beenggranted.

In order to hide the Azure AD catalog for your organization you may do the following:

You have now hidden your Azure Active Directory from all non-admin users when accessing the AAD blade in the azure portal.

Next you may want to review the guest invitation permissions so users can not invite external users into your organization.

Review the settings here. Don’t be too strict.

Hvordan få Uendelig Office 365 Education Lisenser

Hvis du er en kvalifisert skolekunde av Microsoft så kan du hente ned uendelig antall Office 365 Education lisenser for fakultet og student. Det er anbefalt å skille mellom lærer og elev/student. Noe funksjonalitet er avhengig av at lisensen er riktig.

Naviger til https://portal.office.com

Trykk på “Fakturering” og velg “Kjøp tjenester”

Husk å merk av for “Planer for Utdanning

kjøp planer

Hvis du ikke har kjøpt de før så havner de litt lengere ned på listen. Jeg har kjøpt det før så hos meg står det “Kjøpt” og jeg må trykke på de tre prikkene for å hente flere eller konvertere til “uendelige lisenser

kjøp flere

Trykk på “Endre lisensantall

kjøp eller hent flere

Velg så “Send inn” og du vil nå få uendelig lisenser for Office 365 A1 (Education)

få uendelig lisenser

Du får en oversikt over lisensene dine under “Fakturering” og “Abonnementer

Enable Microsoft Bookings in Office 365 Education

If Microsoft Bookings is not turned on for your organization by default, this is how you enable it.

My tenant setup

  • Office 365 A1 Education / Office 365 Education
  • My user is  a Global Admin
  • Please note that Bookings is a Office 365 A3/E3 feature (I can enable it but not use it)

Step 1:

Navigate to https://portal.office.com

Step 2:

Click on Services and Addins (The image has local language)

office 365 admin portal

Step 3:

Find Bookings in that list and click it

office 365 services and addins

Step 4:

Make sure that the first slider is set to On

Please take a note of the feature in red.

This feature does 2 things:

  1. Enables Facebook login which makes it easier for users outside your organization to book
  2. Enables sharing to social media.

It is by default “Off”. I suggest setting this to “On” if you are only using bookings with users that belong to your Office 365 Organization. Then you force them to use their Office 365 credentials to login and book. If you want external users, consider setting this to “Off”

enable microsoft bookings


Adopted from the Microsoft guide here: Turn on Bookings (Microsoft)

Please se the guide above for instructions on how to turn off/on bookings for individual users.

Blog at WordPress.com.

Up ↑

%d bloggers like this: