
Did someone say something? or Do you just need to document what has been said for later?
Here is how you can use eDiscovery to get chat and channel history. In this guide I use the two following scenarios:
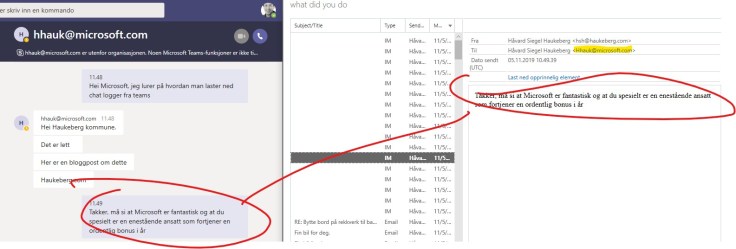
1. I need to find a chat with one certain keyword
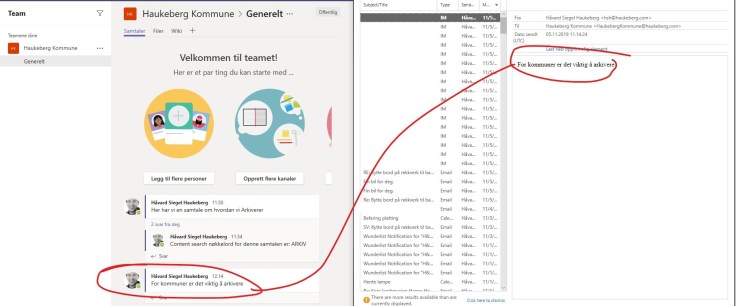
2. I need to find all chats with a certain user or between certain users.
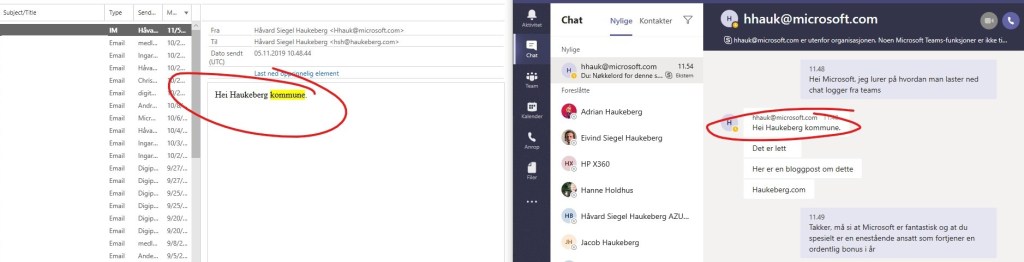
Here is what it looks like:
Here is what you need to do:
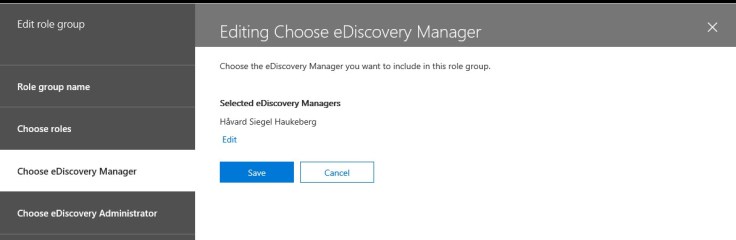
1. Get an admin to grant you an eDiscovery Role. You need this in order to view or pull reports. Have a conversation with your organization about having a manager or a reader role. There are plenty of roles to choose from but you MUST have a reviewer role to see the preview-results

2. Now it is time to create an eDiscovery Search. Logon with our user that has the new rights (remember, even a global admin needs to be assigned this right. https://protection.office.com is where you log in. Then click “Search” and “Content Search”

3. It is time to create some conditions in order to scope the search. I have images of two conditions below. One where I lookup a keyword and one where I lookup an user or external user. Remember, dont click save just yet. Jump to point 4 first below these images.
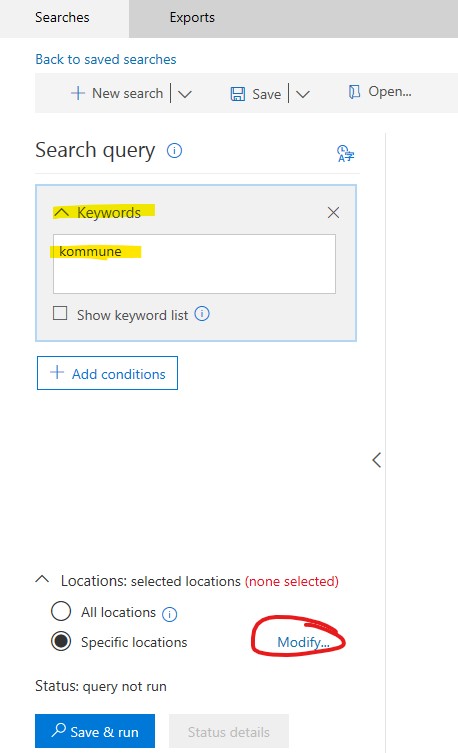
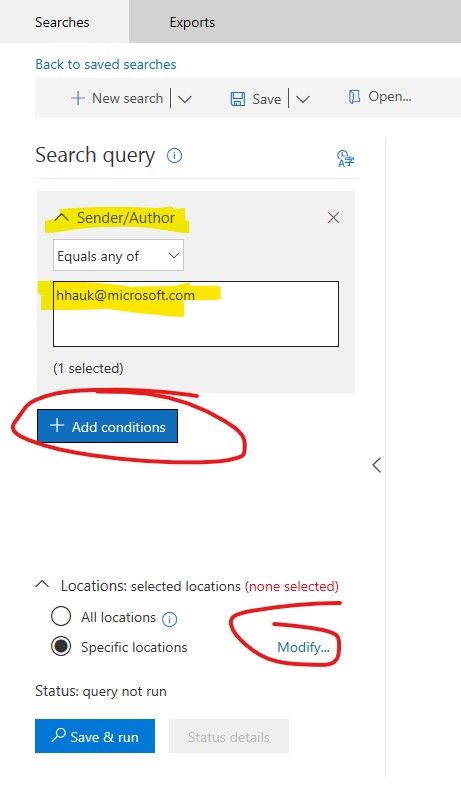
4. Now you may modify where to look in order to minimize the time it takes to run the eDiscovery query. Click on Modify and in this scenario I want the first option only for Microsoft Teams. Check the first slider and click save.

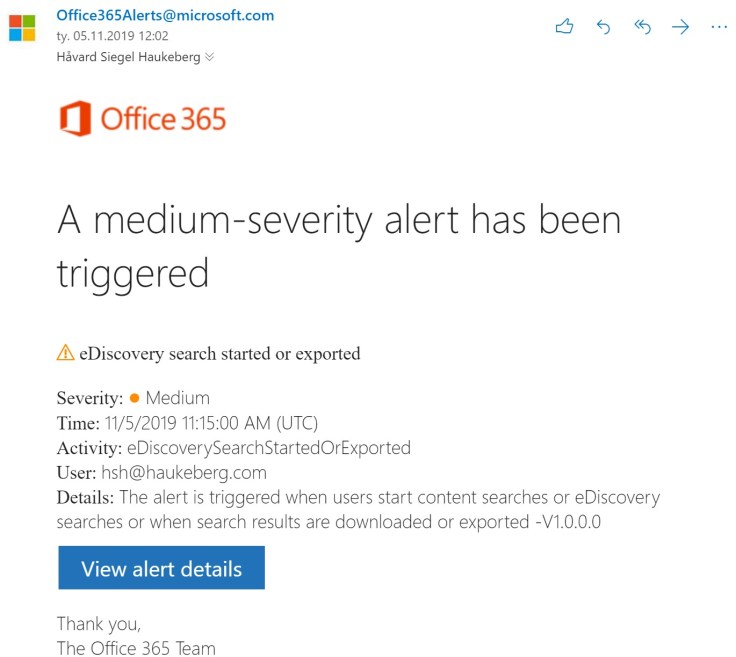
5. While you run eDiscovery, your administrator will be notified by email. It looks like this:
6. I prefer the old eDiscovery preview so I will switch to the old panel in order to browse the results. Then select your search, if you do not see it just click refresh. Now on the right side click “Preview Search results” if your query is large it might take some time for the preview to be avaliable.


7. If you need an element simply click “Get Original item” and your chat string will be downloaded to you as a *.eml
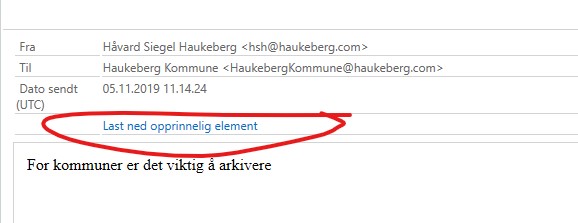

That is it. Simple but with some clicking.

Leave a comment