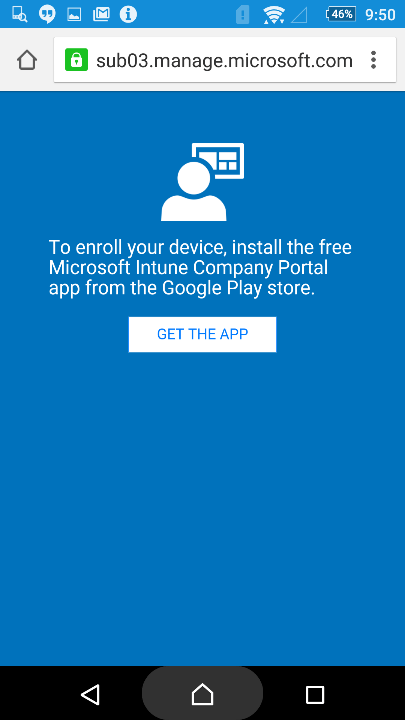
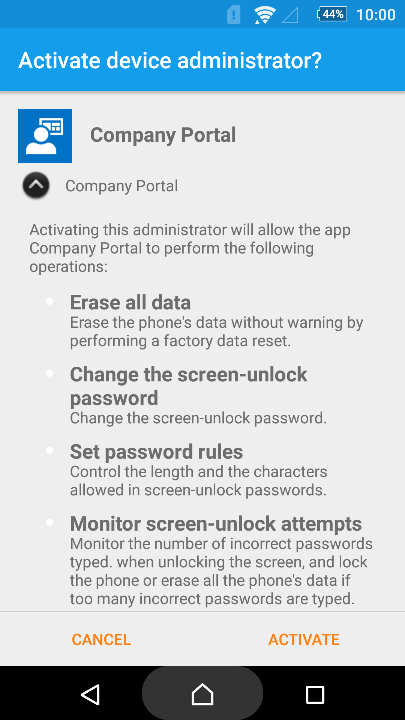
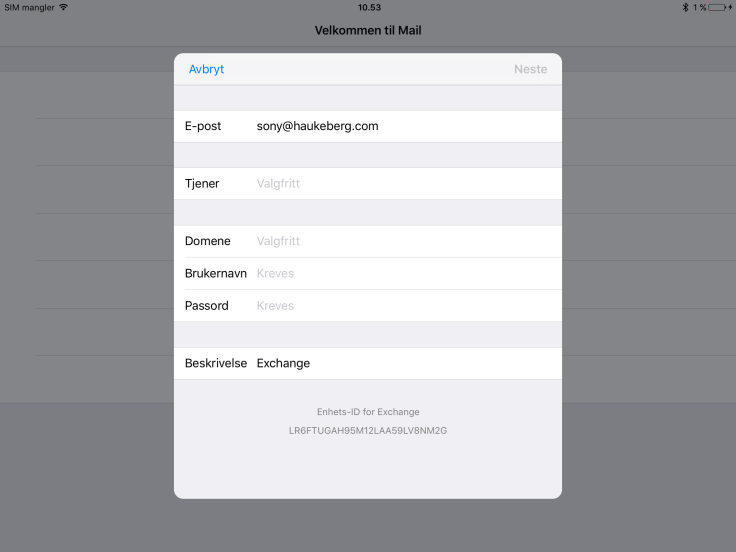
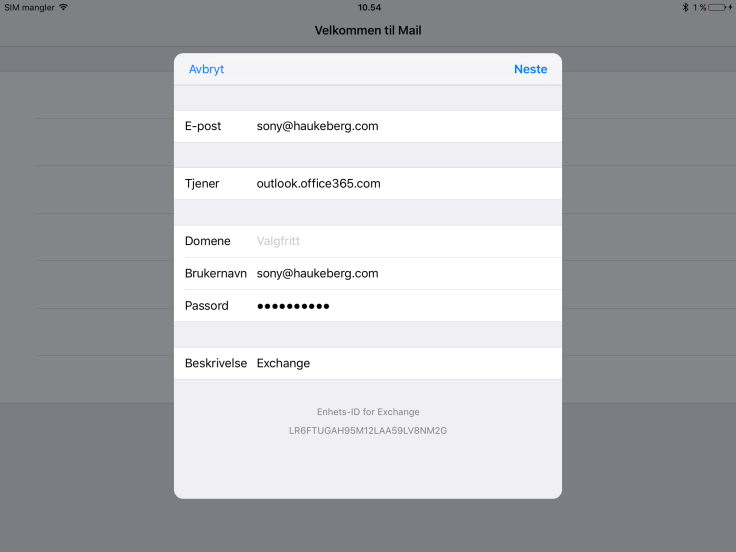
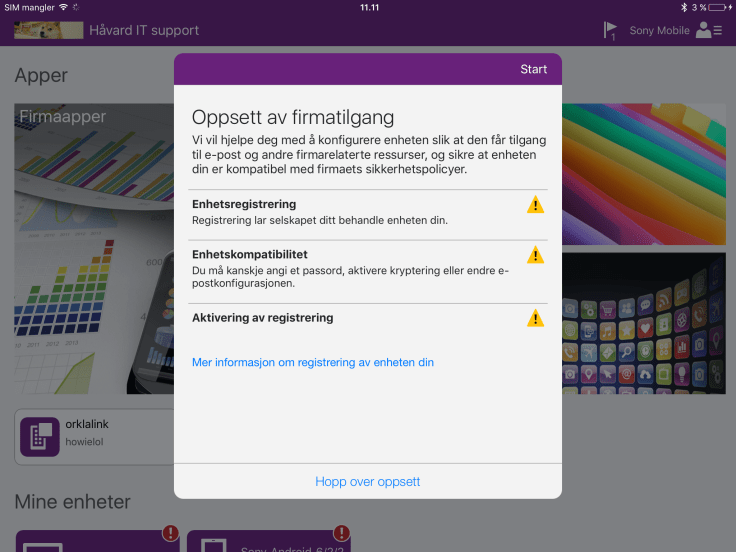
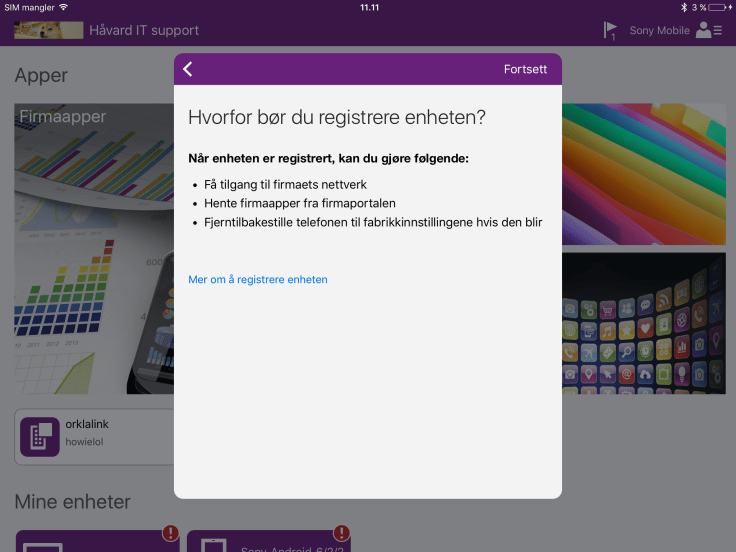
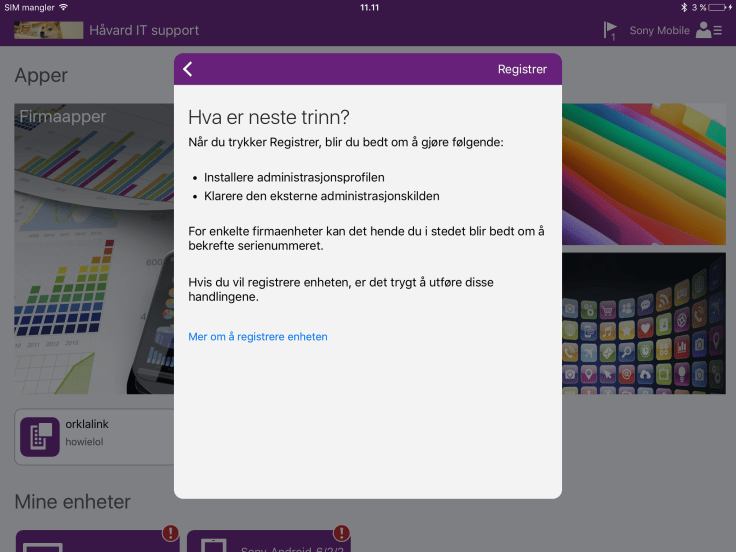
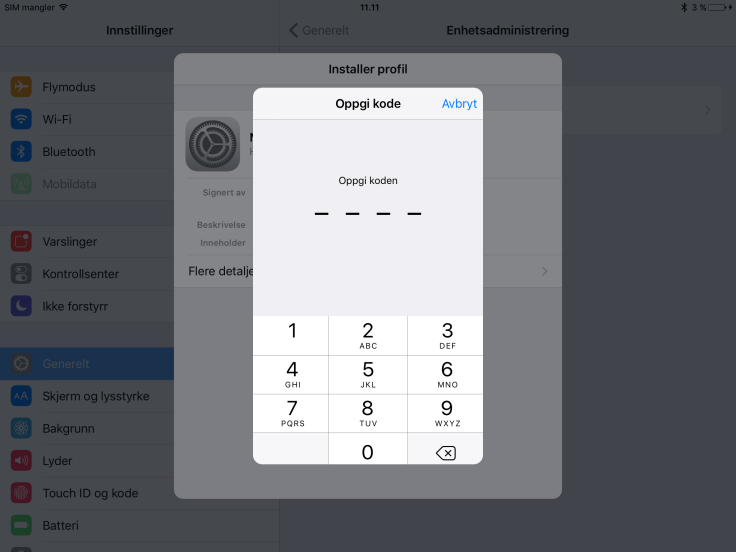
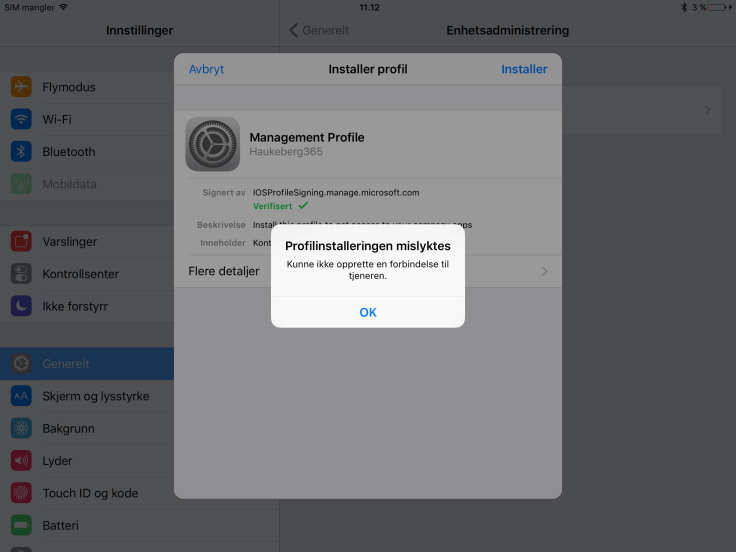
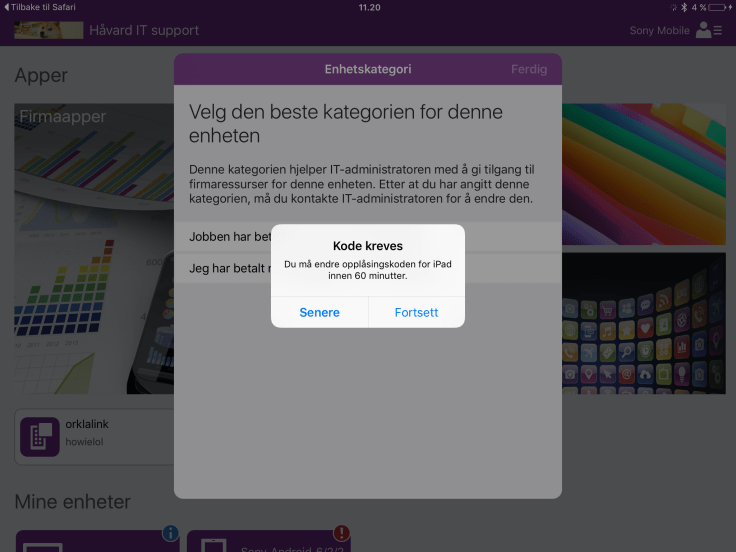
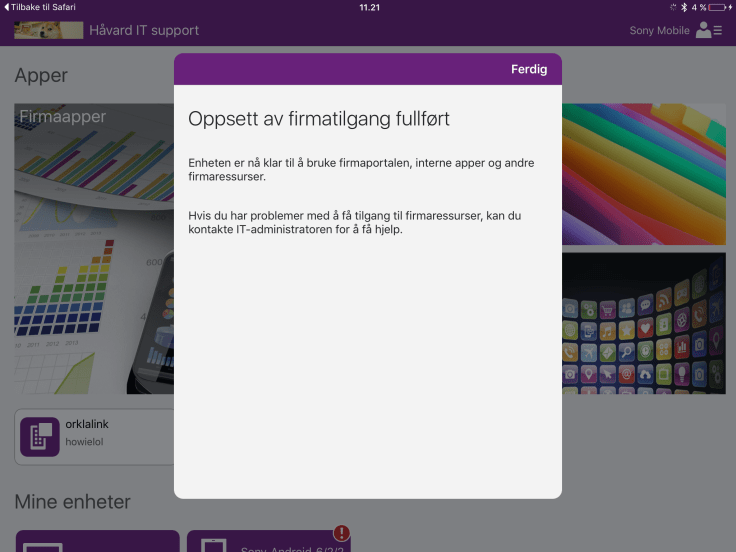
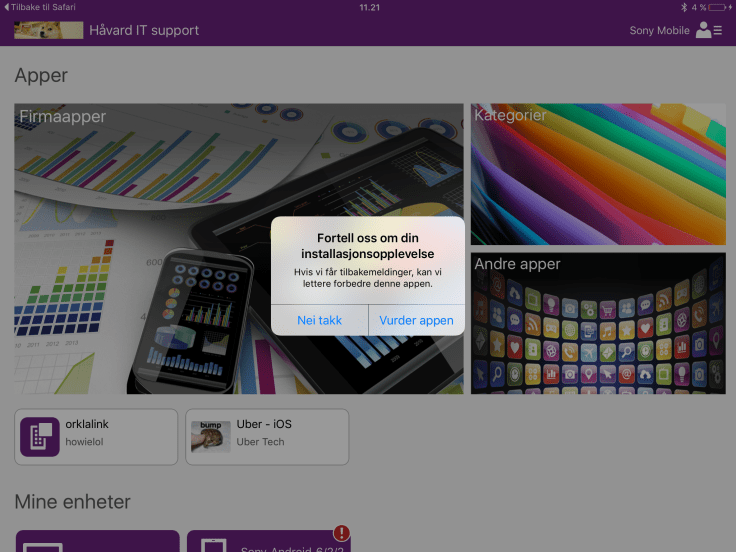
First let me start of by saying that almost all android phones are different in respect to enrollment. These screenshots are taken on a Sony Device. The most complicated part with Android is that the End User have to fix the compliance settings yourself.
How good are your users?
e.g. as seen here the end user need to set the pin-code him/herself to be compliant. Make sure that your users can do this themselves before you start.
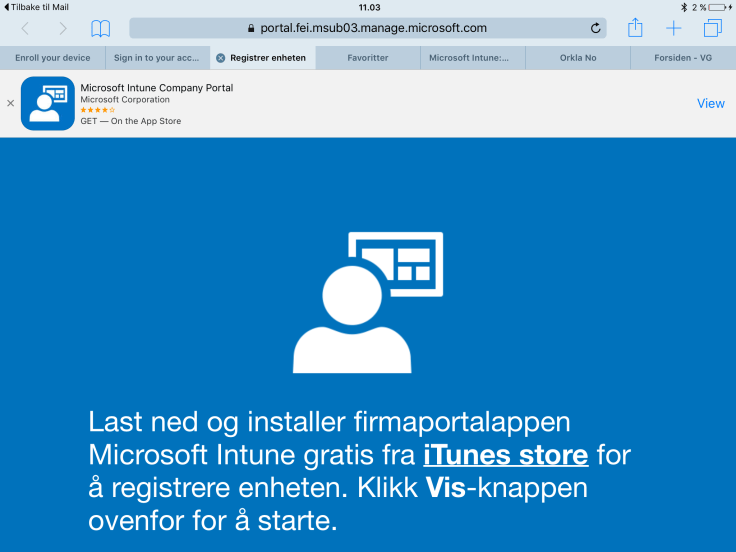
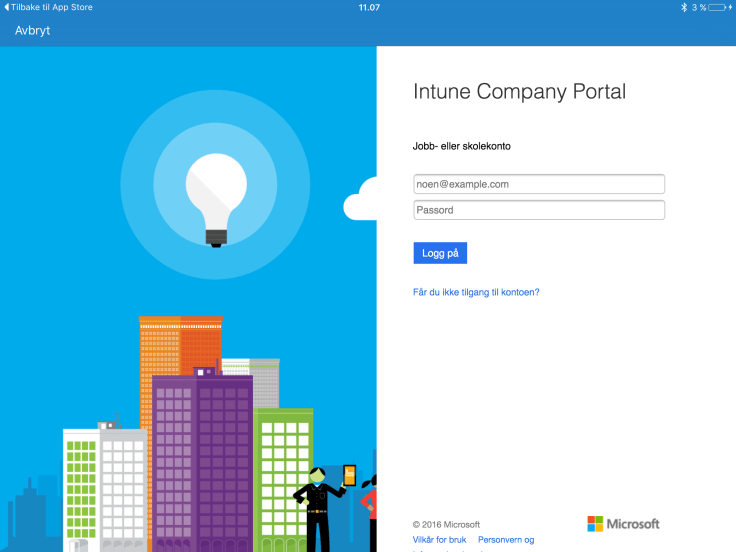
Picture by picture guide
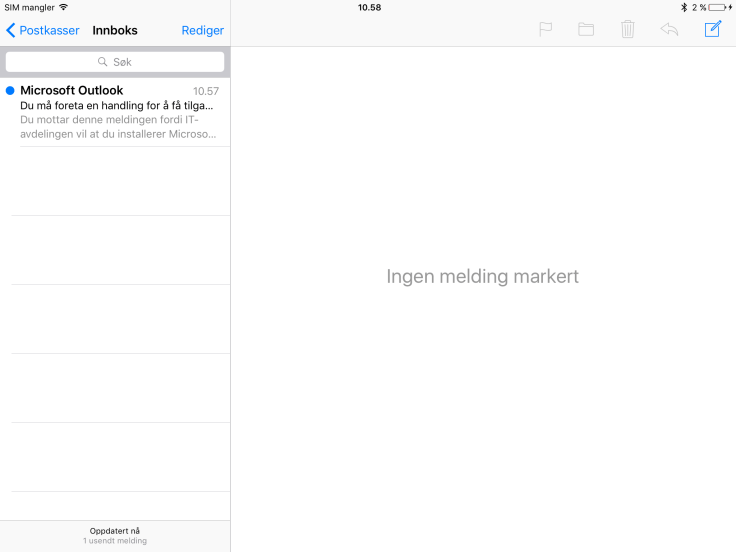
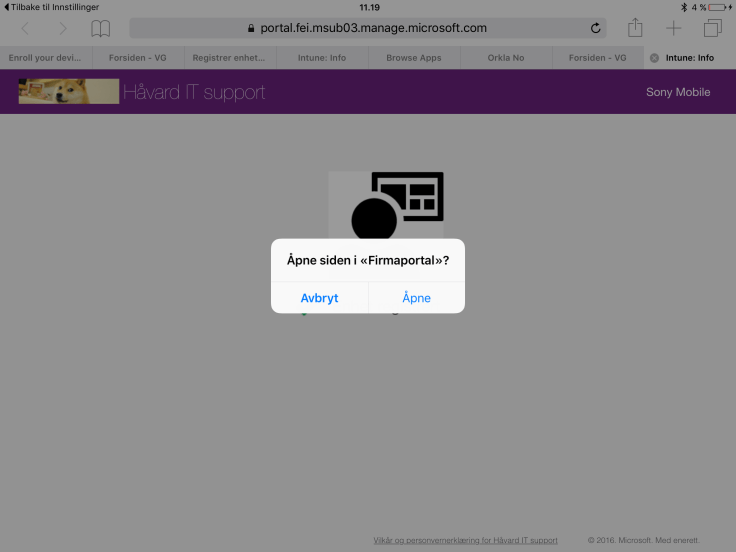
Here is how you as a end user will experience Intune in your organization
If you are an IT admin, check out this guide on how it looks like for you in the Intune Portal
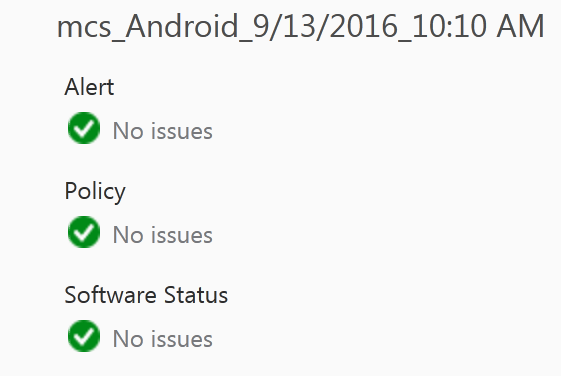
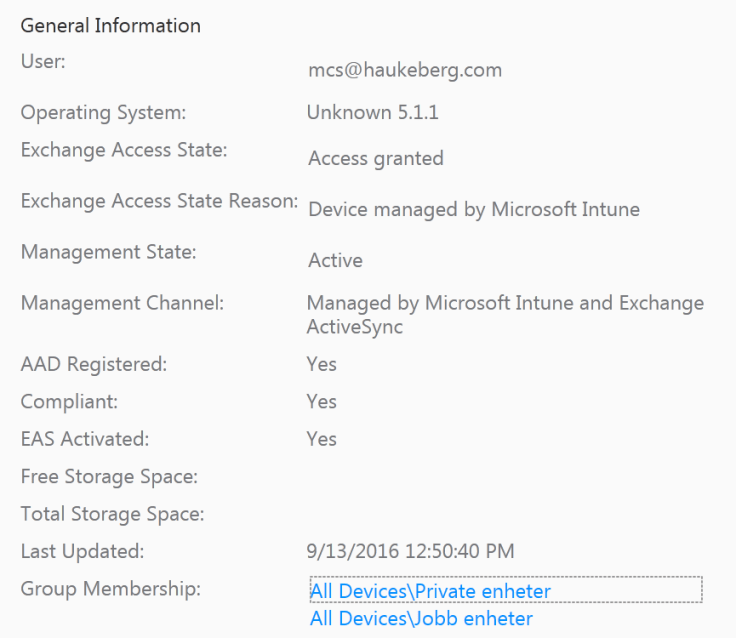
This device is healthy and should have access to email and does not need attention.
If you need device info, the Intune MDM agent will pull information from the device and display some of it here in the general info tab just right to the health status
Just some of the info pulled from Intune
There are many different Android phones out there. They all provide info to Intune MDM differently. Here Sony is not able to convey the OS name correctly to Intune.
Not all android phones report OS correctly
In the device list you can see and sort the list of devices on most of the general information.
Sort and find your device
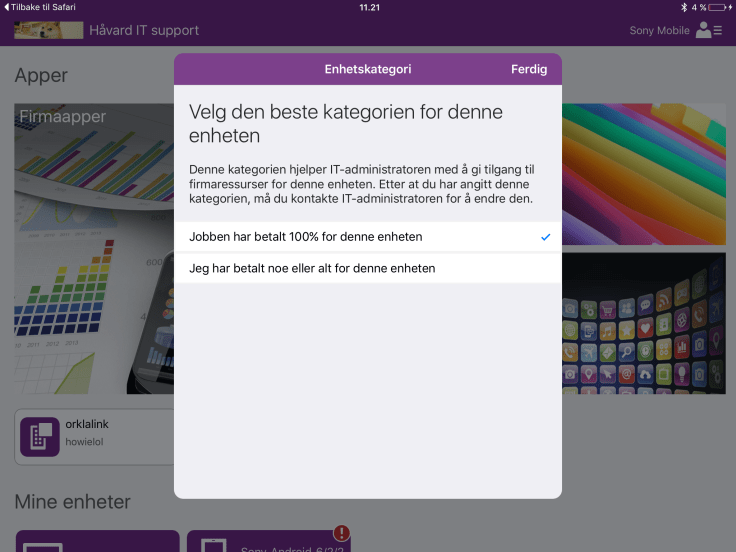
When the end user enrolled this Sony Android Device he was prompted to group his device himself into a group. This group is displayed here. I have named this group myeself in the Intune portal. You could name it anything other than personal if you want to.
Device Group Mapping
Management channel should be set to intune or intune and EAS when your device is enrolled. We should also se the Compliant status. If it is not compliant, check your compliance policies in intune policy tab or make sure that you have made the device compliant e.g. enabled PIN or encryption/screen lock +++
If your device is not compliant it will be blocked from exchange when you run Conditional Access.
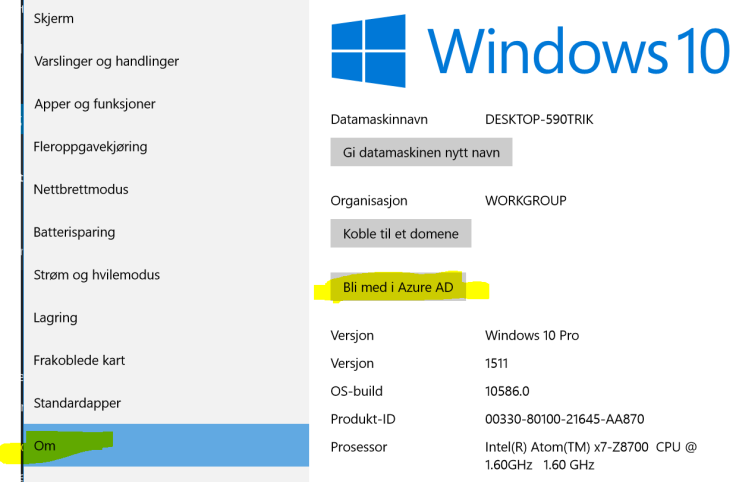
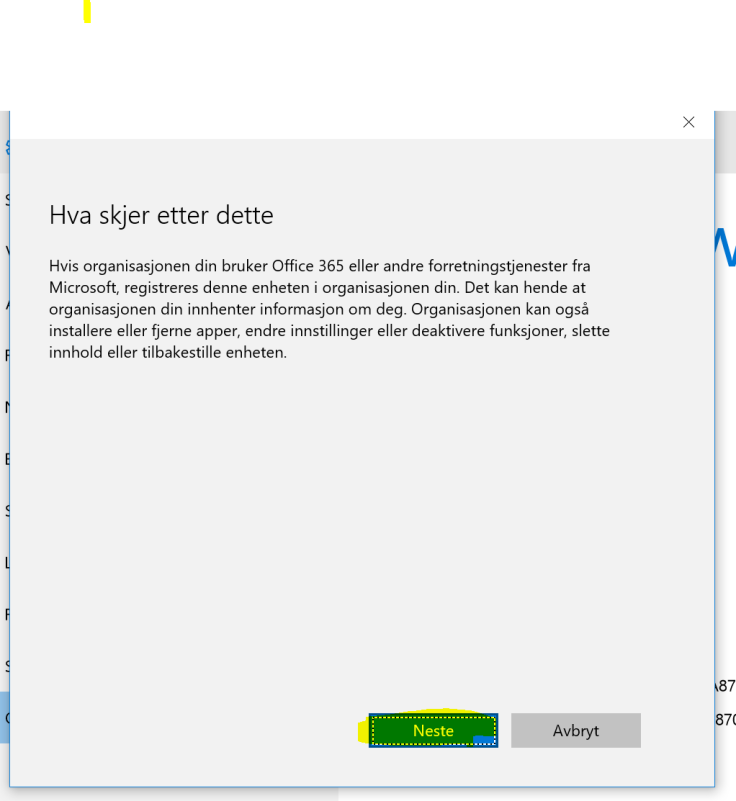
This is how you both join Azure AD and enroll for MDM. Your admin need to have configured Automatic MDM enrollment into intune over at http://manage.windowsazure.com for this to work.
Disclamer from WindowsNote how my icon and text have been pulled Down from Office 365Azure MFA gatewayCustomizable Policy template for Your org
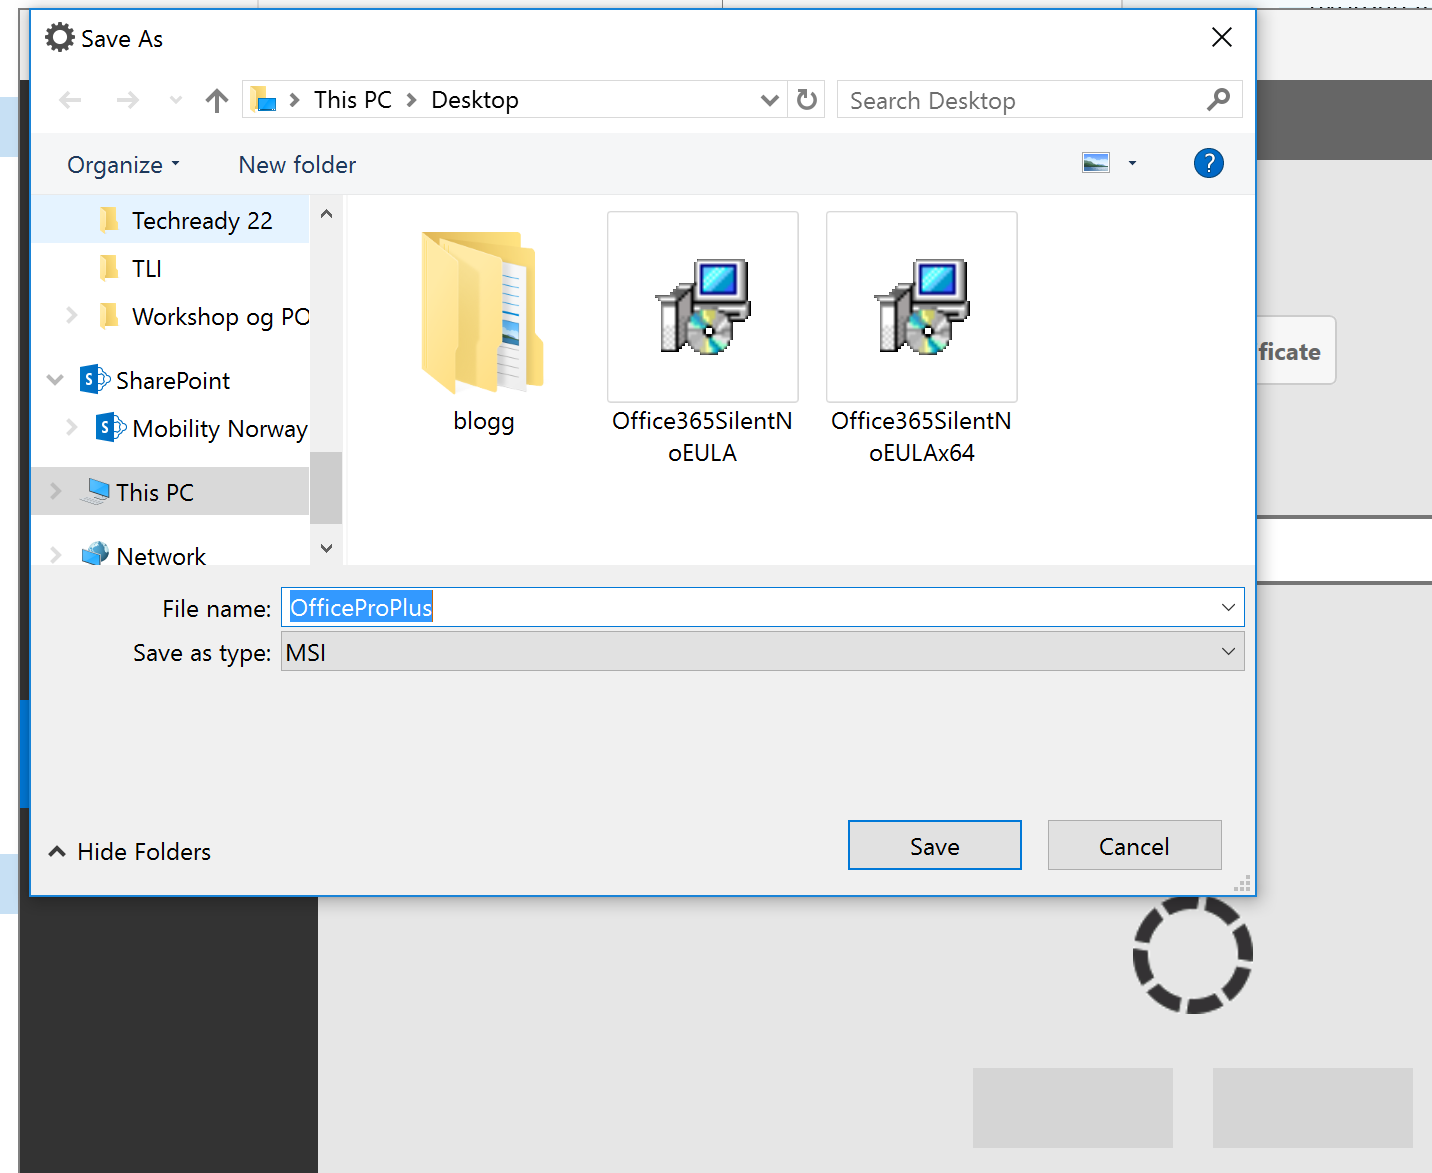
If you want to use Microsoft Intune to deploy a MSI file it needs to be signed by a Code Signing Certificate. Most MSI’s from software vendors are signed already, but if you created a custom MSI (e.g. Office 365) by wrapping an EXE then you need to sign that MSI.
Using a MSI will enable Intune to push that software using the MDM channel. All MDM joined PC’s will be able to recieve this software.
Scenario this covers: I want to use Microsoft Intune to deploy apps and exe files to PC’s e.g. Office 2016/Custom Software
Step 2 – Download and Install Windows 7 SDK to get the signtool.exe get the SDK from here: https://www.microsoft.com/en-us/download/confirmation.aspx?id=8279 ->Accept all defaults and do not change anything. It will prompt errors
->Check that you have the signtool.exe in this folder: C:\Program Files\Microsoft SDKs\Windows\v7.1\Bin
Step 3 – Get your certificate exported in a PXF file. and put it in the same folder as your MSI file.
Step 4 – Run CMD as administrator and input this command:
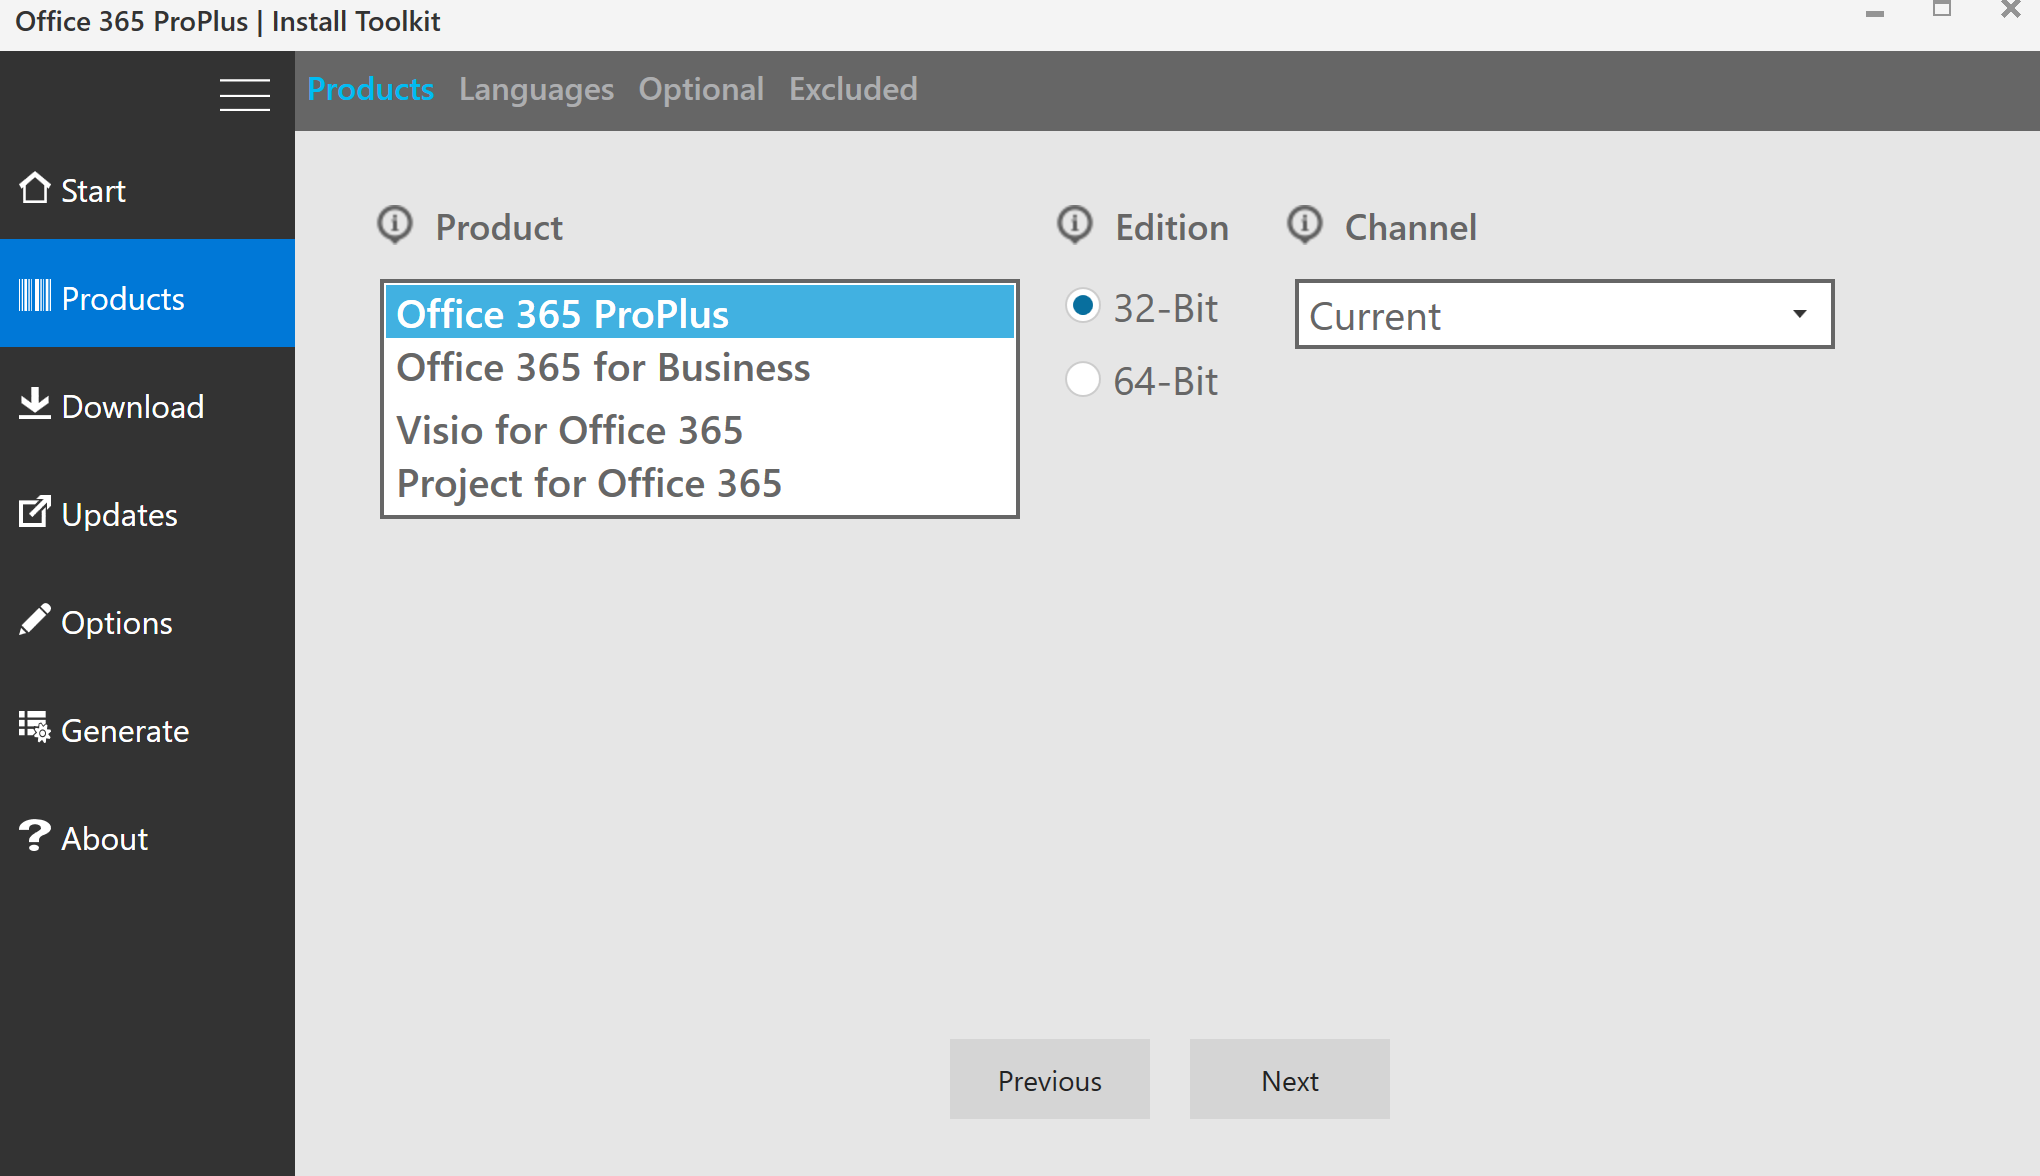
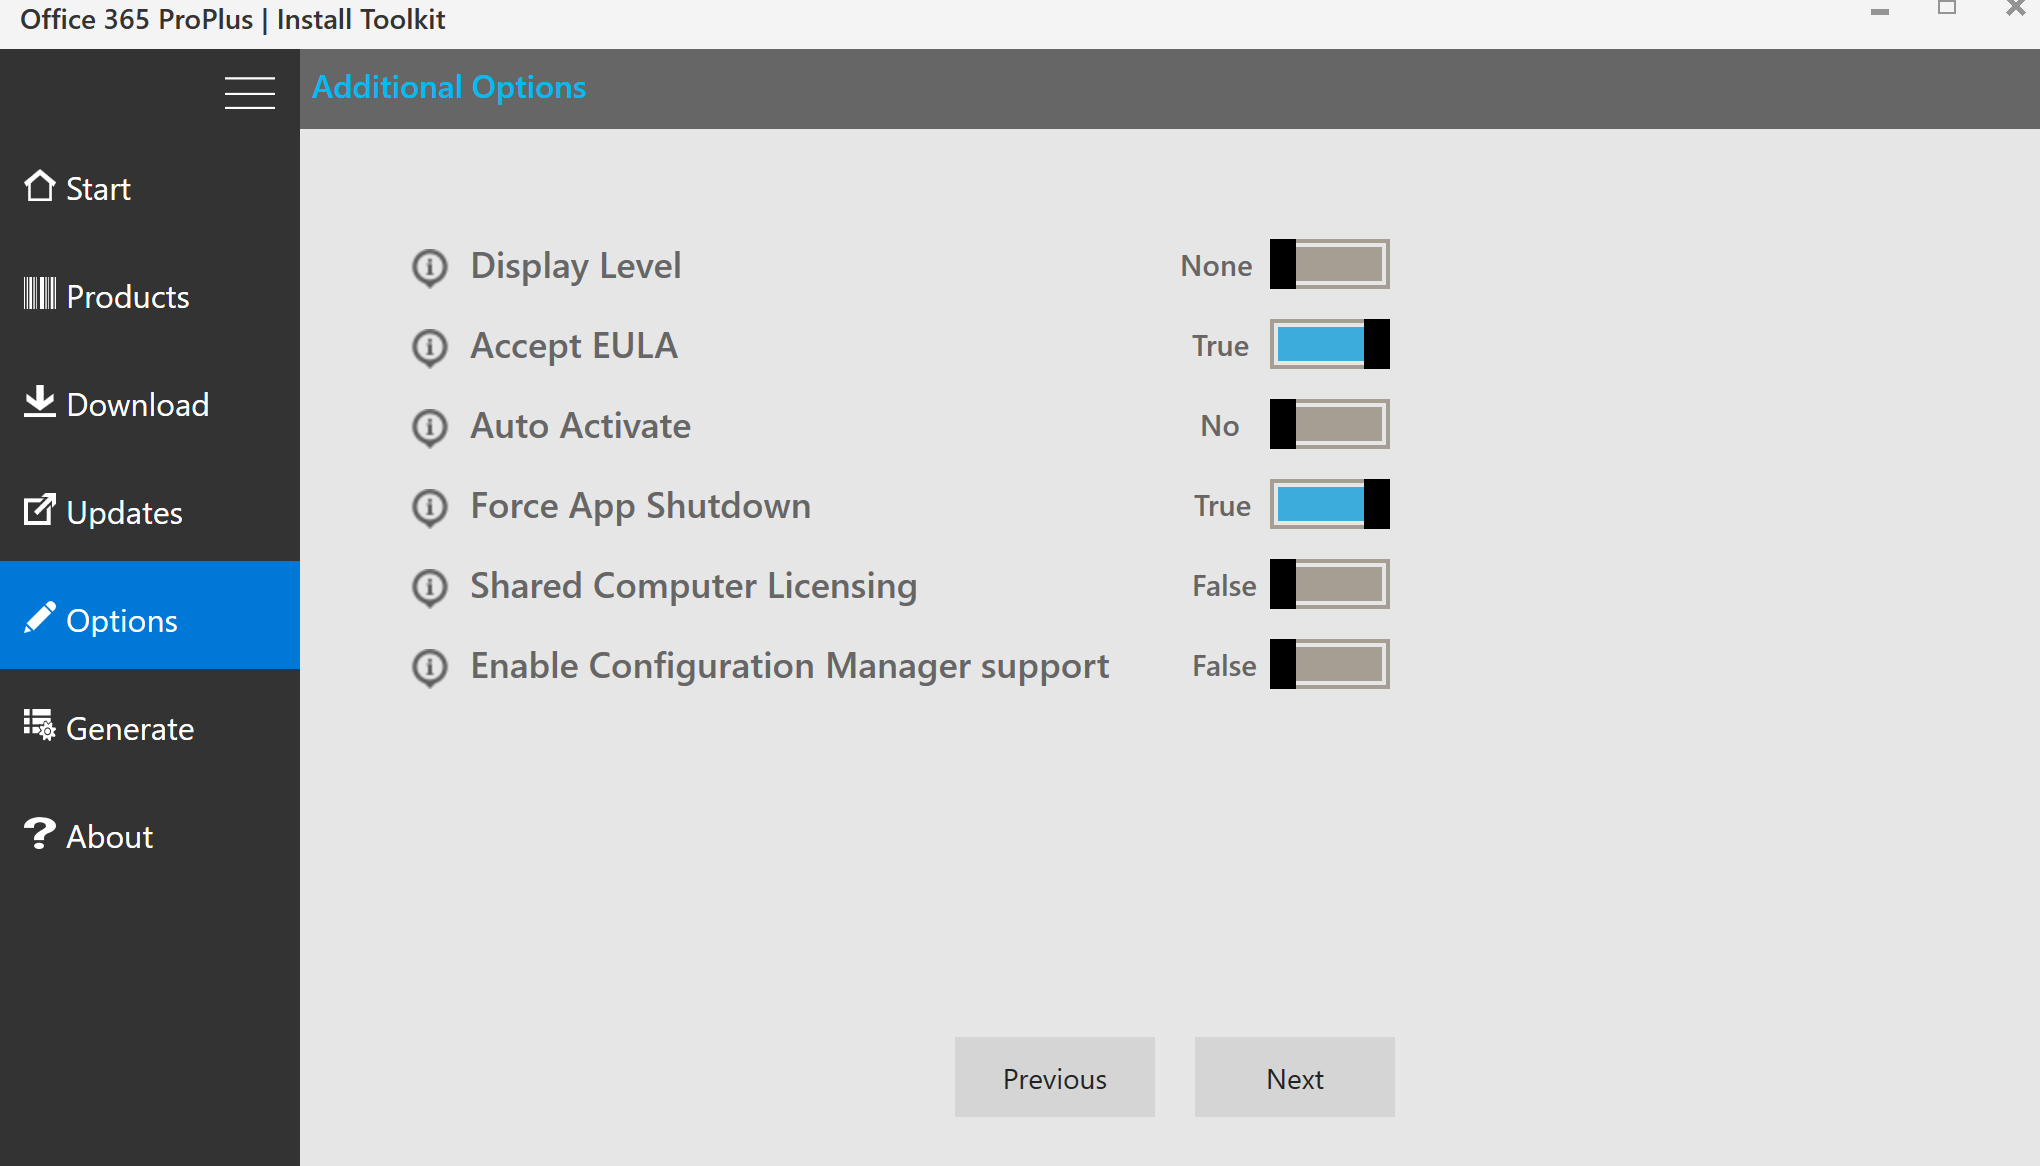
Click Install GeneratorLaunch it and install itClick Start NewSelect 32 bit if a fresh install, if you have 32 bit installed you can not select 64 bit.Feel free to add a lanugageJust click NextRemove stuff you do not wantEnsure you have the right edition or mabye you want to add 64 bit?Of course you want automatic updates. Click nextMake it real silent. Don’t do Auto ActivateNEW: Self signing certificate. Remember to check and generate. If you do not do this there will be a UAC promptCould be anythingGive it a name and click save
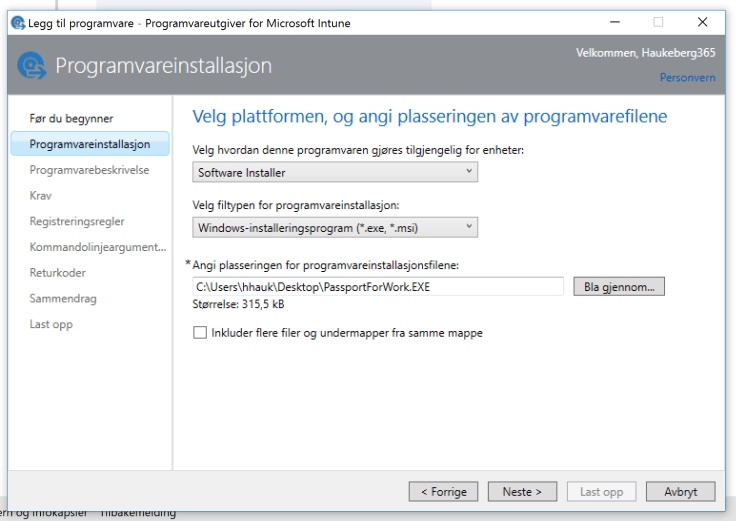
you should be ready to deploly that script to computers running the Microsoft Intune Management Agent. The Intune MDM channel does not support EXE, only MSI.
Log into Intune and go to AppsSelect Software Installer and select EXE then browse for the EXE
Follow the Wizard.
You are done. Now you need to move the user or PC into that group for deployment. Deploy to all PC’s? apply to all computers instead of a group.
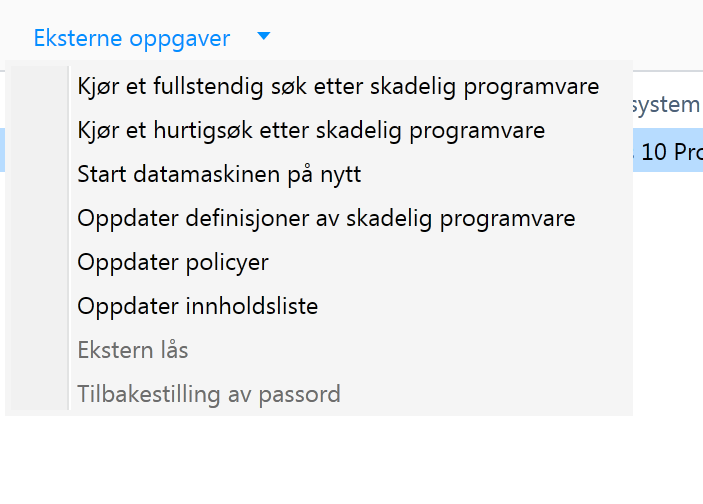
Venter på å kjøre scriptManuelle oppgaver som kan gjøres på klienten
You can join Azure AD and use the Intune device agent for MDM and not the MDM channel when you enroll. It is a bit tricky and require manual touch on the device.
The best experience is to include the Intune agent in the Windows Image. If can not do this then here is how:
You need this:
Azure AD Enrollment Administrator
Microsoft Intune Agent on USB
Windows 10 clean install (OOBE)
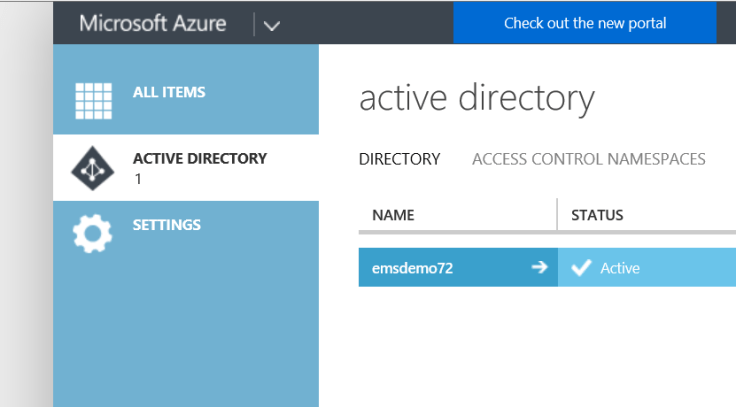
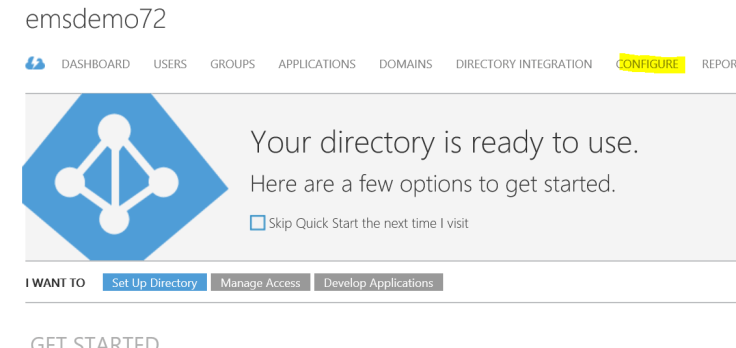
Configure Azure AD to only MDM enroll
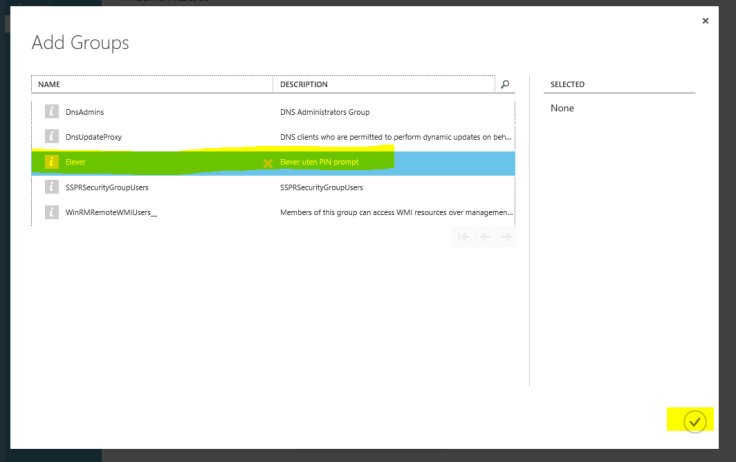
Create a group for Security Group with all students
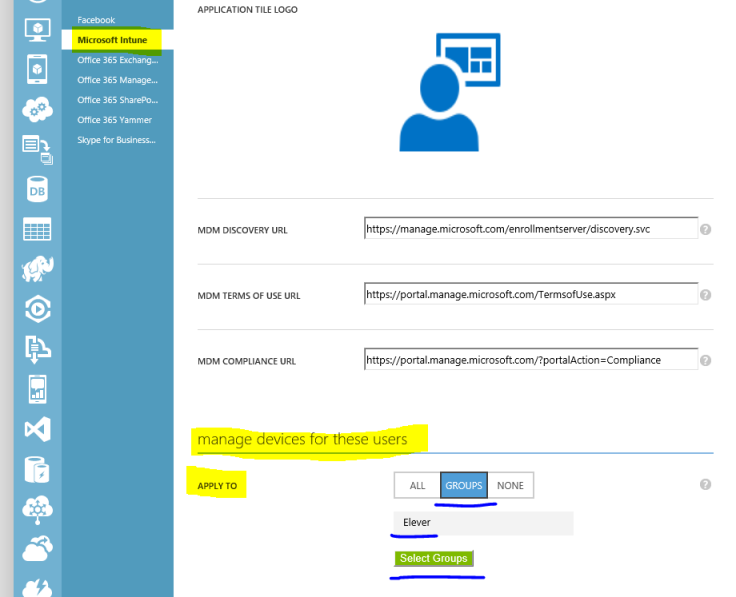
Target Intune to only do MDM for that Group
Optional: Passport for Work registry disable script
Under manage devices for these users, select Groups then browse and select the all students group. Select it and click on the check mark. Click Save down on the bottom bar.
In Intune:
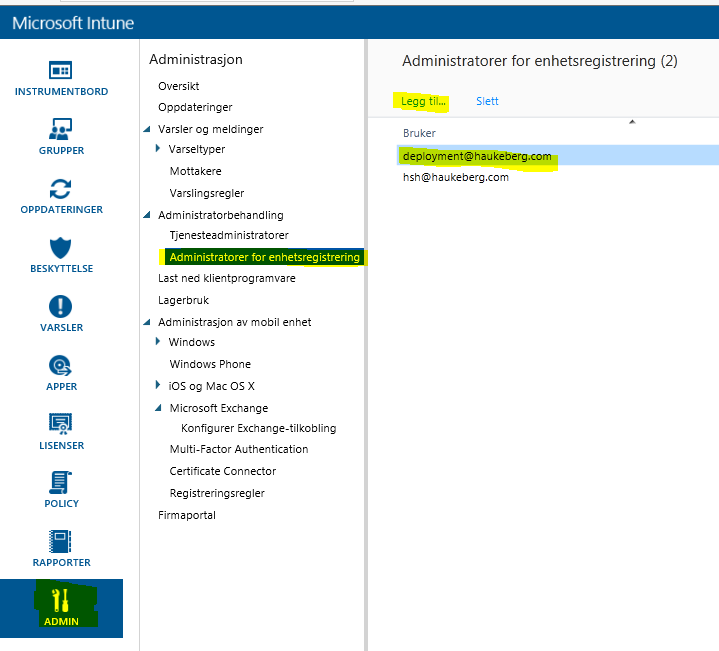
Create an enrollment administrator in the Intune Console
Go to ->Admin->Administrator->Device Enrollment Administrator Enter an Azure AD user as a device enrollment admin e.g. deployment@yourdomain.com
*Create group for the devices that the Device Enrollment Administrator is a part of so that all his devices get targeted for a script.
*Disable Passport for Work by pushing a Script to that group. This script Disables Passport for Work on the local machine so that you do not need to enter a pin.
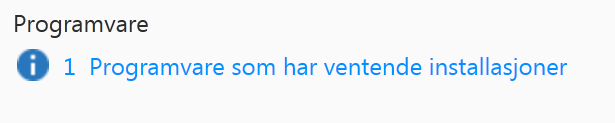
*One client is visible in Microsoft Intune you need to either distribute the software on all clients or on a client that you manually move into a specific group.
That software will be pushed down in time. you may force the install on the device by pressing install on the client or refreshing the policy in Intune.
Get the Intune agent from Admin->Download Client Software and save it to a USB stick.
*Only nessecary if you want to disable the “Create PIN promt” on login.
Enrollment Admin Creation
On the Device:
Boot the clean device.
Under the OOBE experience Select “My company owns this Device”
Log on with that enrollment administrator and complete the setup.
As the admin you will be challenged with a PIN prompt and you need to verify so bring your phone.
Plug in USB and run the EXE file. Remember you need both the EXE and that small certificate file to be in the same folder for the enrollment to be toward your account.
Let the machine sit if you can. The longer it sits, the more stuff will be downloaded so your next user do not have to wait.
Log of your enrollment admin and give the PC to the students and let them log in with their user that is in the Student security group.
The next user that logs on will be a standard user.
He/She will be prompted for a pin but it can be bypassed by doin this:
When you have more users than devices or users share devices and you only have Azure Active Directory the ability to switch users work a bit differently.
The first user that you enroll with will be an Administrator, all subsequent users will be a Standard users.
Microsoft Intune will block any user to enroll a multitude of devices. The limit is set in Azure Active Direcory at 20 Devices. You can change this.
To do this keep in mind that you need to be an Administrator:


You must be logged in to post a comment.