Search

Håvard Siegel Haukeberg

Paste life: Ctrl+C -> Ctrl+V

Tag

Azure AD

Switch Directory/Tenant for Azure subscription

Do you have Azure subscription for your organization and decided that you would like to test something out, but you do not want to mess or include users from your current Azure AD?

Well simply switch the user directory. This is perfect if you have a test Office 365 tenant or a testing environment and would like to test azure features with that directory.

Here is how:

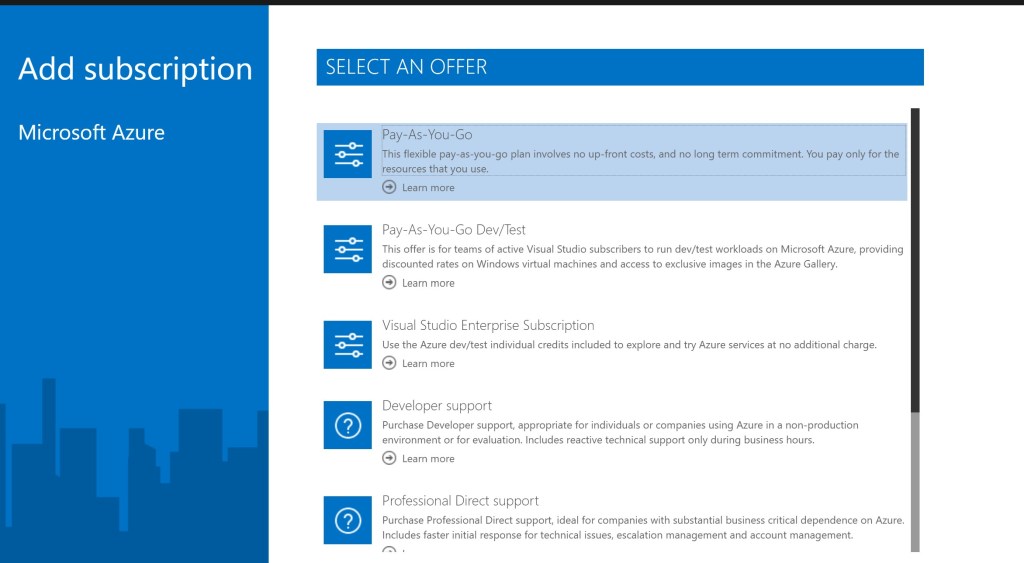
  1. Create a new subscription in Azure portal
  2. Give that subscription to the user in your environment that is responsible for the subscription by adding him as an owner
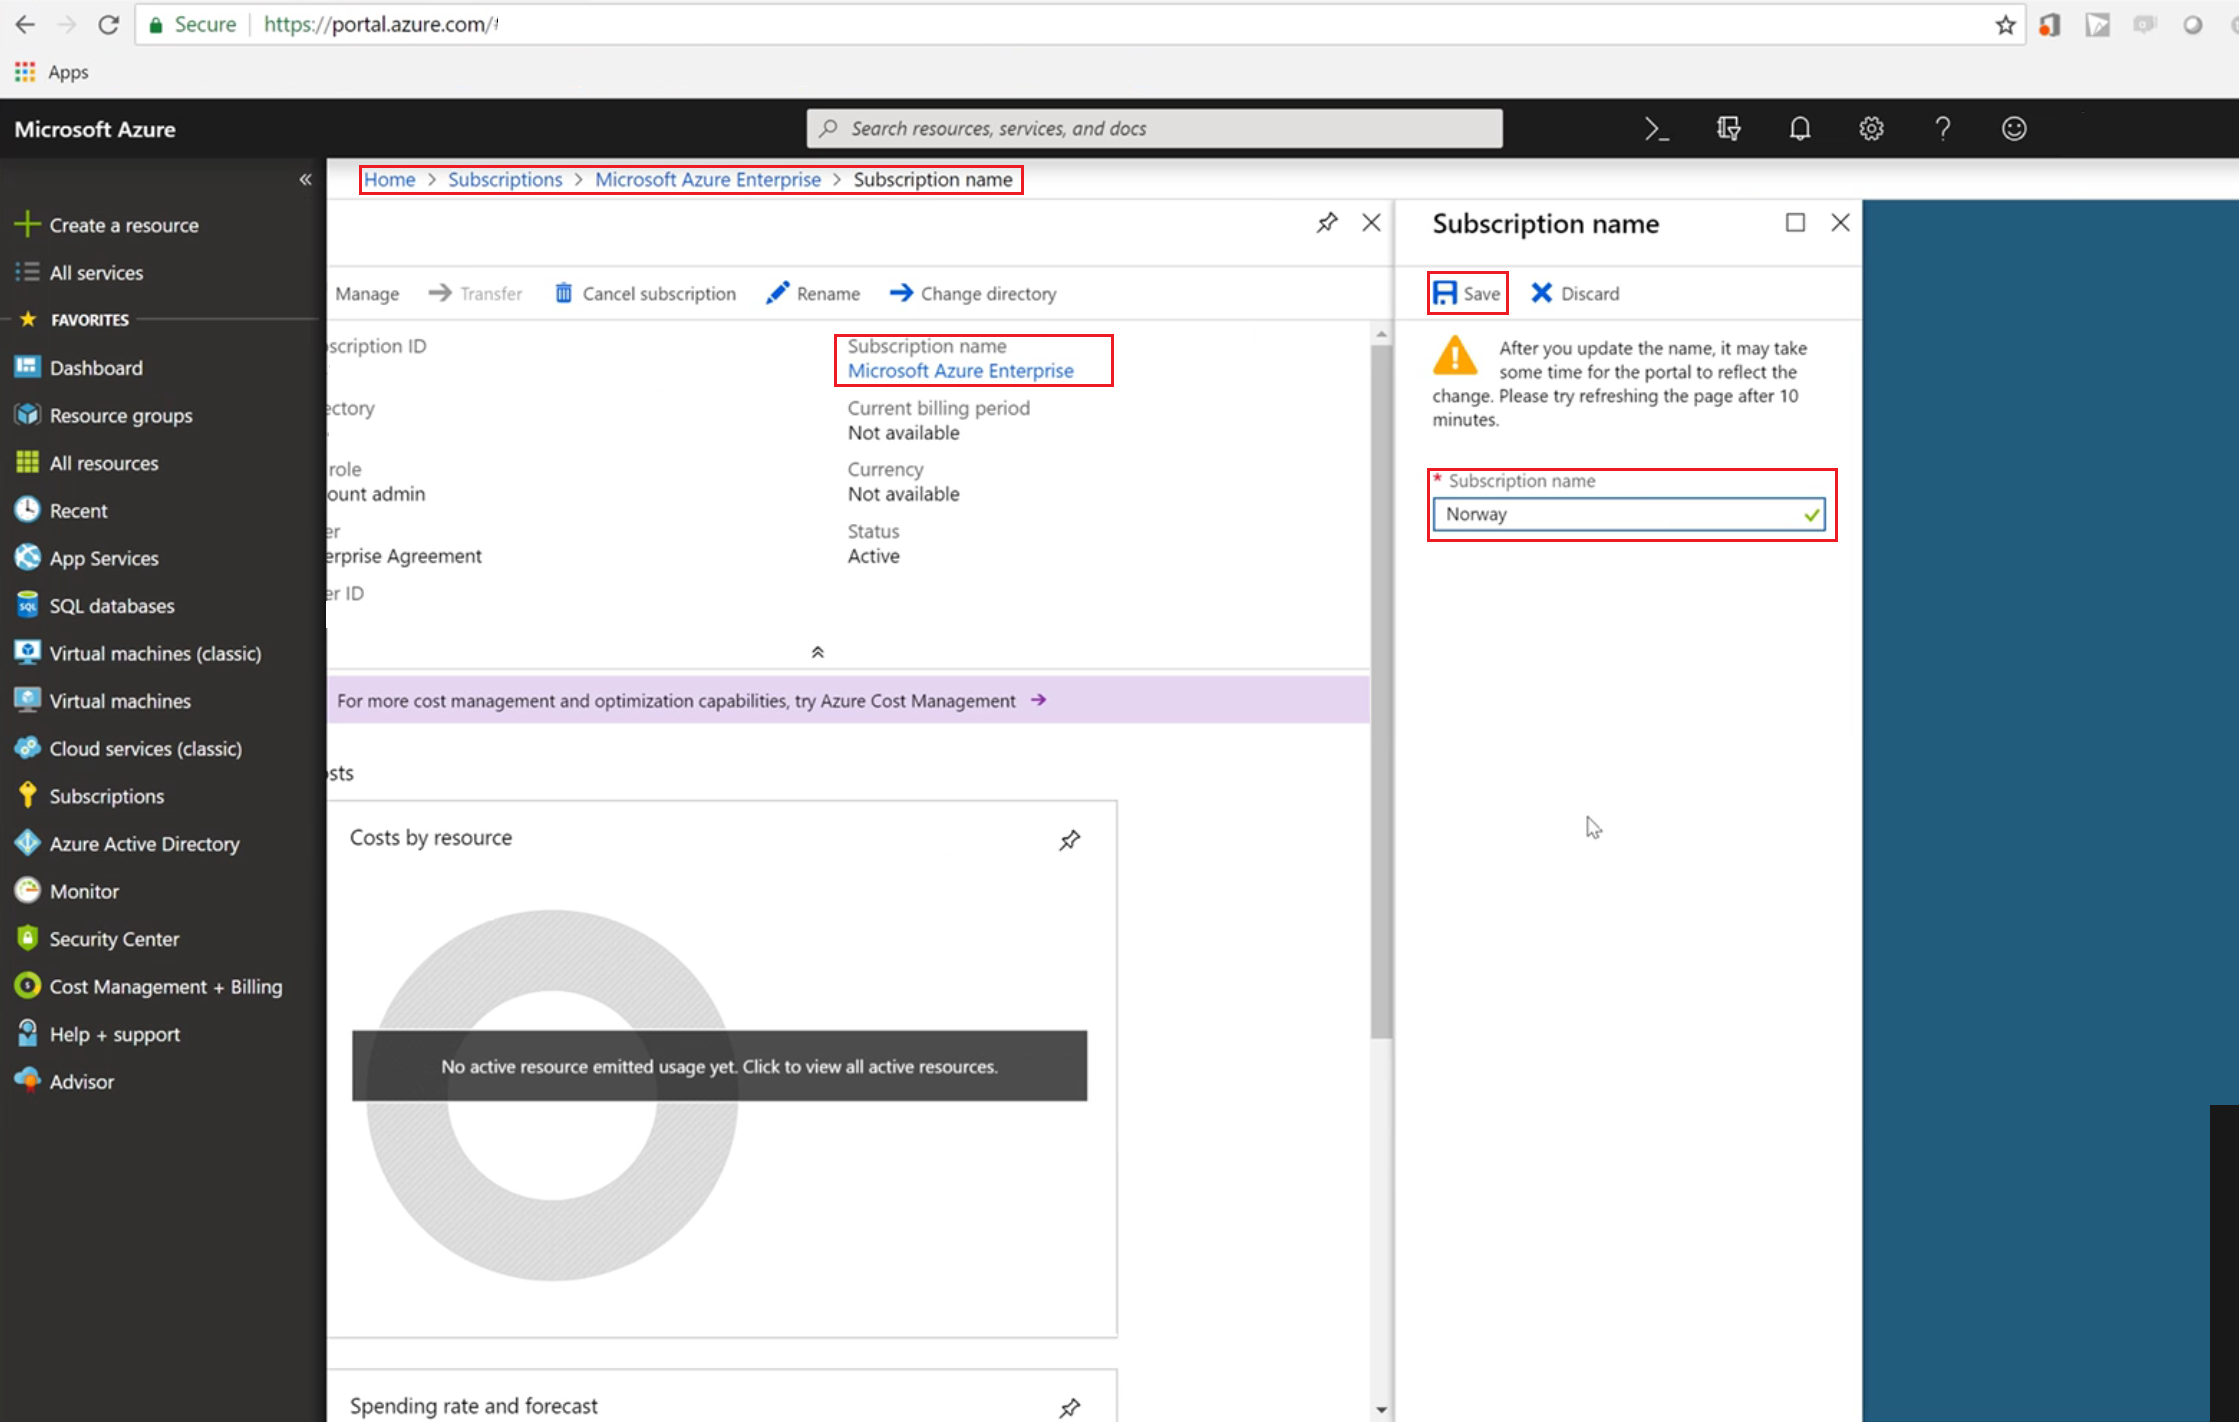
  3. That user logs on to azure portal and navigates to Subscriptions
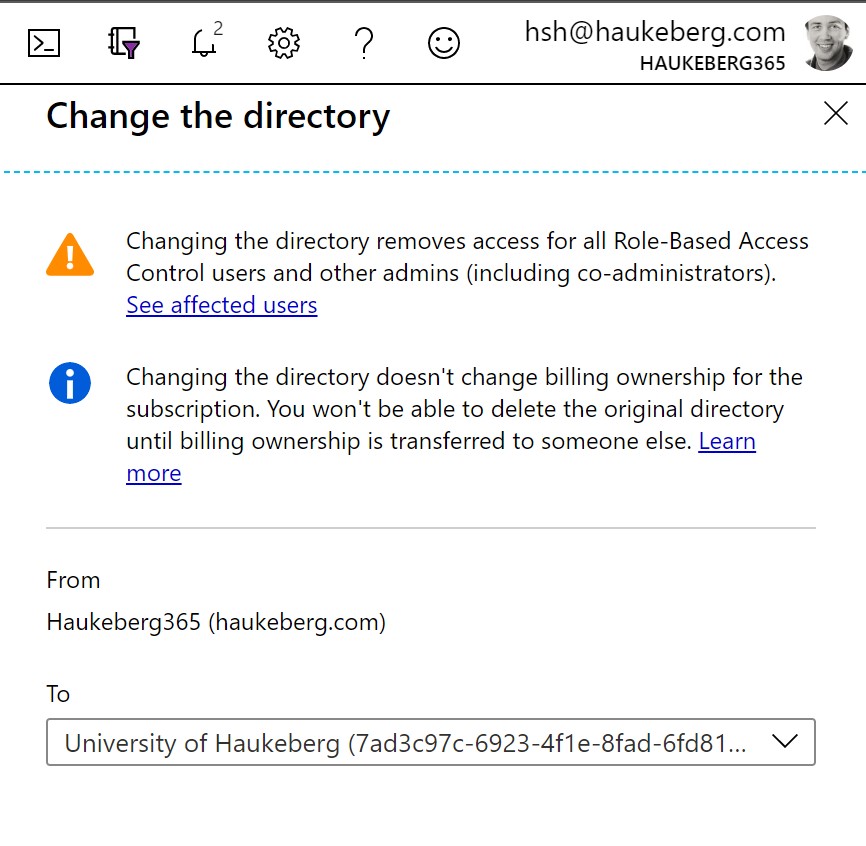
  4. Click on the subscription and select Change Directory / Bytt Katalog
  5. Select your new user catalog
  6. Log out and log in to the other directory (or click your profile image and click change directory
  7. Under Subscriptions you should see it.

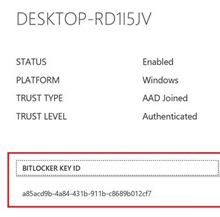
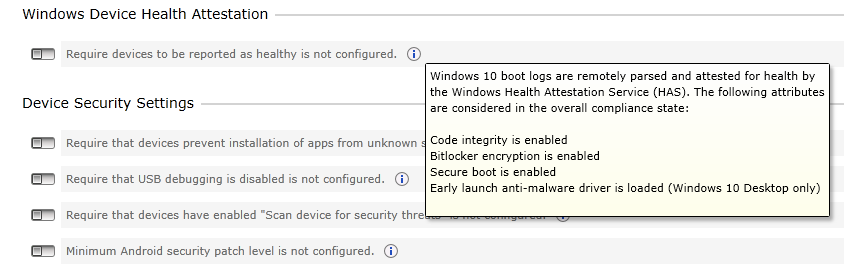
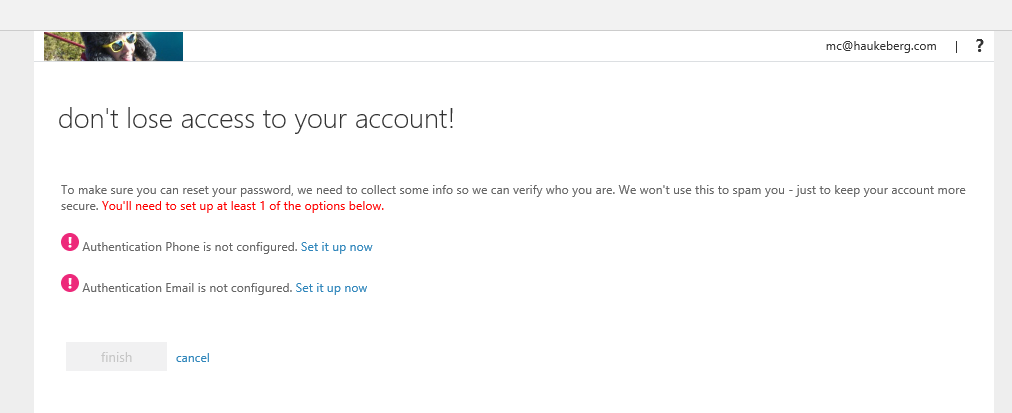
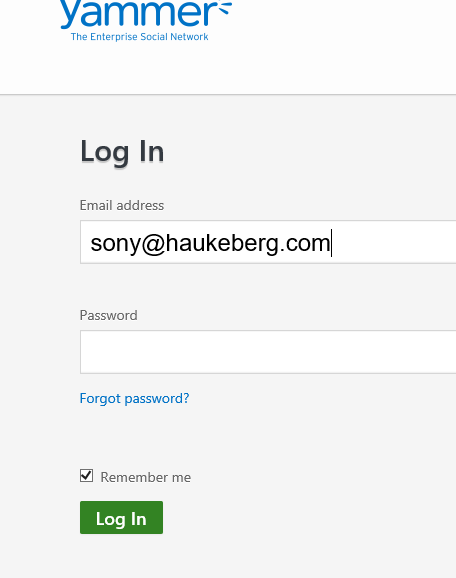
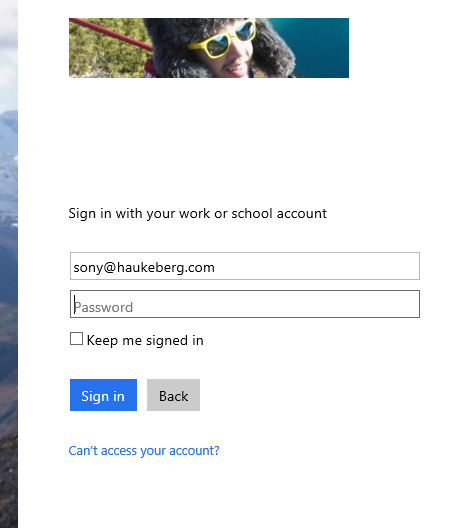
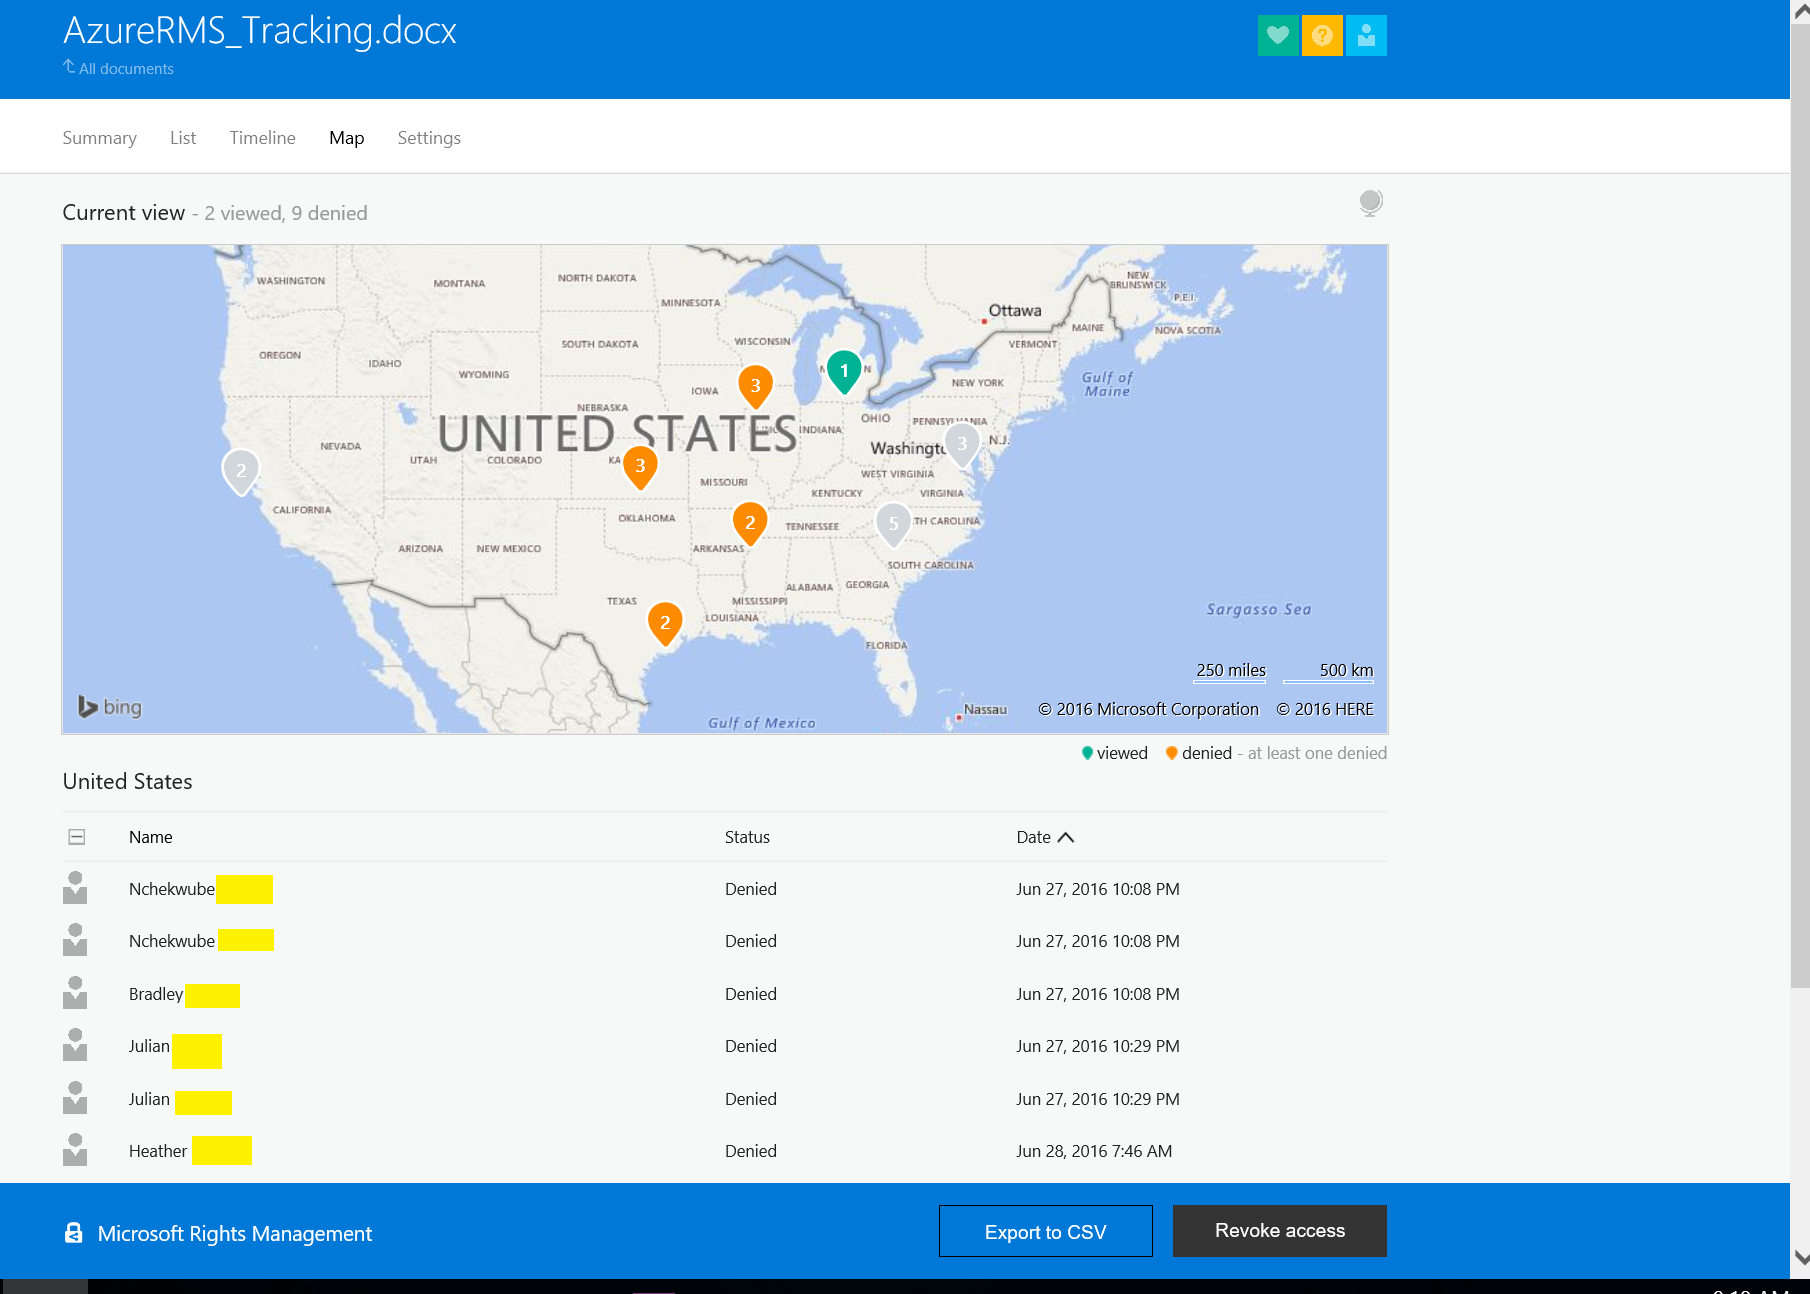
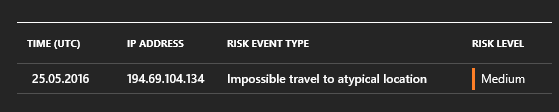
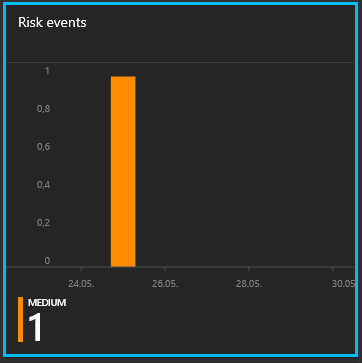
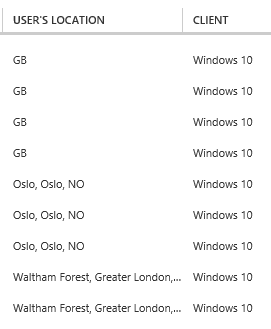
Images below for visual aid:

This simple guide was created from here: https://docs.microsoft.com/en-us/azure/active-directory/fundamentals/active-directory-how-subscriptions-associated-directory

Activate Azure Enterprise Subscription

Hi, here is a quick walkthrough of how to activate your top level Azure Enterprise Subscription Account on https://ea.azure.com

This is where you define your organization, departments and organizational structure down to the individual faculty level.

NOTE: You do this before you log into https://portal.azure.com .

NOTE 2: DO NOT add student and teachers here. This is for administration, IT and some researchers. You add teachers and students later in https://portal.azure.com

  1. Find your activation email and copy or click the link (if you click it, make sure you are not logged into any other account.) azure welcome email
  2. Use your OFFICE 365/AZURE AD ACCOUNT for your enterprise. Do not use a Microsoft account such as @hotmail.com
  3. Verify that you are using your correct workplace account to login to the service.
  4. Verify that again. I am serious. Make sure you are using the right account. If you are unsure, stop what you are doing and email me hhauk@microsoft.com
  5. Your EA subscription is now linked to your workplace account. You are done.

Now you should add extra administrators. Click on Manage and “Enrollment” and add minimum 2 named admins.

AddAdmin

Now, look at your organizational structure and start to add Departments. Remember to add administrators to each department.

AddDepartment (1)

AddAdmin2

Once you have set up your departments and accounts you may add additional subscriptions. Remember that services that run on different subscriptions do not talk to each other. Click Subscriptions and add extra subscriptions. You may create as many as you would like.


As you have multiple subscriptions with the same name, it is smart to change the name of each subscription. you do that in the https://portal.azure.com click on “Subscriptions” then select the subscription you would like to rename and click “Rename

ChangeSubscriptionName

Finally it is time to add users or co-editors to your subscriptions. This can be students or teachers that only need access to this subscription for teaching or learning reasons.


Enable Bitlocker Check in Intune MDM

When joining a Windows 10 device to Azure AD which supports “InstantGo” or “Connected standby” e.g. Surface. Microsoft Automatically enables bitlocker.

For all other devices you need to manually enable bitlocker on your drive.

As an IT admin you can create a Compliance Policy that checks if Bitlocker has been enabled. Here is how:

  1. Log in to http://manage.microsoft.com
  2. Click Policies and Compliance Policy
  3. Click Add
  4. Name: Bitlocker Check
  5. Description: Checks if bitlocker is enabled
  6. Under device health enable Windows Device Health Attestation.
  7. Deploy the policy to your target users or groups
  8. Check for compliance.

windows-device-health-attestation-bitlocker

End-user signup for Azure Self Service Password Reset

If you want to enable a user for Self Service Password Reset the user need to navigate to one of these endpoints and register his/her phone as a second factor.

Endpoints:

  1. This endpoint verifies your phone and enrolls the user in SSPR: http://aka.ms/ssprsetup
    It does not change your password!
  2. This endpoint resets your password and enrolls the user if his or her phone number is already stored on the user. http://aka.ms/sspr (which points here: http://passwordreset.microsoftonline.com)


Here is a screen dump of what the user will have to do:

log-in-to-office-365
Standard Login

routed-to-account-setup-in-azure-ad
You get routed to or enrollment service

verify-phone-number-in-azure-ad
asks to verify your phone (if it is already there) if not you have to enter your phone number

if-phone-is-not-registered
If your phone is not registered in azure AD you see this


call-to-verify-azure-ad
Call goes fastest

microsoft-calling-phone

one-factor-is-completed
In Azure AD you select how many factors your users need to setup. I have selected 1

myapps-in-azure-after-registration
This is where you end up

So, I enabled Self Service Password reset. Who signed up?

If you have enabled Self Service Password reset, all users should be prompted to enroll on login. You could also proactively redirect users to https://passwordreset.microsoftonline.com/ or http://aka.ms/ssprsetup

Look at this blogpost for that user experience: Self Service Password Reset User Registration (Same as for MFA registration).

Here is how you get the report for users who signed up for Self Service Password Reset

azure-active-directory-listing-in-azure-management-portal

azure-active-directory-report-catalog-in-azure-management-portal
Azure AD Report Catalog

azure-active-directory-report-catalog-for-activity-logs-on-self-service-password-reset
Activity Logs in Azure AD

report-of-users-registered-in-azure-ad-for-self-service-password-reset
Latest activity for SSPR

download-azure-ad-sspr-reports
Download reports in CSV

excel-self-service-password-reset-activity
The Report in CSV opened in Excel


Azure MFA enrollment experience

If you want to enroll for Azure MFA the users need to go through these steps. When you enforce or enable MFA the user will be prompted for MFA enrollment. This is best done in a browser.

First the user need to access any of our endpoint e.g. http://portal.office.com

creds
Office 365 custom logo login


mfa prompt
Office 365 MFA enabled


input mfa method
Office 365 MFA input phone number


contact options
Office 365 mfa methods


sms
You will get a text message with a code to enter


wp_ss_20160902_0001
code on phone


Office 365 app password during enrollment
Use this app-password on your native iOS or Android device or old Outlook 2010 instead of your normal password.


Additional Office 365 MFA options
Press cancel if you feel done. or just navigate to the indended site. e.g. http://portal.office.com


Extended Office 365 MFA options
all your MFA options


Azure AD access panel for MFA
The user access panel

Here are all of the pictures in a Sway:
https://sway.com/2fNqmpbe5O17F5Ev

Service based Azure Multifactor Authentication

Now you can enable a certain service for Azure MFA.

In this example i enforce MFA for a security group with 3 users when they try to access Yammer only. Everything else is not enforced with MFA.

Prerequisites: Enterprise Mobility + Security (EMS) License assigned to the user.


Go to: http://manage.windowsazure.com

Navigate to your domain and click applications

domain

Use these settings

Note on these settings, I have 3 users in the CA Exchange Online Mobile group. Rest of my users are in the NO CA group and that group is set to Except. I do this to ensure that nothing is enforced globally to all users. The 3 users in the first group have not had Azure MFA Enabled or Enforced but is set to Disabled.

sony disabled
You do not have to enable MFA globaly for this to work


yammer mfa settings
I always add an Except group with the remaining users.


This is what the user will see now.


He will see the normal login but be required to enter a second factor. If he navigates to outlook og Onedrive there will be no such requirement.

yammer endpointcredentials portSetup MFAenter phone


What Azure Rights Management Tells You!

A colleague of mine, Ilya  sendt out a Azure RMS protected document. Here is what it looks like for a user of Azure RMS when sharing documents.

http://portal.azurerms.com

Observe the insight and control you have over the information, and at a moments notice you can withdraw access to the document.

The Yellow lines are the last names which have been removed for privacy.

Summary page
Summary page

Global Map View
Wherein the world

Zoomed view USA
Zoomed in on USA

List view
Just a list of everyone

timeline
When did they open it?


Notification settings
Get notified once someone opens the document

Did I travel, Azure Identity Protection say so

Got a medium warning in Azure IDP, it says my account have been out traveling.

what
Did I moved fast between two geographical location?


specificsrisk eventsuser

What can I do now?

  1. Just reset password (solve)
  2. Prompt for MFA regardless (mitigate)

tools to remidiate

This is how Azure figured it out:

http://manage.windowsazure.com keeps a track on logins for each user. London is not Oslo…

location

Blog at WordPress.com.

Up ↑

%d bloggers like this: