Nå kan du enkelt bruke Zoom inne i Teams rett fra nettleseren for å spille inn forelesningen og lagre den tilbake inn i Teams.
Slik kan det se ut:

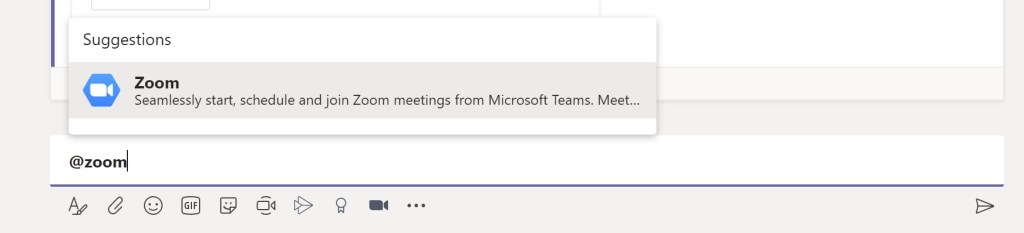
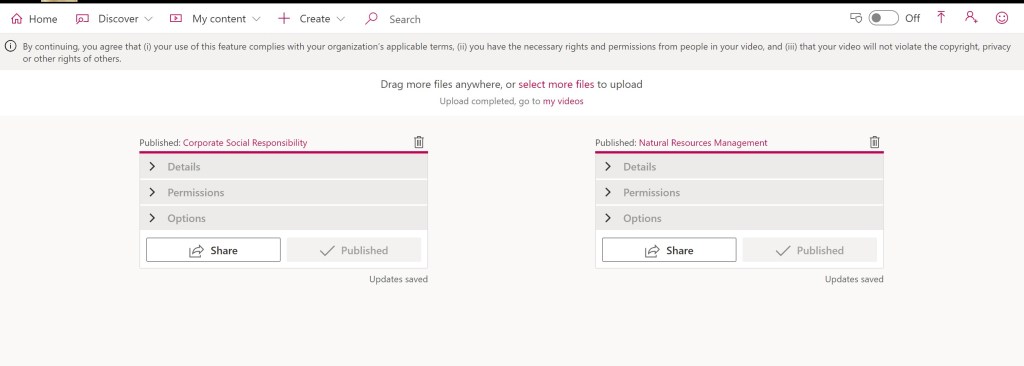
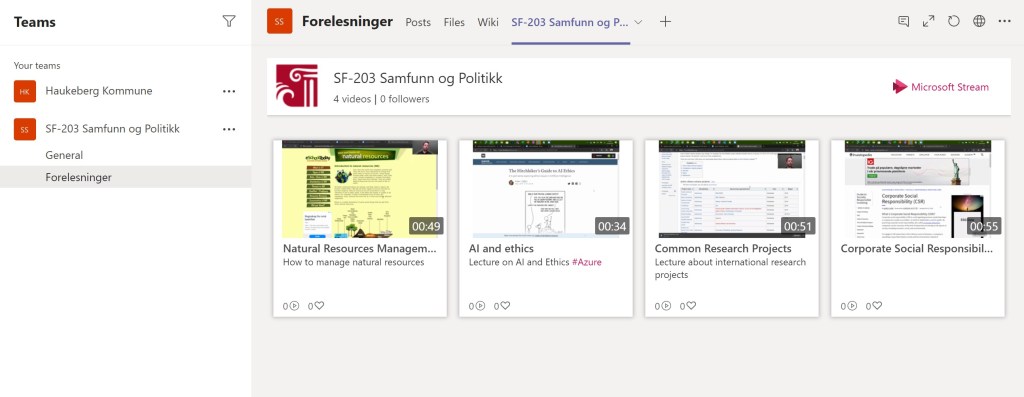
Sjekk ut hele videoen her:

Nå kan du enkelt bruke Zoom inne i Teams rett fra nettleseren for å spille inn forelesningen og lagre den tilbake inn i Teams.
Slik kan det se ut:
Sjekk ut hele videoen her:

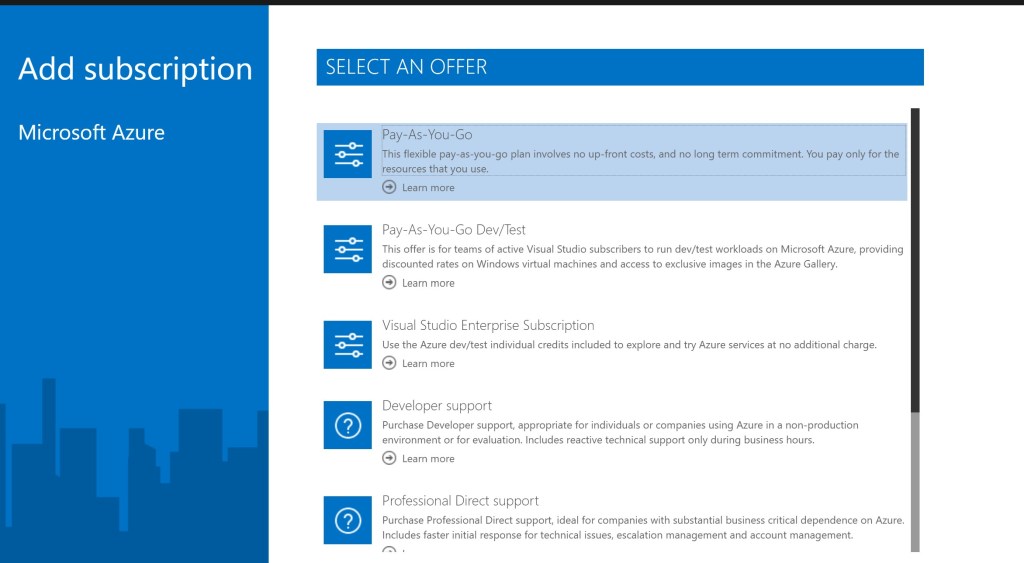
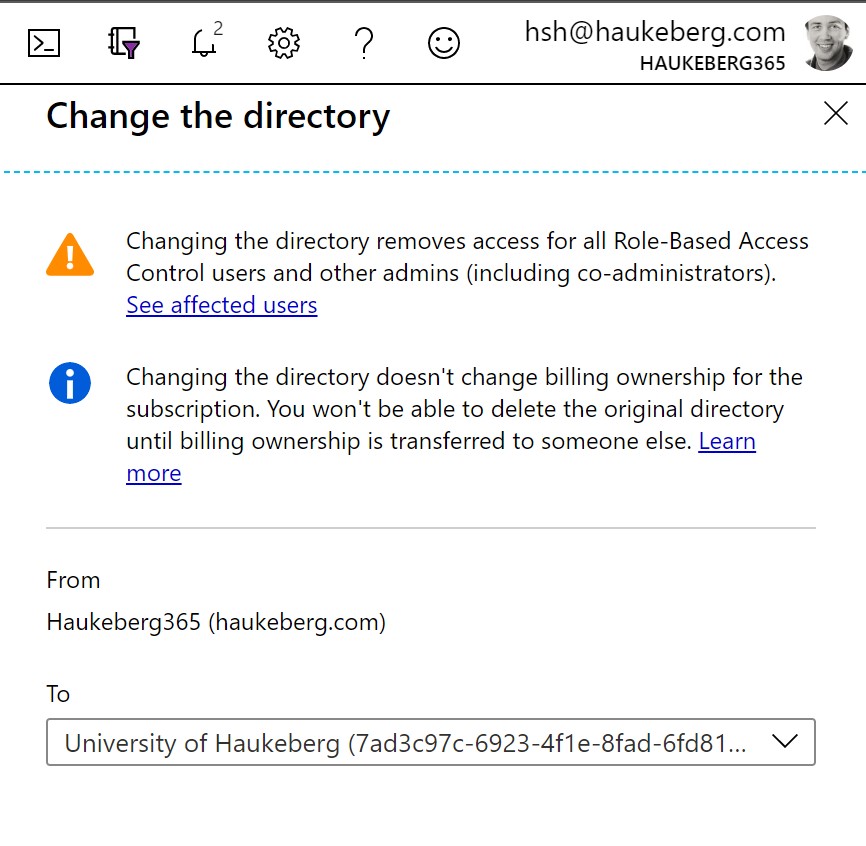
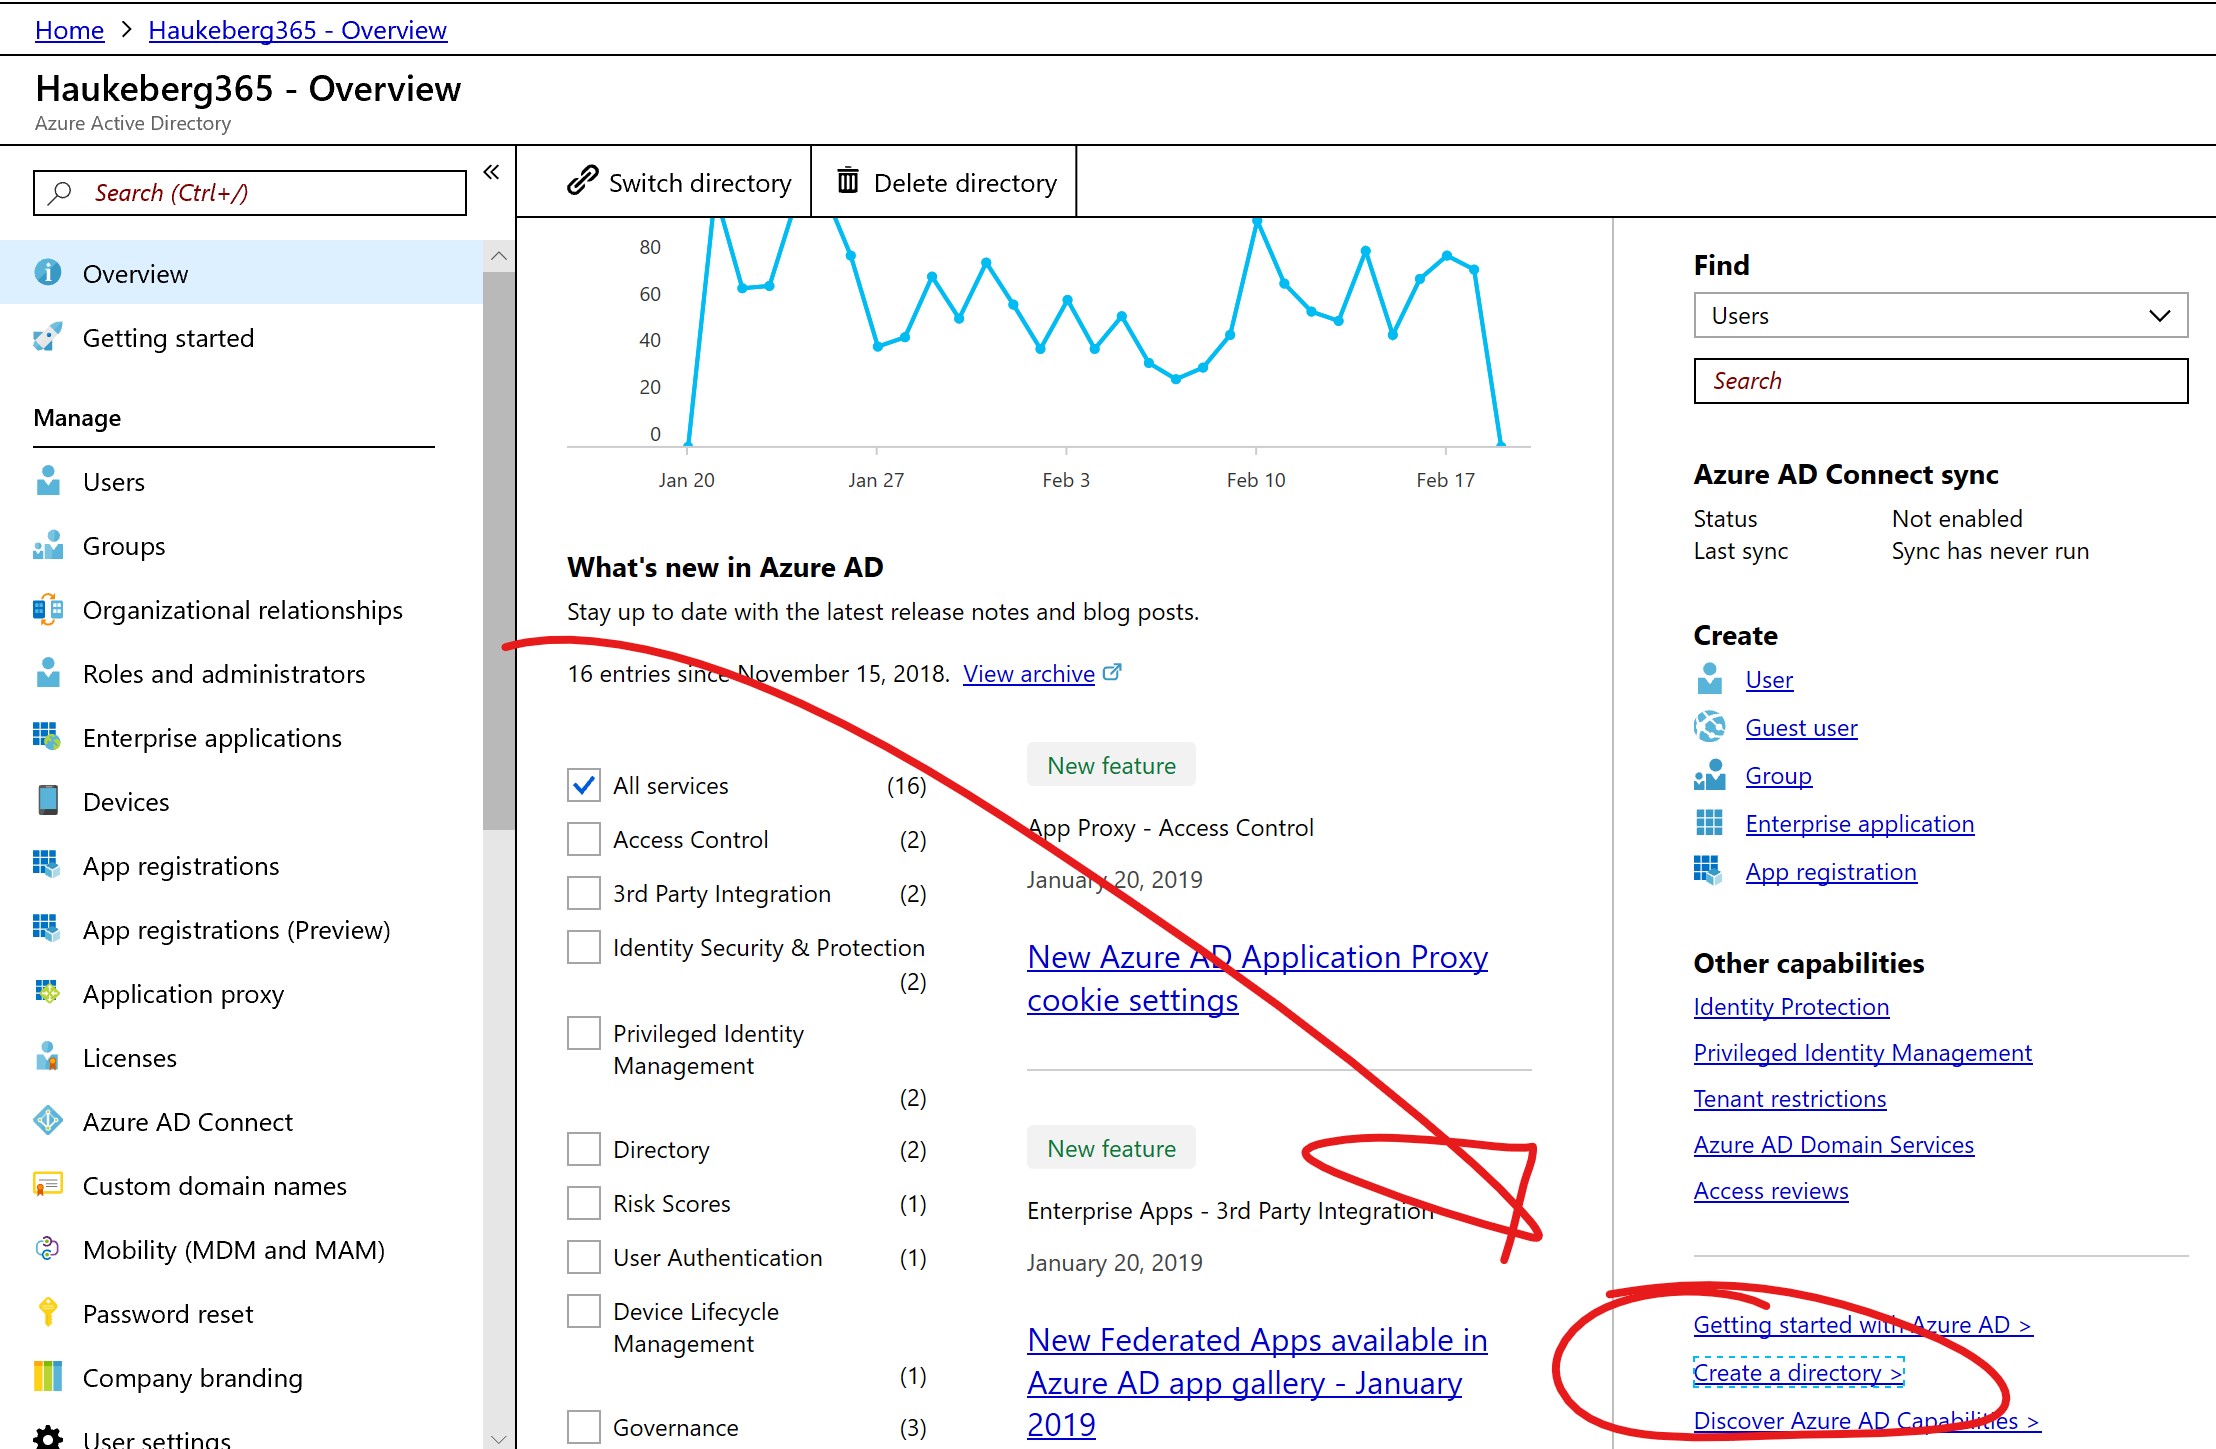
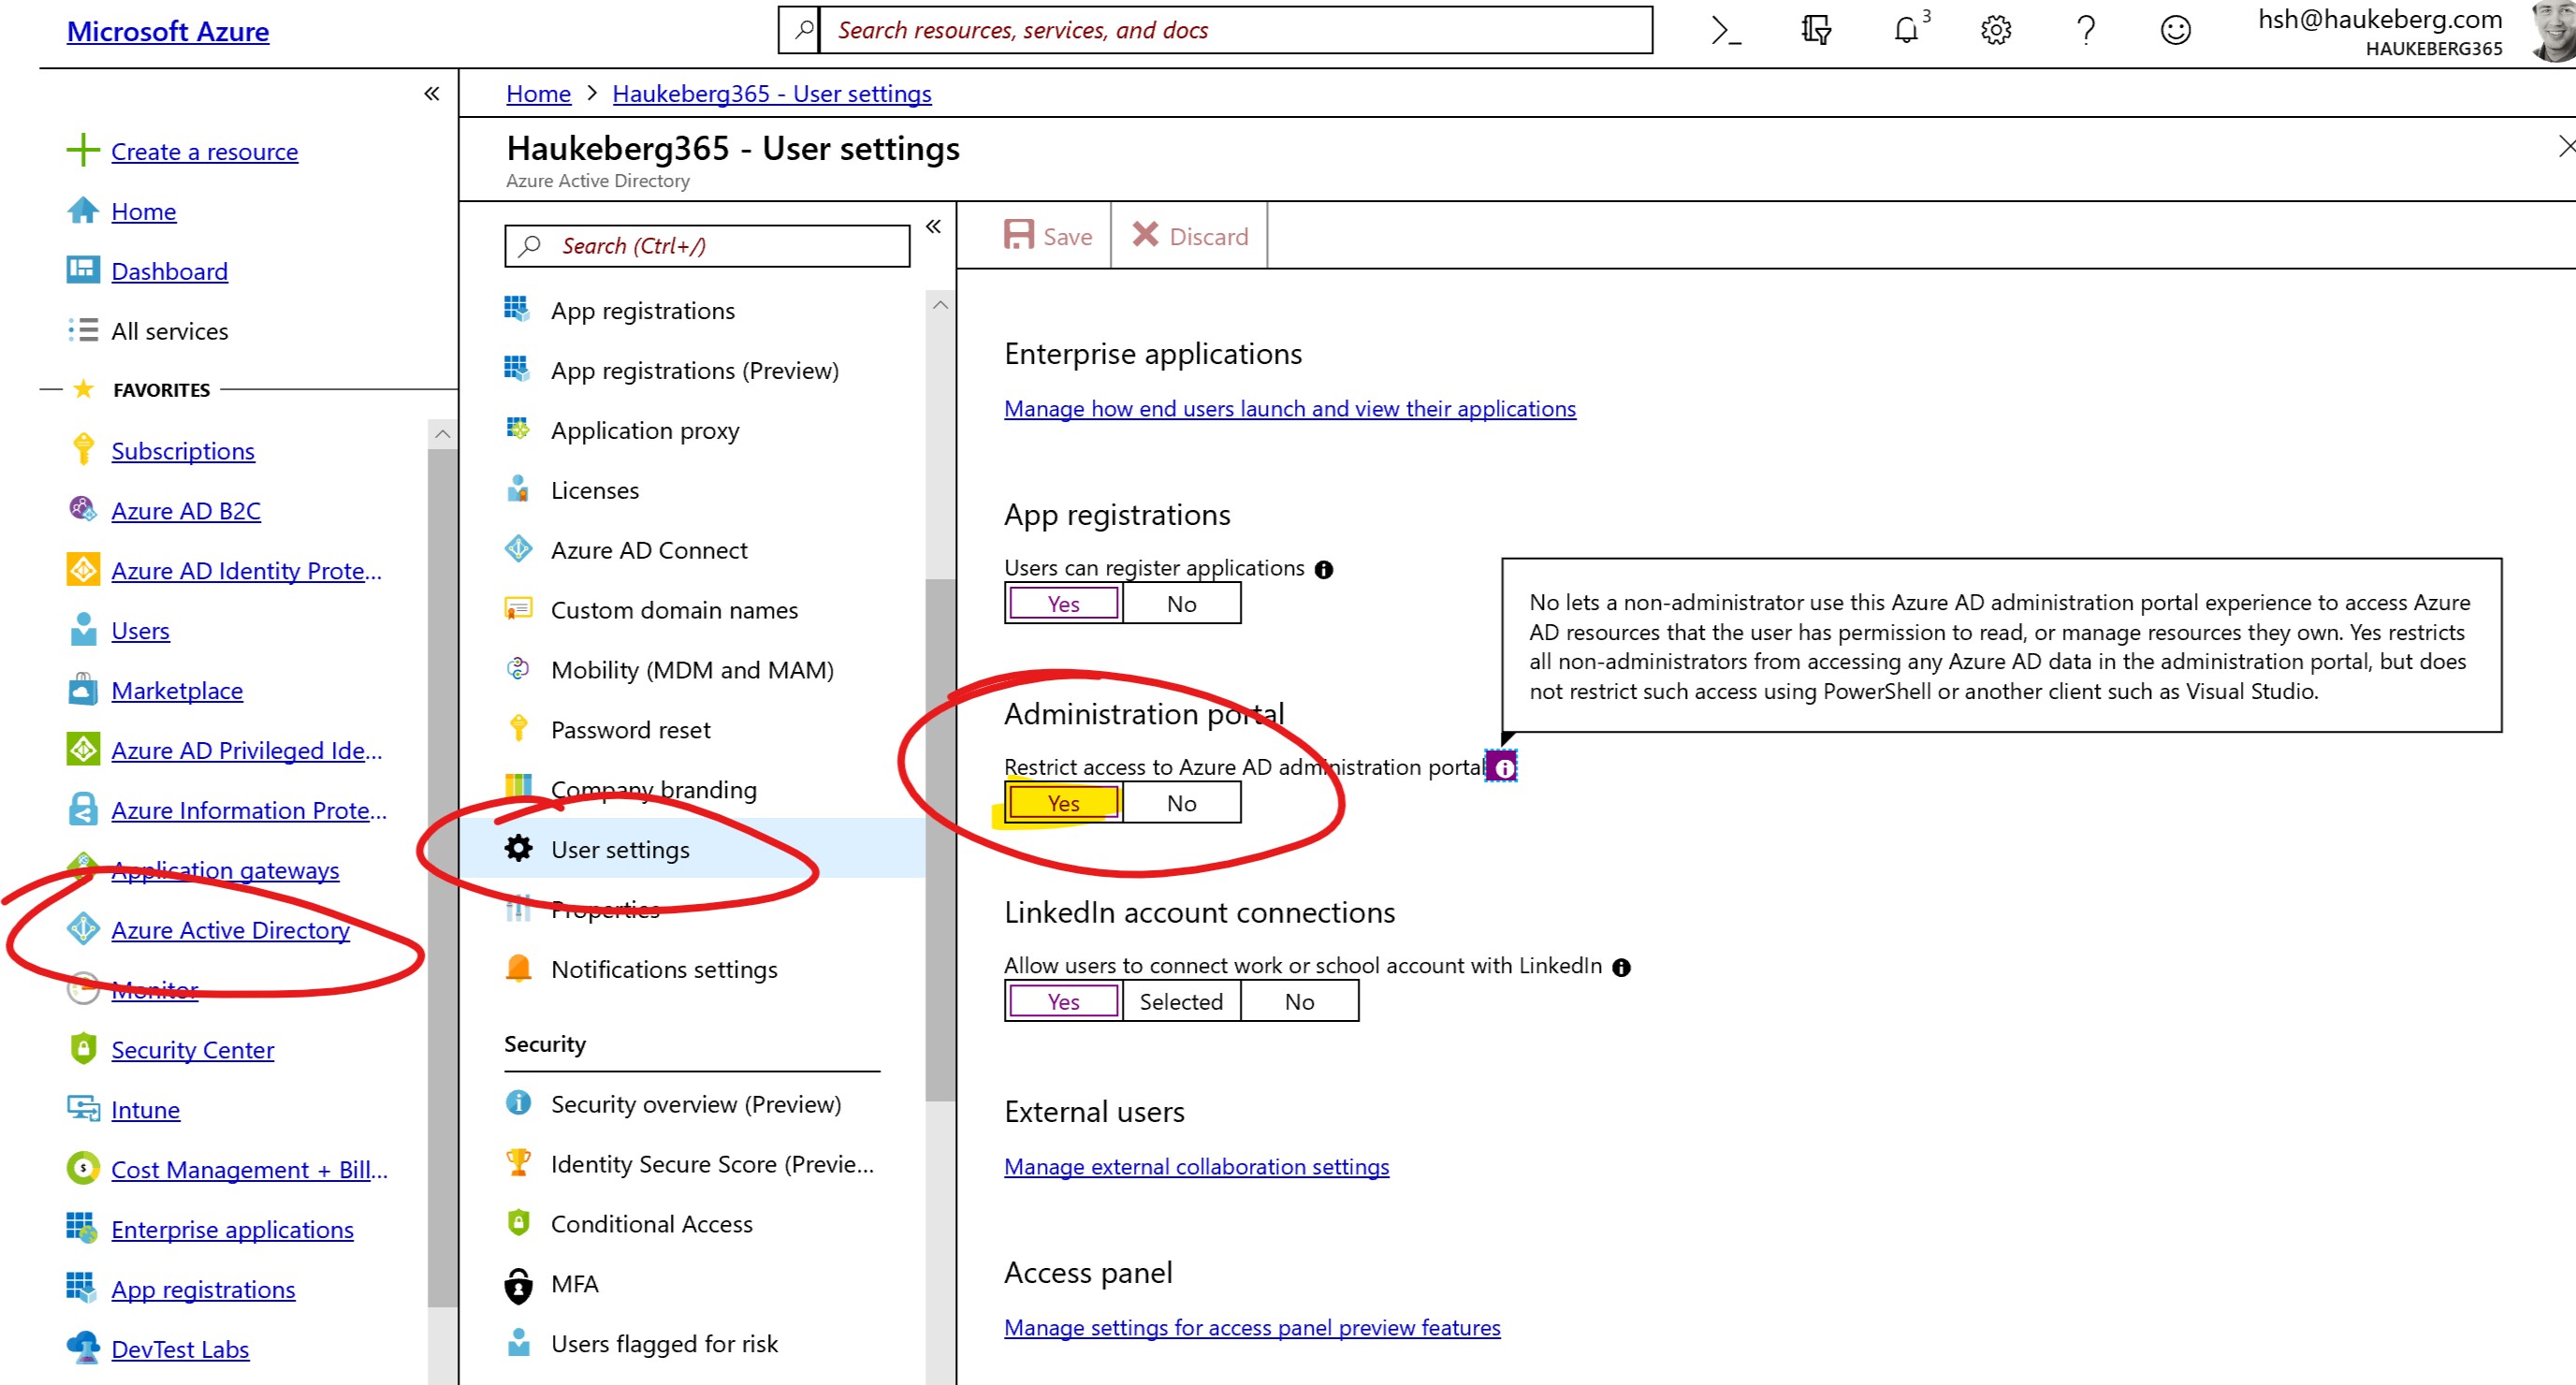
Do you have Azure subscription for your organization and decided that you would like to test something out, but you do not want to mess or include users from your current Azure AD?
Well simply switch the user directory. This is perfect if you have a test Office 365 tenant or a testing environment and would like to test azure features with that directory.
Here is how:
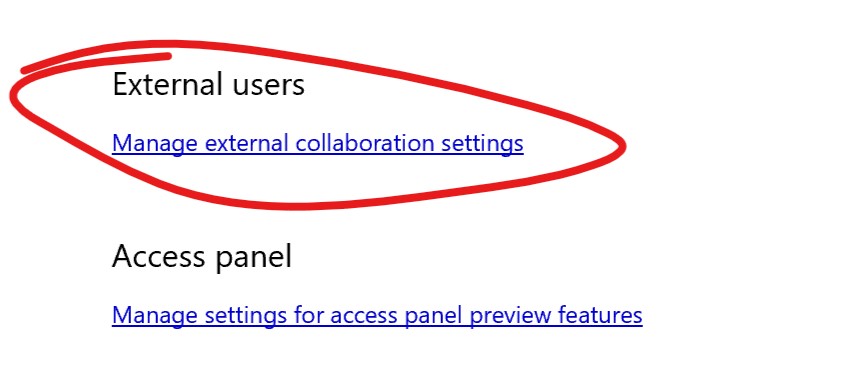
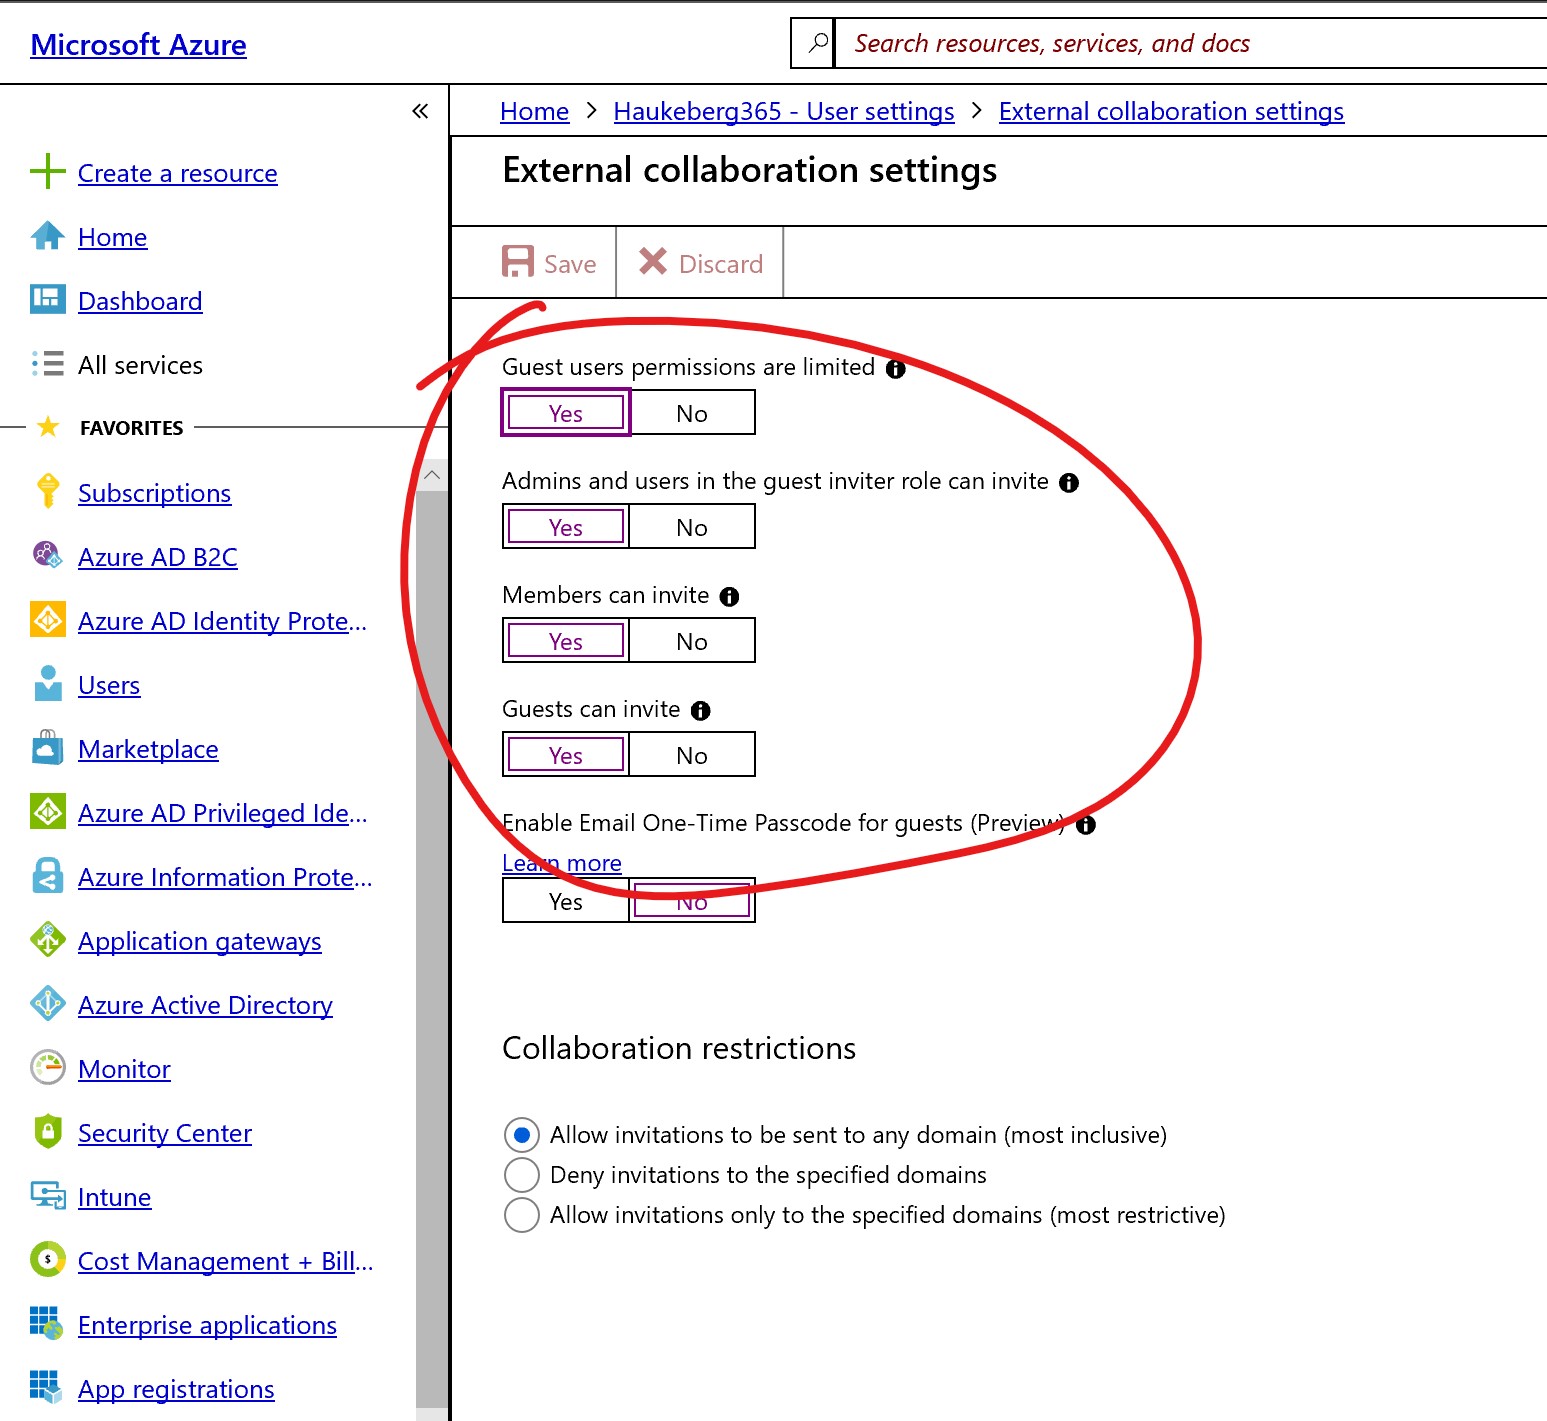
Images below for visual aid:


This simple guide was created from here: https://docs.microsoft.com/en-us/azure/active-directory/fundamentals/active-directory-how-subscriptions-associated-directory

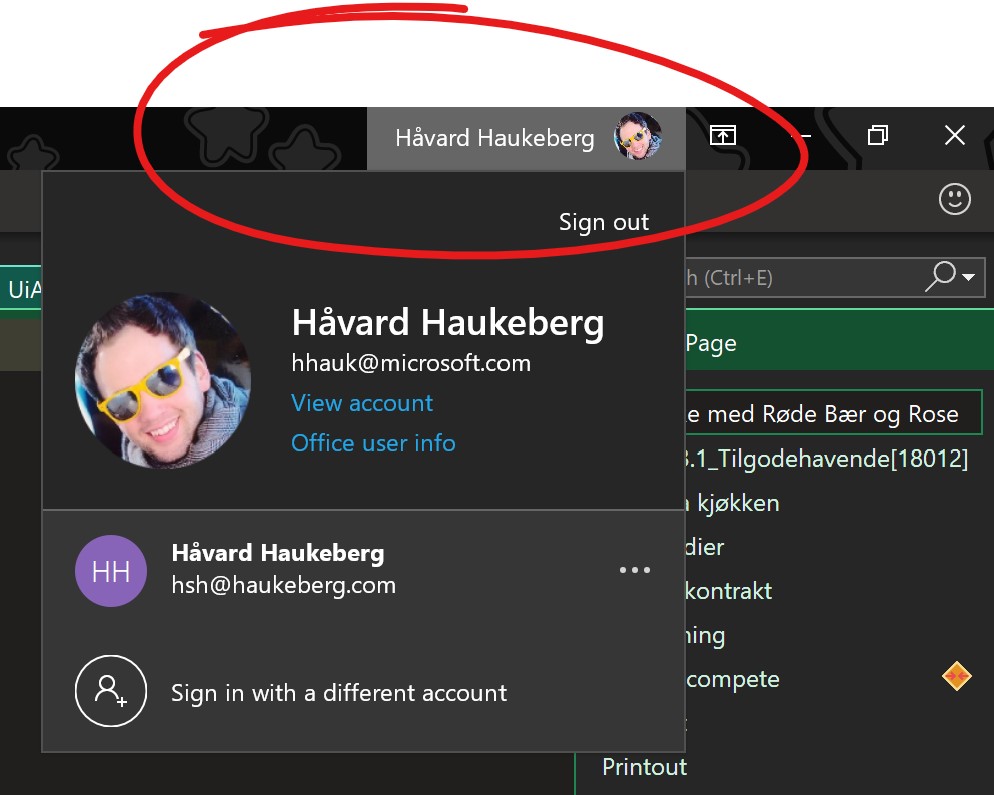
If you have a OneNote notebook on your harddrive or on a shared drive like H: or L: etc. it is easy to move it to your OneDrive or OneDrive for Business. This guide will not work in the OneNote App. Use OneNote 2016 to move your notebook then use the app to open it.
Here is what you must do.
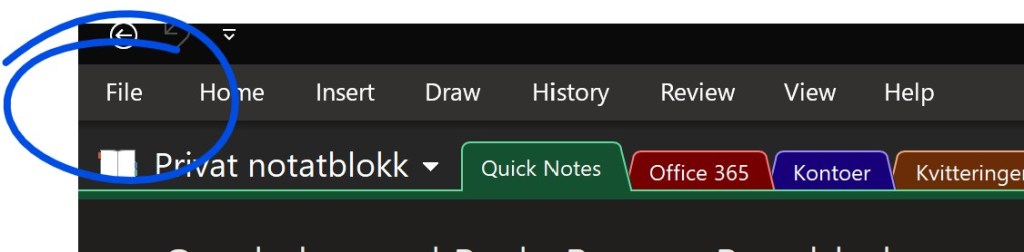
2. Open your Notebooks by going to File and find your notebook.
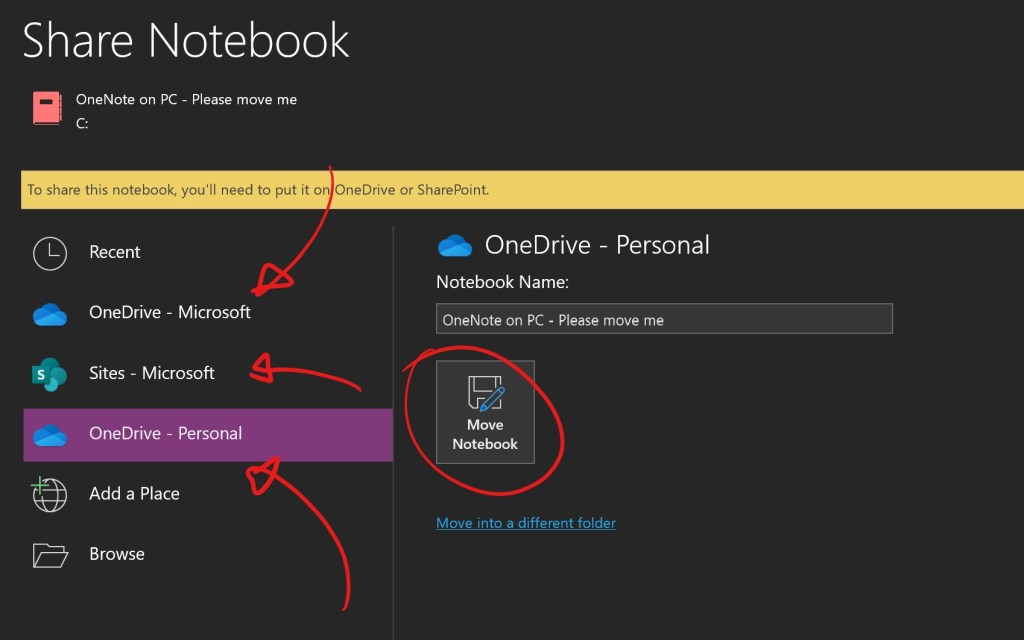
If your Notebook is on your harddrive you will see the “Share on Web” button. If you do not see this button click the “Settings” on the notebook and select “properties” Jump to point 4 if this is the case.

3. If you saw the share button simply click it and select the location and click “Move Notebook”. You are done and you may now use the OneNote App and open the notebook from that location you selected. Remember to log in on your app with the same account.
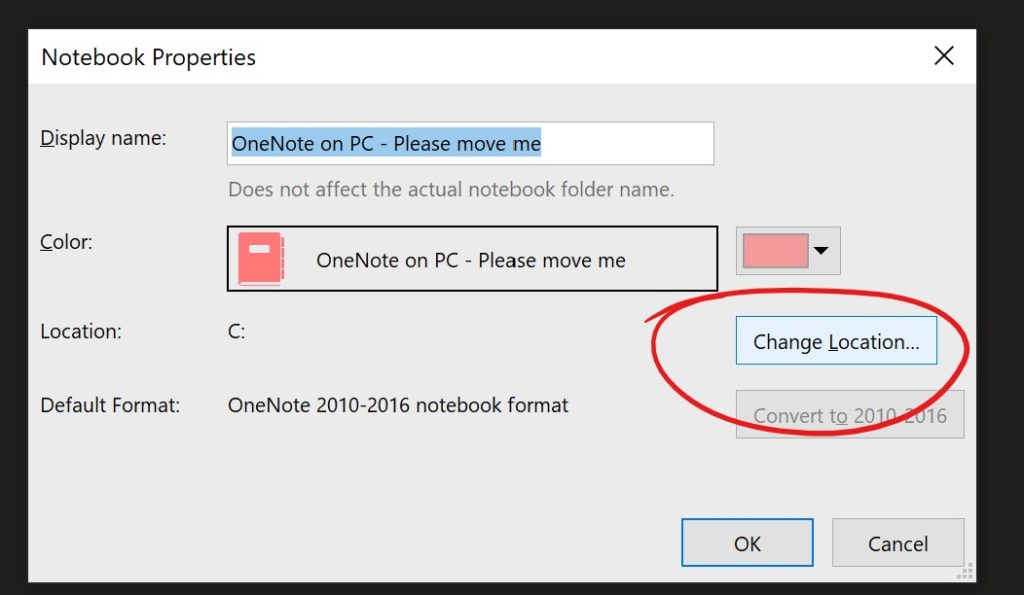
4. If you do not see that “Share” button, click the notebook and click properties
5. Click change location and save it temporarly to your harddrive (or onedrive, if you have synced it)
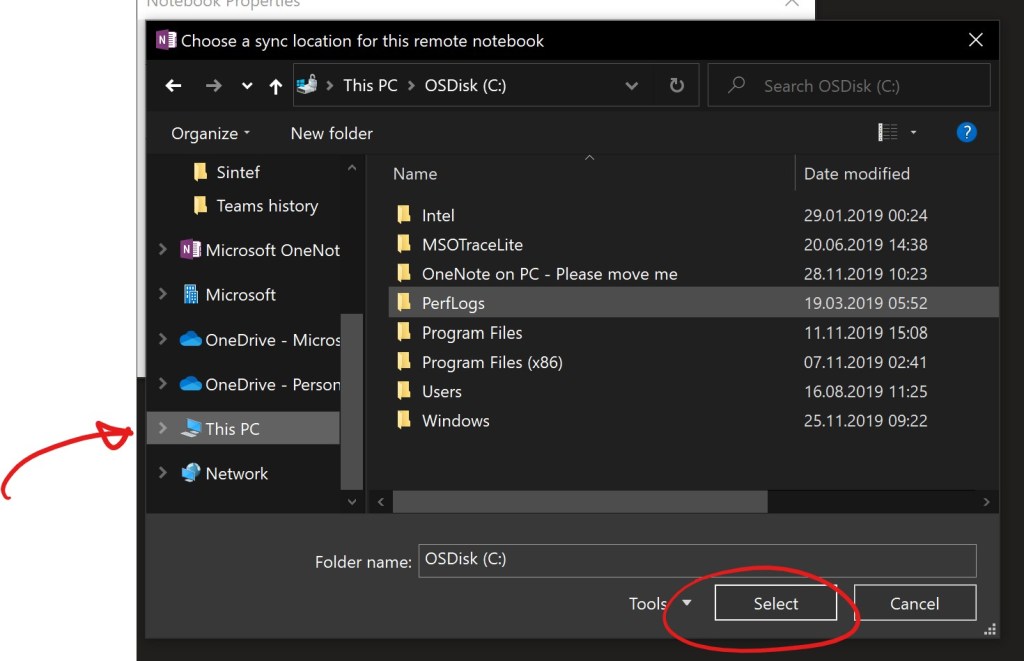
6. Now you may go back to Step 3 and move the notebook to Onedrive.

Did someone say something? or Do you just need to document what has been said for later?
Here is how you can use eDiscovery to get chat and channel history. In this guide I use the two following scenarios:
1. I need to find a chat with one certain keyword
2. I need to find all chats with a certain user or between certain users.
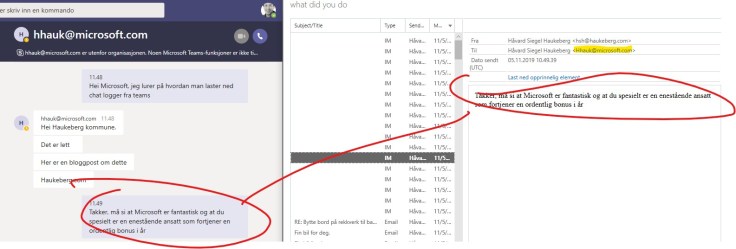
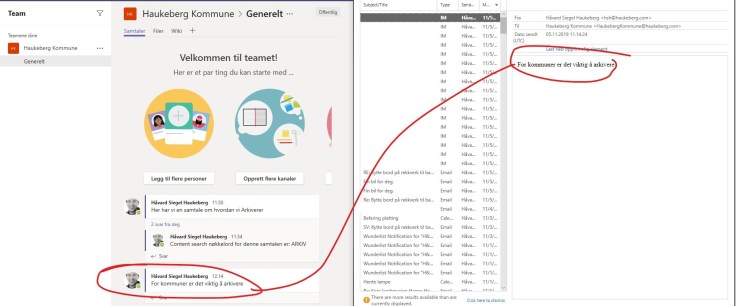
Here is what it looks like:
Here is what you need to do:
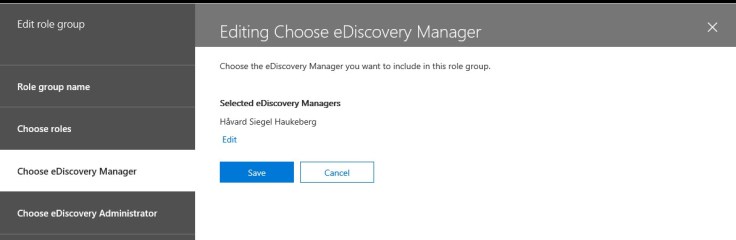
1. Get an admin to grant you an eDiscovery Role. You need this in order to view or pull reports. Have a conversation with your organization about having a manager or a reader role. There are plenty of roles to choose from but you MUST have a reviewer role to see the preview-results

2. Now it is time to create an eDiscovery Search. Logon with our user that has the new rights (remember, even a global admin needs to be assigned this right. https://protection.office.com is where you log in. Then click “Search” and “Content Search”

3. It is time to create some conditions in order to scope the search. I have images of two conditions below. One where I lookup a keyword and one where I lookup an user or external user. Remember, dont click save just yet. Jump to point 4 first below these images.
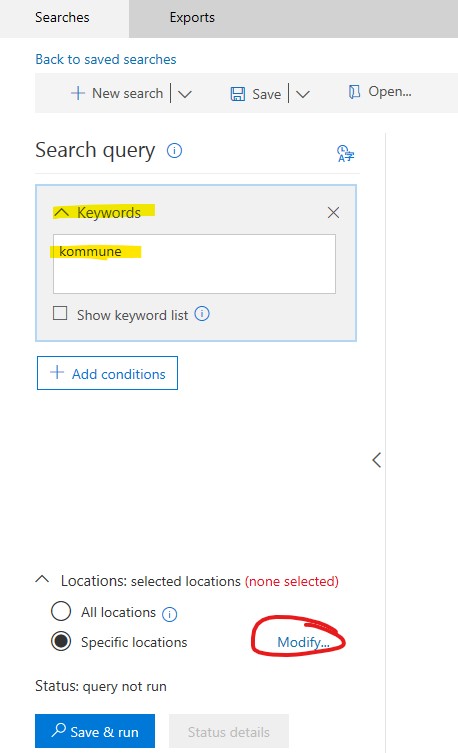
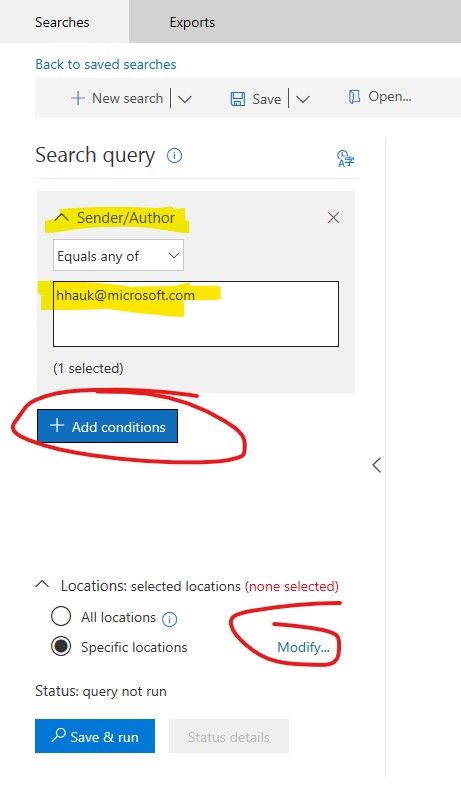
4. Now you may modify where to look in order to minimize the time it takes to run the eDiscovery query. Click on Modify and in this scenario I want the first option only for Microsoft Teams. Check the first slider and click save.

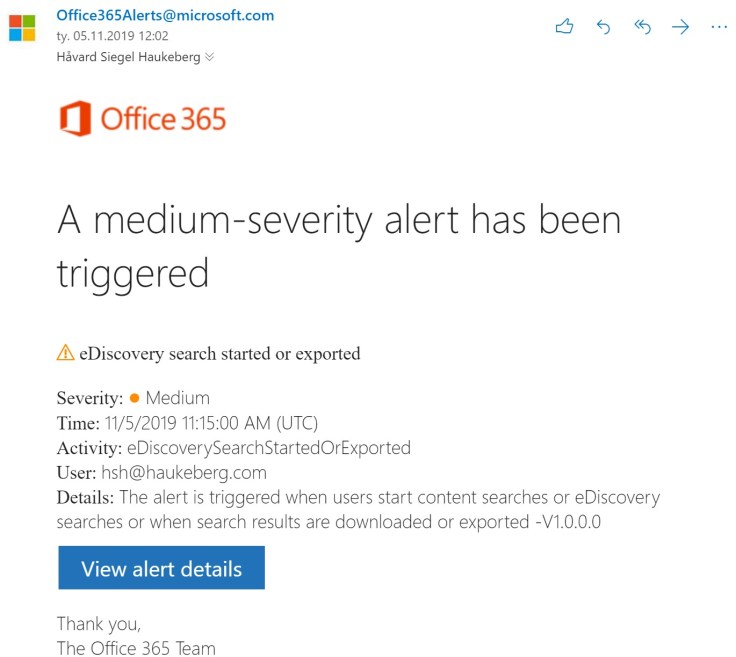
5. While you run eDiscovery, your administrator will be notified by email. It looks like this:
6. I prefer the old eDiscovery preview so I will switch to the old panel in order to browse the results. Then select your search, if you do not see it just click refresh. Now on the right side click “Preview Search results” if your query is large it might take some time for the preview to be avaliable.


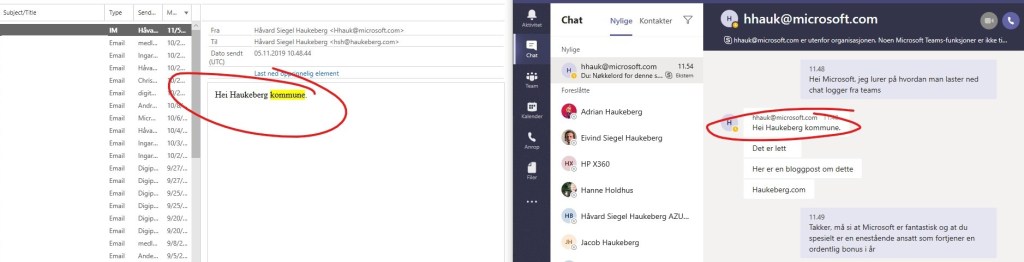
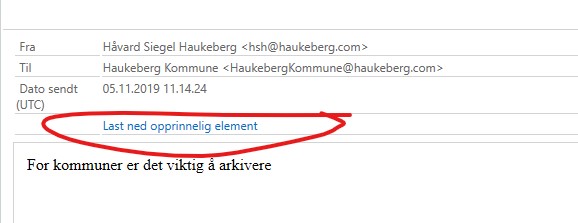
7. If you need an element simply click “Get Original item” and your chat string will be downloaded to you as a *.eml

That is it. Simple but with some clicking.

Download the Azure Information Protection Client (Rights Management Service) client here:
https://www.microsoft.com/en-us/download/details.aspx?id=53018 You can also get a distribution package in *.msi format.
Note that there is a separate viewer file which you can use in order to open protected files on a mac, pc or mobile phone.


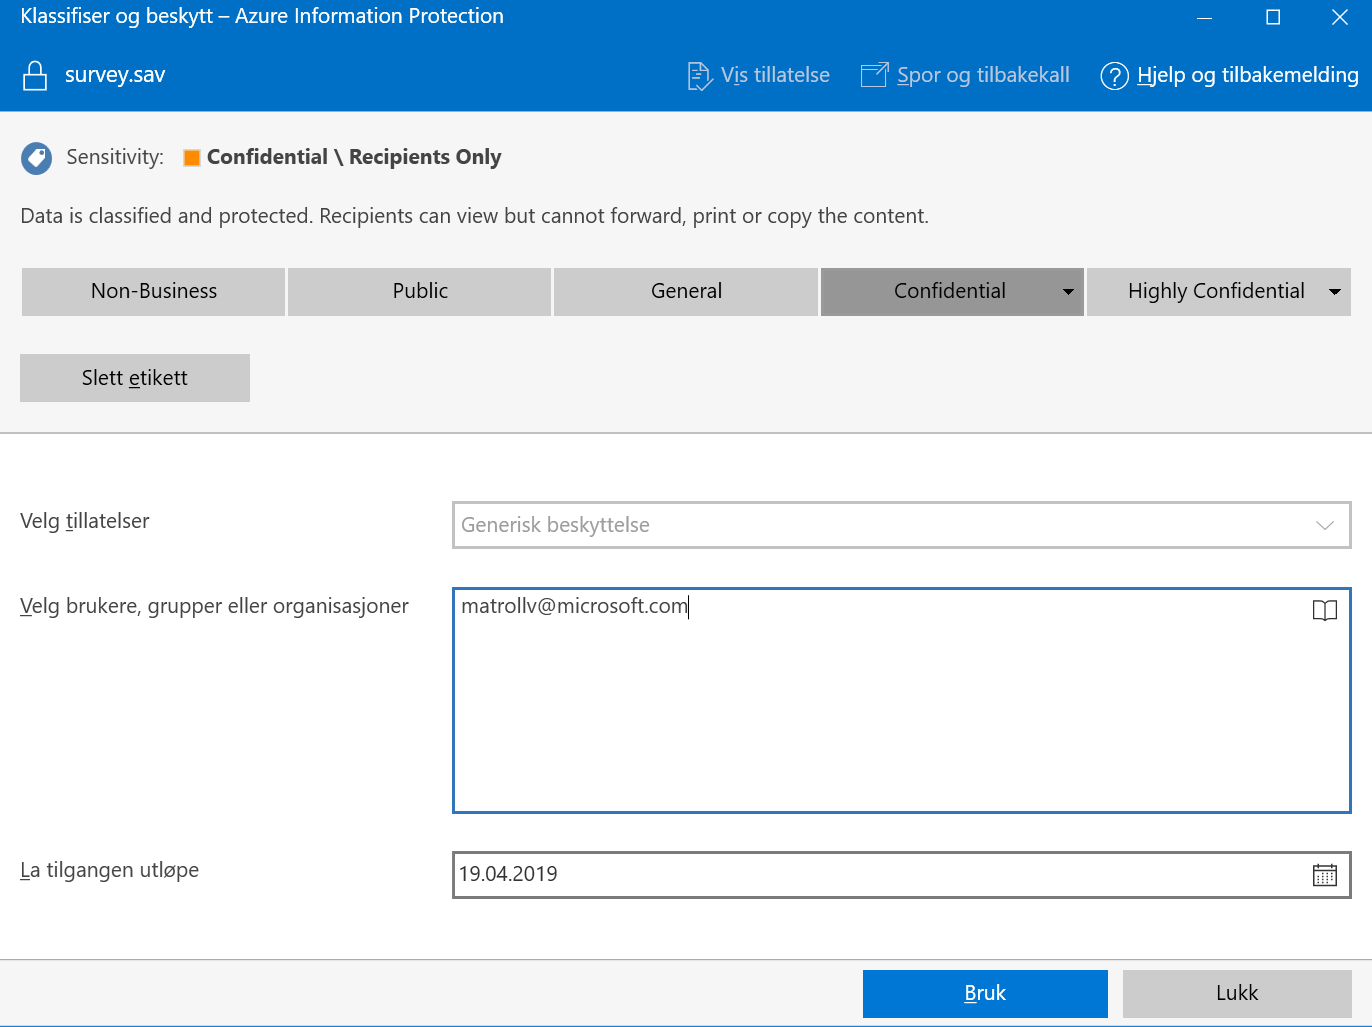
To remove the protection, simply double click it and it will run and check your credentials. If approved SPSS will run 🙂

If you have Microsoft Teams and the proper licenses you may initiate a Teams Live Meeting. The technology behind it is described there: https://docs.microsoft.com/en-us/microsoftteams/teams-live-events/what-are-teams-live-events
In all simplicity, you want to stream a presentation to very many participants on a multitude of devices. Anyone can join from wherever.
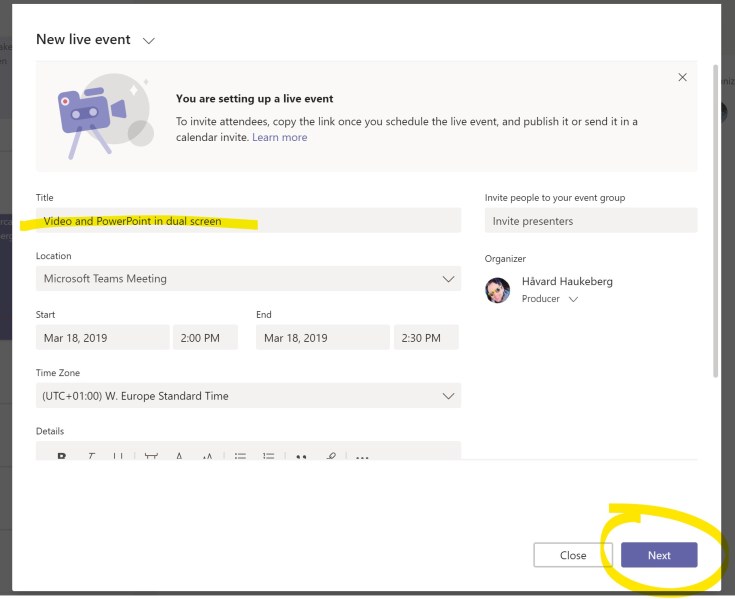
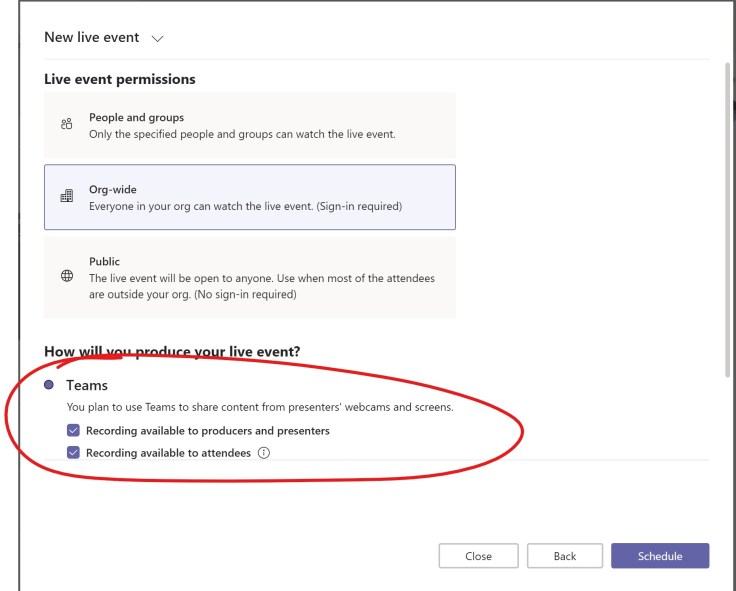
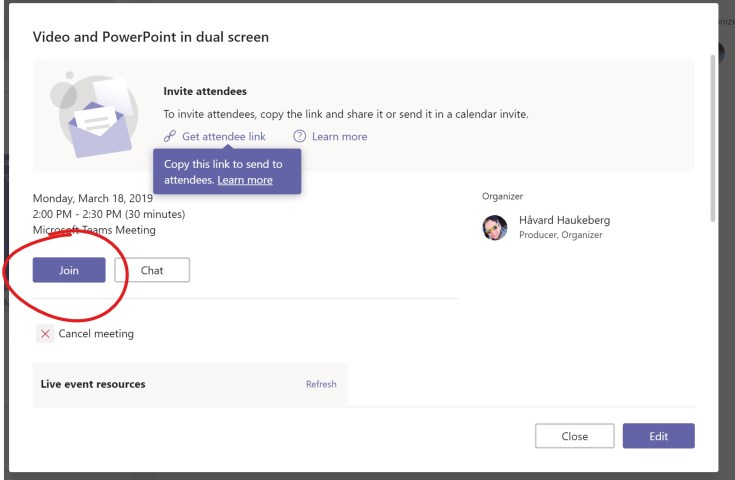
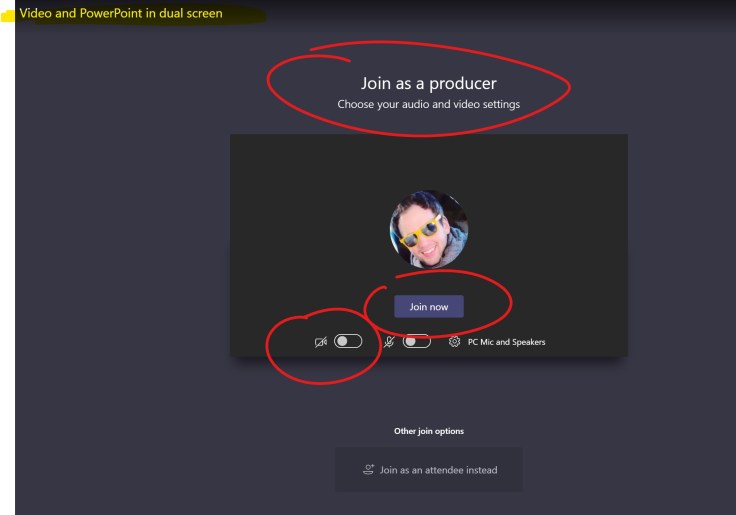
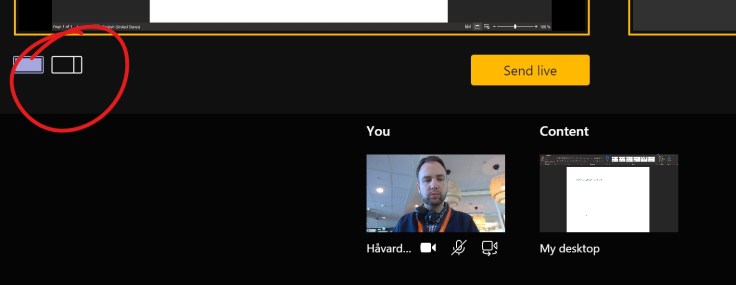
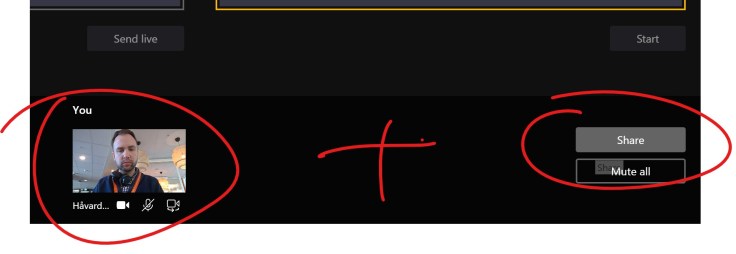
Here is how you have a synchronized dual view of both a video stream and content stream during your live event.
First start a meeting:


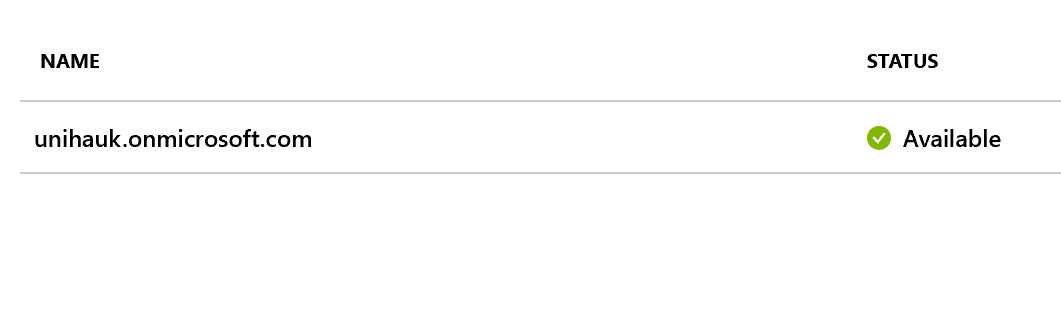
In your Azure/Office 365 tenant you may have several separate directories. You may also have custom domains but they will initially belong to a specific Azure AD.
An Azure AD directory is identified by the *.onmicrosoft.com
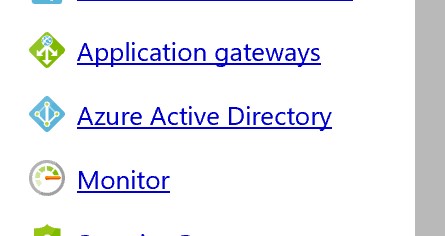
Here is how you create multiple Azure AD directories in the same tenant:

You may now add users or set up a separate domain sync. Or even custom domains.
This user catalog is separate and users need to be invited or added. Only one user will be present and that is the admin user that you were logged on with.

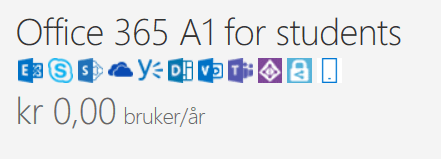
Hvis du er en kvalifisert skolekunde av Microsoft så kan du hente ned uendelig antall Office 365 Education lisenser for fakultet og student. Det er anbefalt å skille mellom lærer og elev/student. Noe funksjonalitet er avhengig av at lisensen er riktig.
Naviger til https://portal.office.com
Trykk på “Fakturering” og velg “Kjøp tjenester”
Husk å merk av for “Planer for Utdanning”

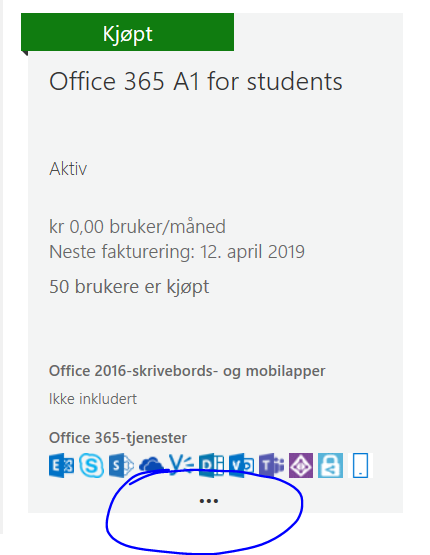
Hvis du ikke har kjøpt de før så havner de litt lengere ned på listen. Jeg har kjøpt det før så hos meg står det “Kjøpt” og jeg må trykke på de tre prikkene for å hente flere eller konvertere til “uendelige lisenser”
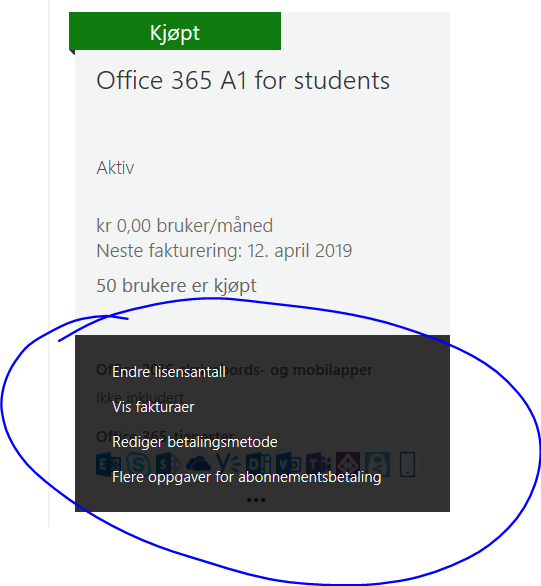
Trykk på “Endre lisensantall”
Velg så “Send inn” og du vil nå få uendelig lisenser for Office 365 A1 (Education)

Du får en oversikt over lisensene dine under “Fakturering” og “Abonnementer“

You must be logged in to post a comment.