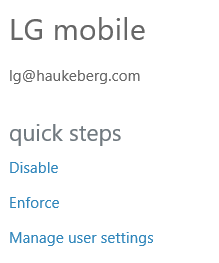
You share a Azure RMS protected document with one user lg@haukeberg.com. If you now remove that user and add Samsung@haukeberg.com
-> What happens?
NOTHING.
Each share on the file creates a new instance in Azure RMS, hence if you want to remove user lg@haukeberg.com access you need to revoke access to the document completly.
Note: once you revoke access to a document, all the users will loose access.
Hence if the user lg@haukeberg.com quits and you revoke access to a document which also Samsung@haukberg.com has access to then both loose access.
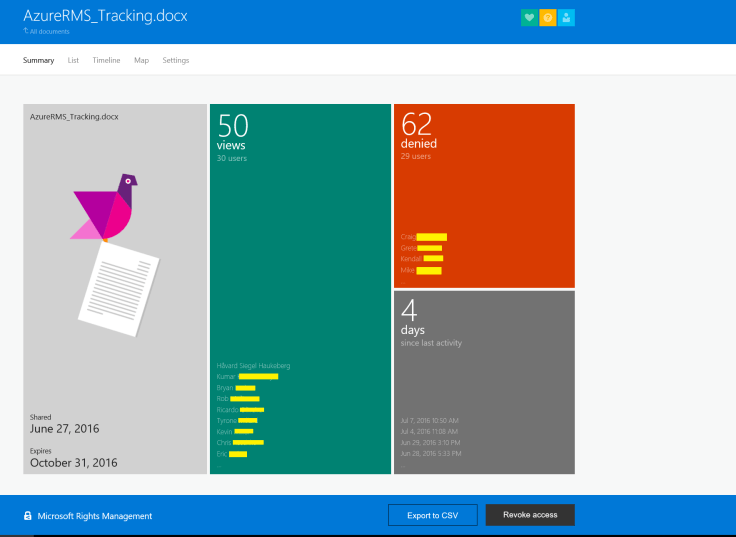
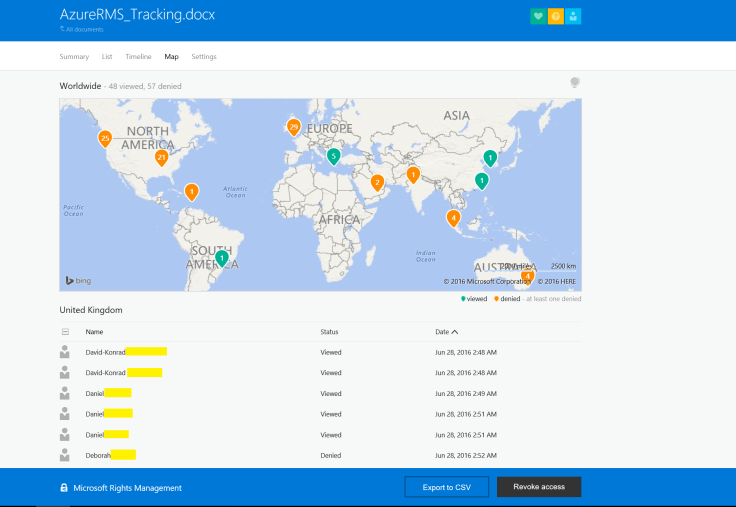
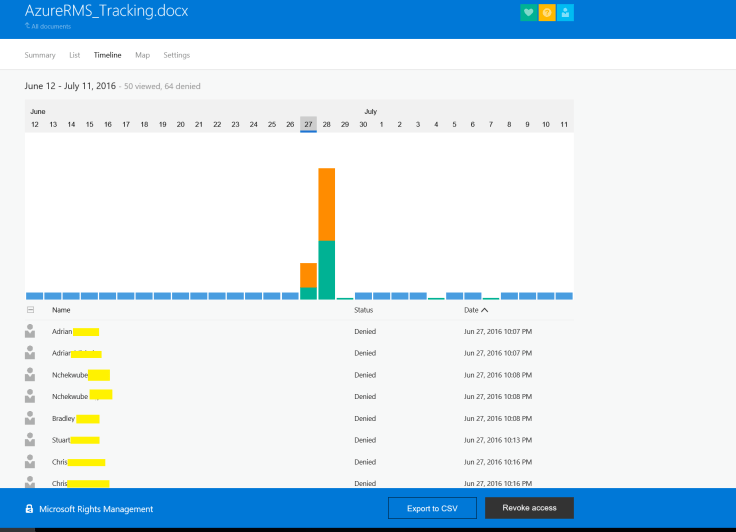
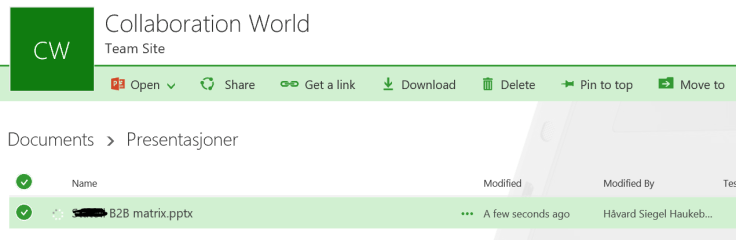
What will the user see if he puts a Azure RMS protected file on SharePoint online?
Setup:
Azure RMS account and document owner: hsh@haukeberg.com
SharePoint Online accont: hhauk@microsoft.com
Document shared with hhauk@microsoft.com read only
Do not worry about language (you can get this software in your language)
Here is what happens:
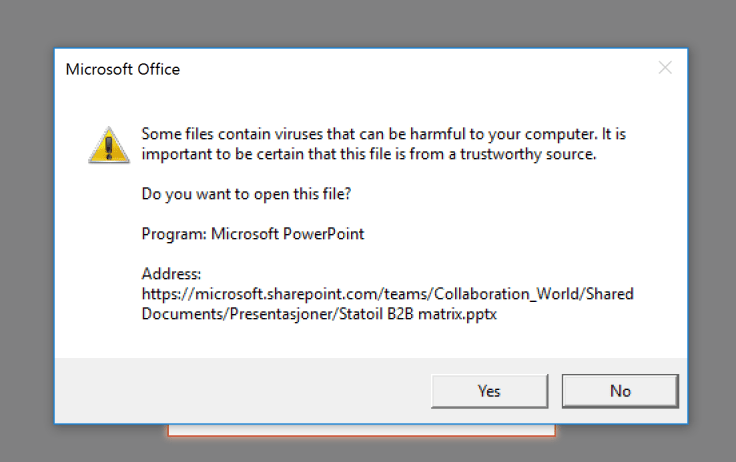
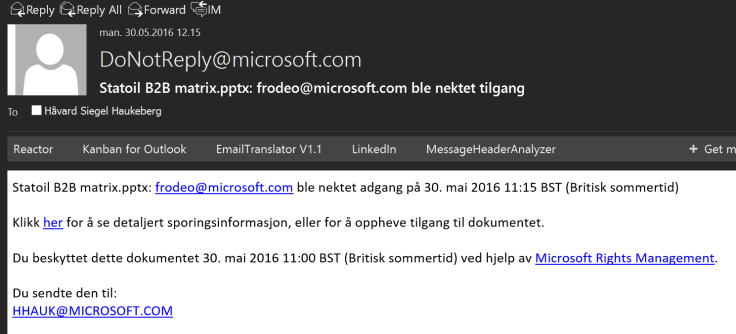
In a sharepoint siteIRM (Azure RMS) disclamer. So NO Office webappsNormal open promptChecking for RMS client (you must have this)If you are not logged in, you need to do soModern loginMFA gateway for accessYour current access credentialsIf yo do not have access then the owner will get this mail.
If you have Outlook 2016 or Outlook 2013 and want to use Azure MFA but you do not want to use Application Passwords there are one thing you need to do.
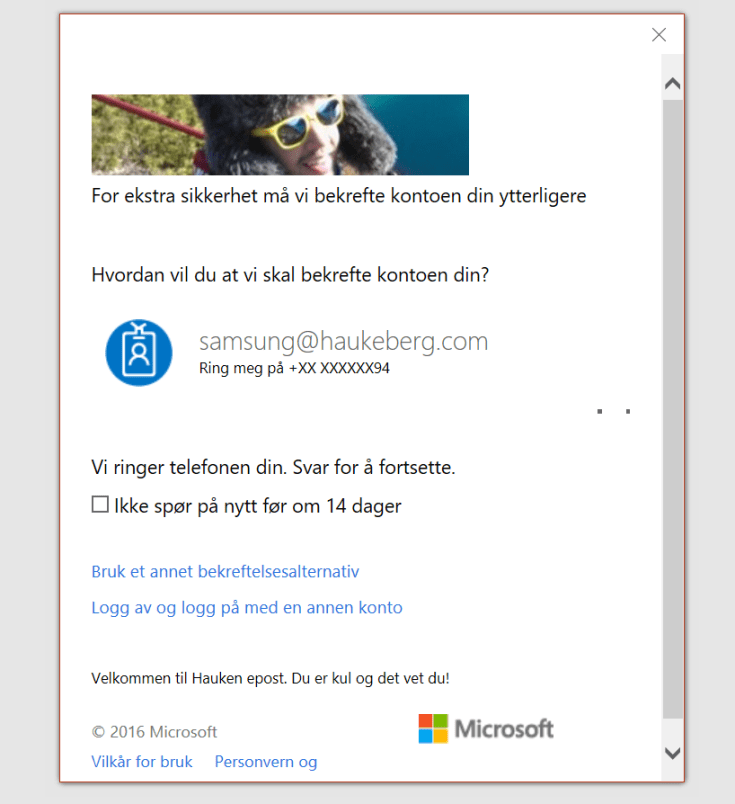
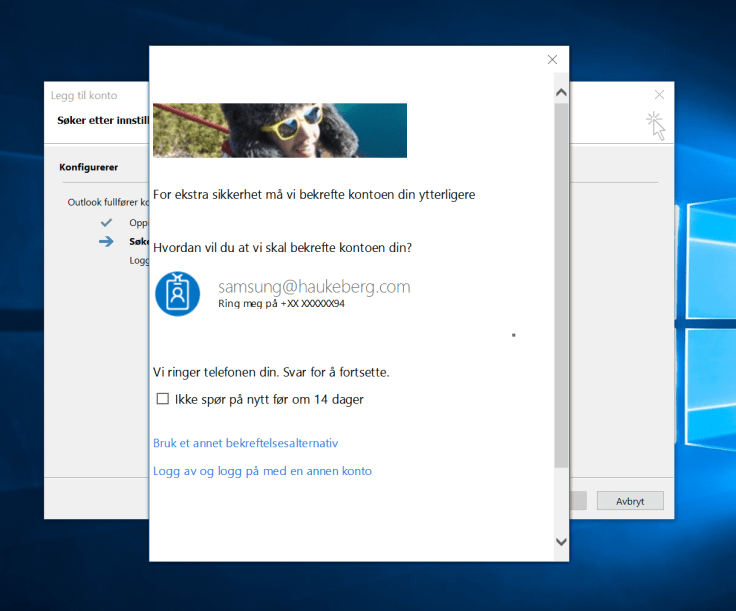
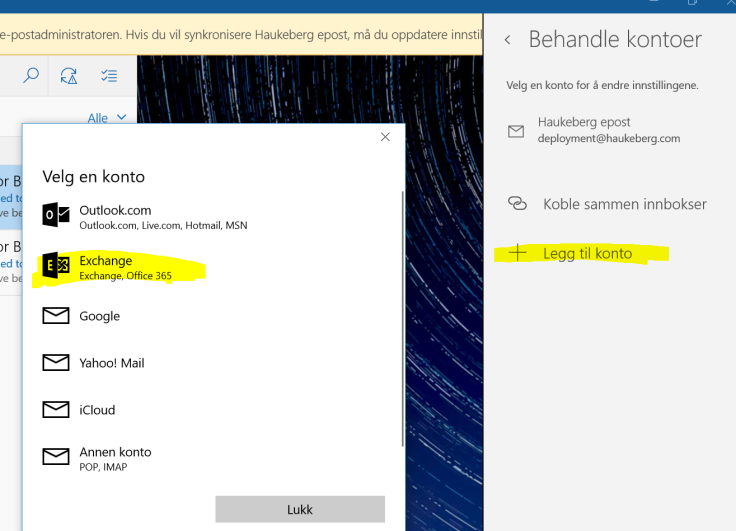
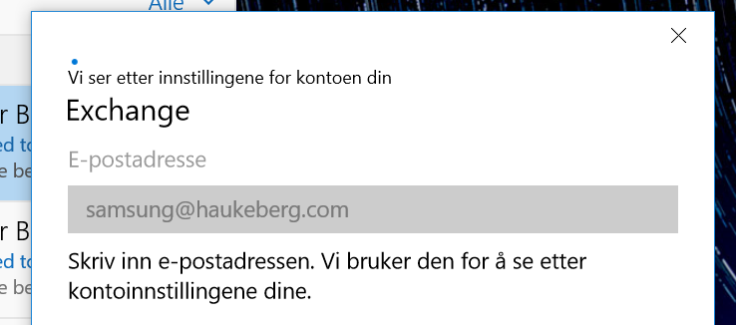
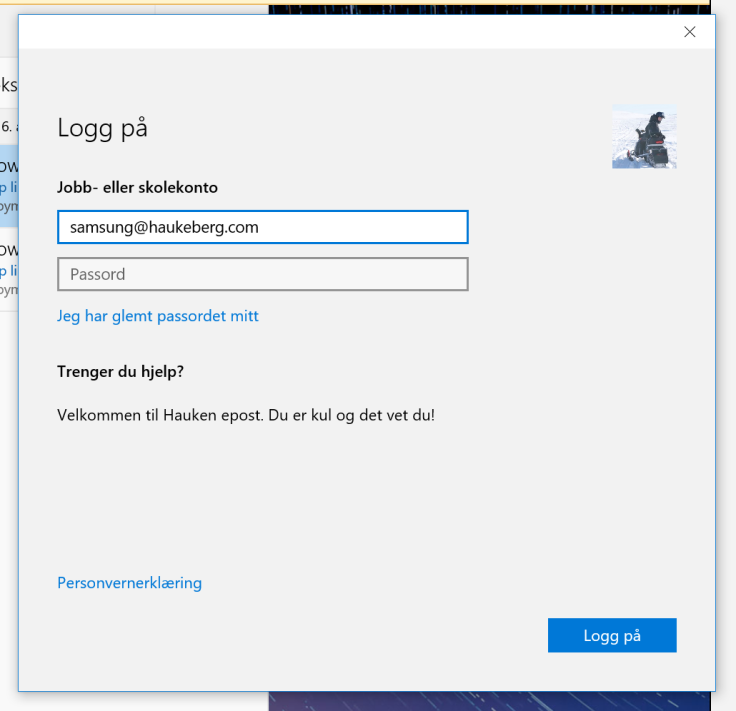
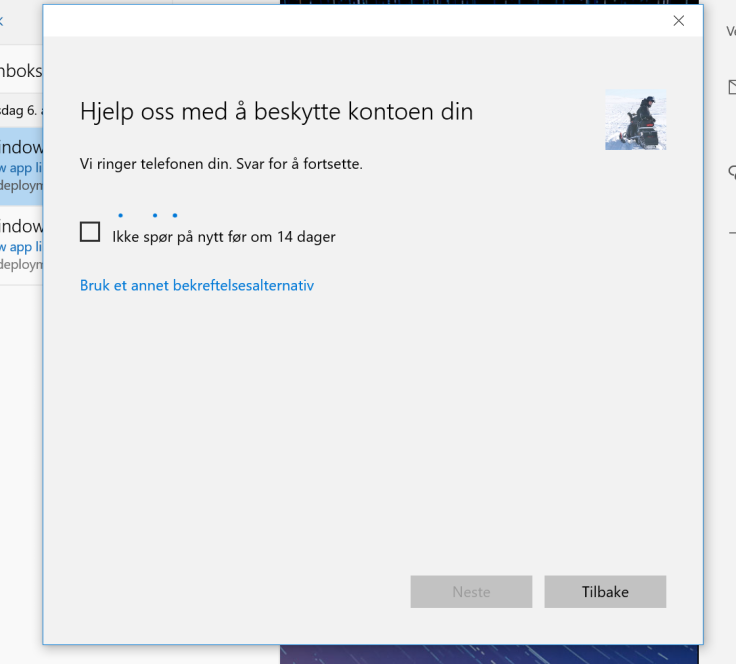
If you enable Azure MFA in Office 365 and try to sync mail using the native Windows 10 Mail client, this is what the user will see:
(Sorry for the Language. Just the buttons and boxes are all the same)
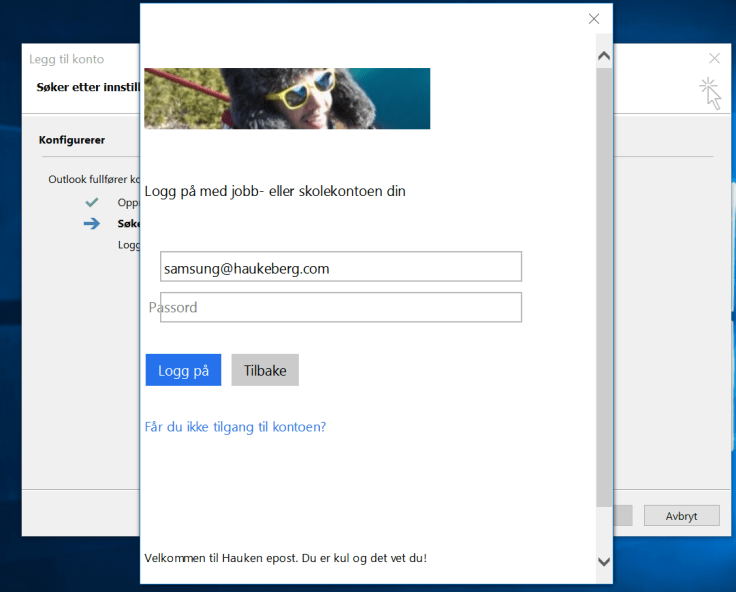
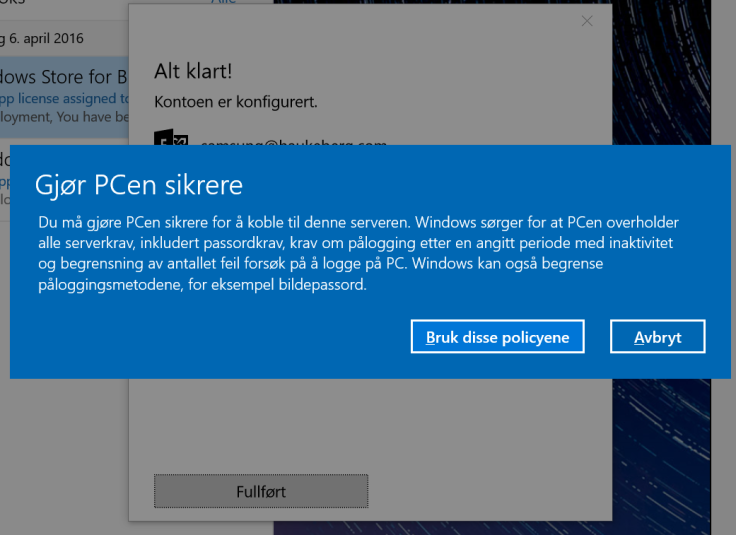
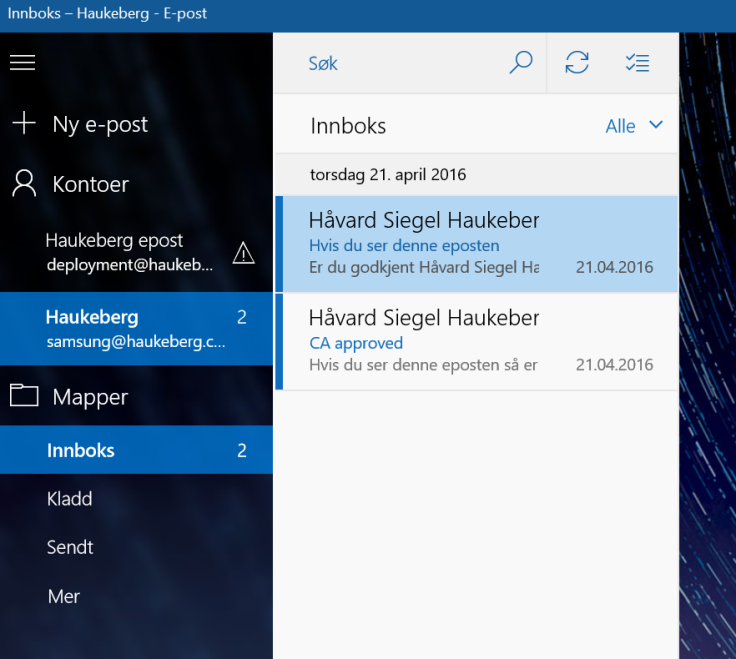
User needs to Select Office 365 for Azure MFAUser needs just now to enter his UPN, it can not be usernameIf it fails here then Autodiscover is broken.Observe that the mail app has pulled Down my Company details including logo and custom textRight now yor phone would ring or you would get a sms/app challengeThats itYour Company Security settings will now be Applied. Usually you get this Box regardless just to tell you that it might tighten securityYou recieve mail. If you do not see mail, mabye the mail is older than a month. Then you need to change the sync settings to enable all mail to sync down
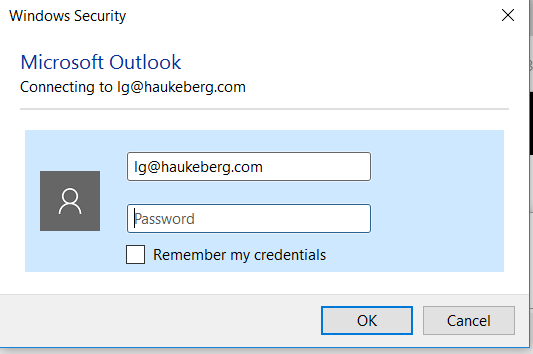
Scenario: You select “ENABLE” on Azure MFA but you do not Enforce. The user has not logged onto Office 365 before and is setting up his Outlook for the first time.
Spoiler warning: Nothing happens, YET.
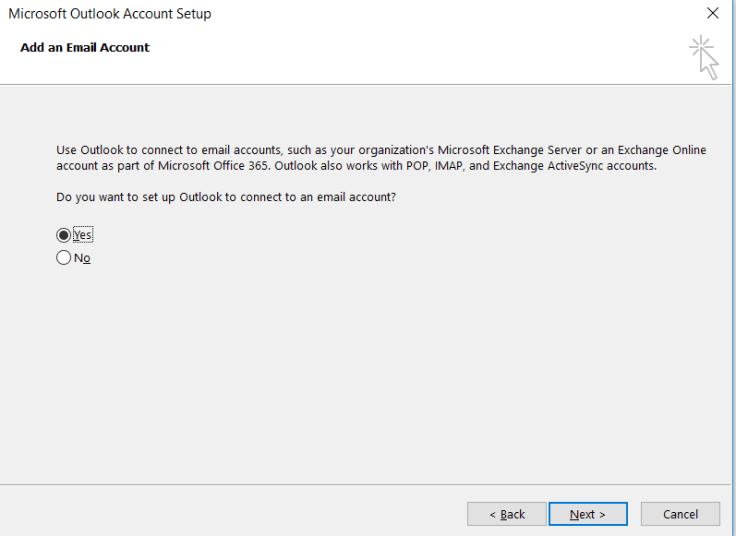
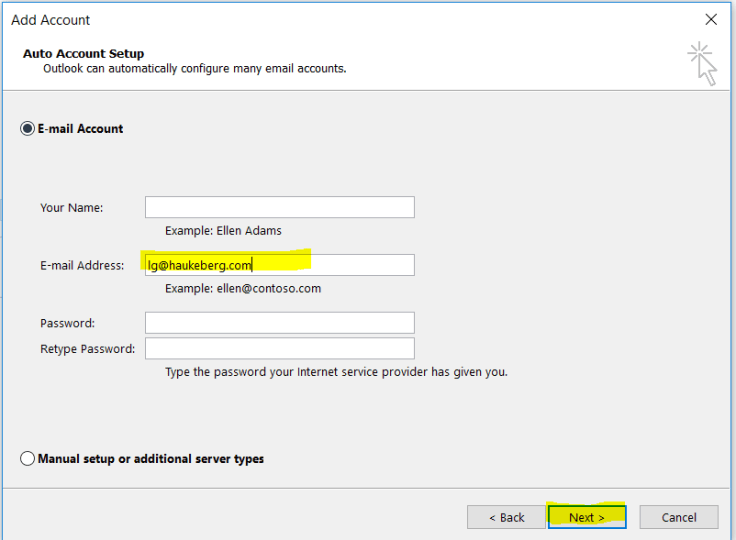
Here is how Outlook 2016 behaves when you activate Azure MFA for your Account.
Hey, are you a municipality, county or another complex organization? Do you have education users and corporate users and want all of them to be in the same Azure AD?
Good news for you. It’s possible!
And I have here Both E3 and Education (E1) for students.
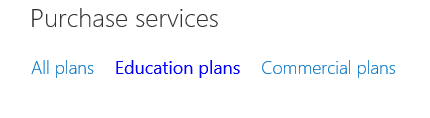
Buy EDU Licenses and The CORP licenses should also be in the same list under “Purchase Services”
You have a CORP tenant that you need EDU licenses on.
Email your License supplier hand have them reach out to your local Microsoft Education Team.
The local MSFT EDU team can tag your tenant as EDU. YOu need to provide them with your tenant name: e.g. MYTENANT.onmicrosoft.com
Wait 48 hours after the MSFT EDU team has submitted the request.
Here is proof that it works:
I can select between EDU and CORP plans
Limitations,risks and warnings.
Risks include students having access to the entire GAL
Do a GAL segregation please.
Volume License plans – it has not been tested and no one knows how exactly it will pan out with the agreement you have. So be warned the deployment of licenses may take a LOOOOOOONG time.
You do this at your own risk at the moment and there is no guarantee it will work in the end either.
This scenario works fine when you buy licenses in the portal (MOSP) shown. The problems arrive when you use a partner which sells you licenses. And that applies for most of you.
In order to be eligible for the adoption funds you need to have a success plan owner on your success plan and that owner need to be from the customer email-domain.
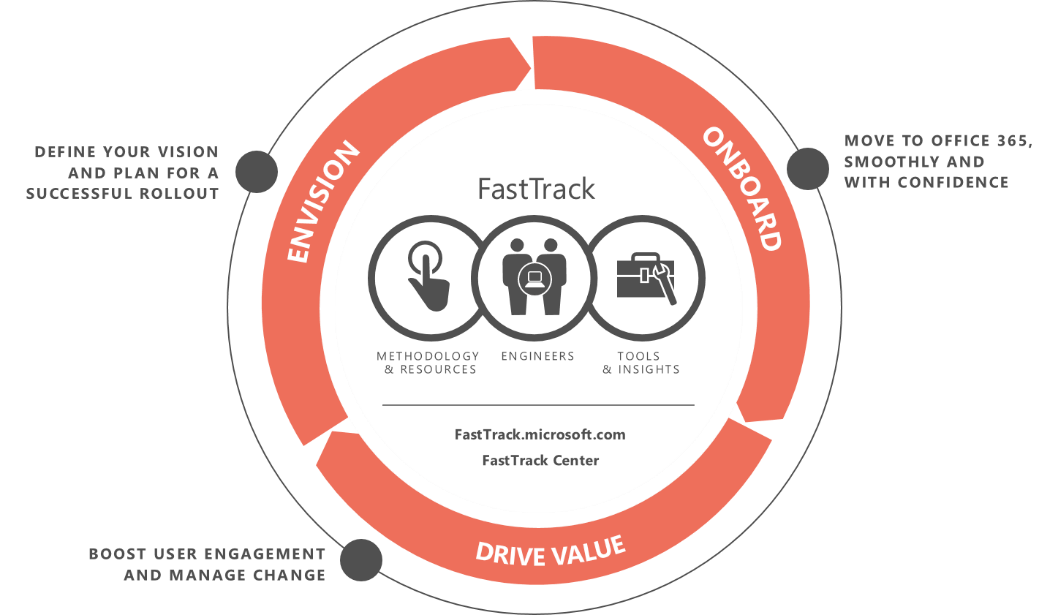
Here is how you as a PARTNER can do it:
Find the success plan and make sure it is all 100%Click on 1. Business Case and wait for page to load. Then click teams
Make sure you have these roles
If you are missing Success Plan Owner , click add and add him.
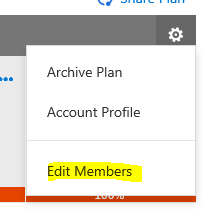
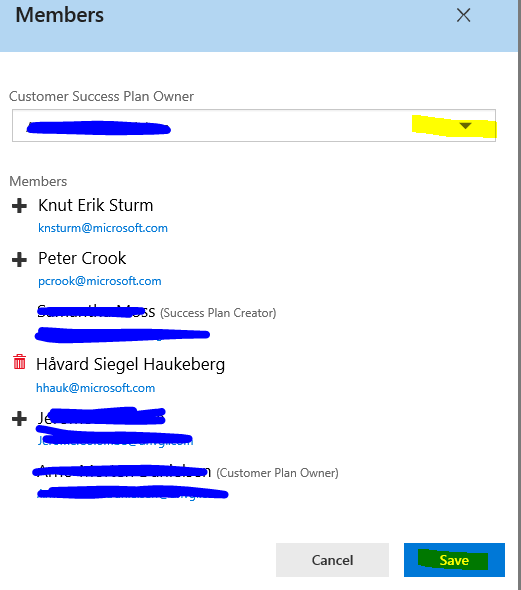
Now go back up to the success plan and click the gear icon and Edit members
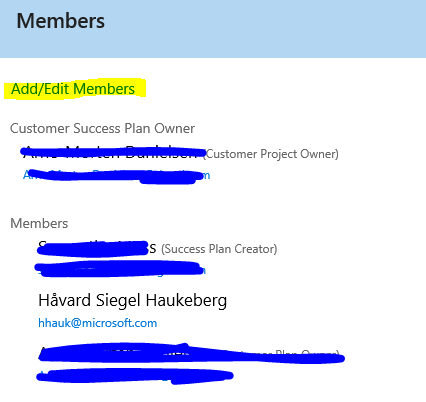
If you do not see a customer plan owner click add/edit members
Select the customer owner from the drop down list
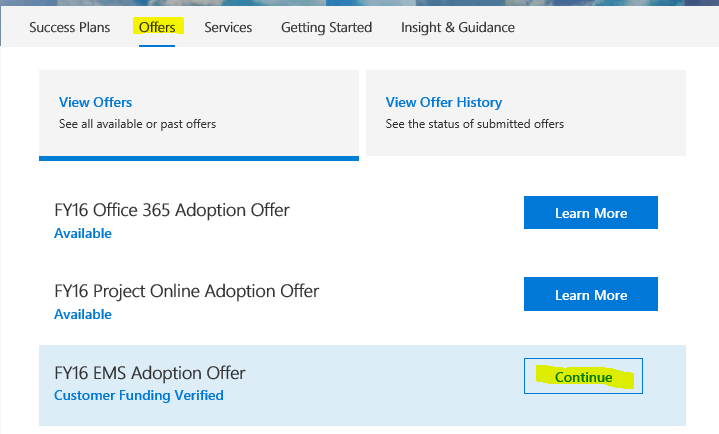
Now you are ready to submit your offer request. Click on Offers and continue or “Learn more”
Associate the success plan which now has a owner
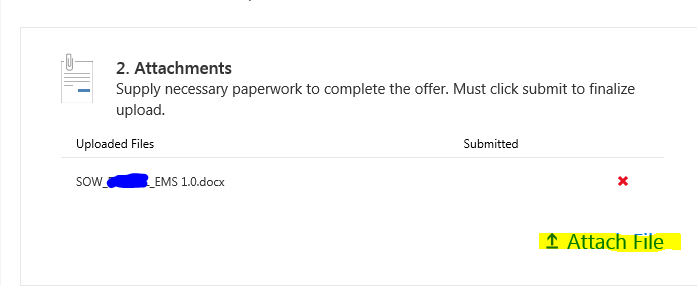
Attach any aditional files and click submit.
Customer Success Plan Owner now has to approve the project in the fasttrack portal.


You must be logged in to post a comment.