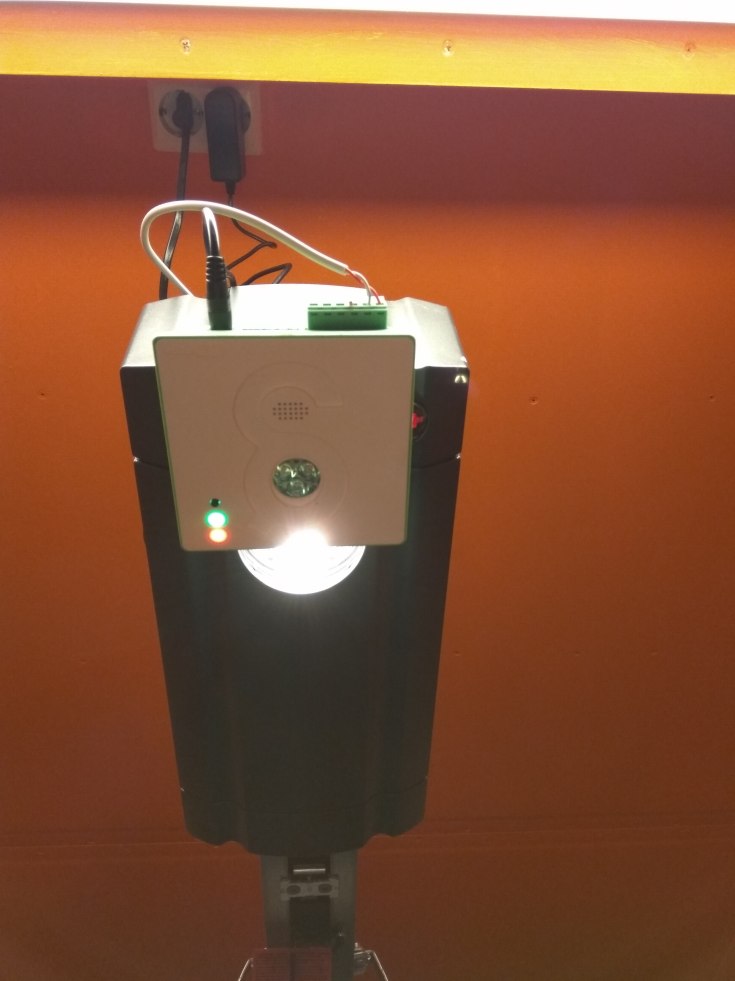
They are really good looking and super easy to mount. They also have a powerful light with multiple white color temperatures.
I can not express enough how well made this product is. Even if you just want a plain ceiling lamp, get this one. There is a quick connector to remove the lamp unit. The power connector unit does not require any screws for power and there are plenty of holes to fasten it to the roof or a power-socket box using standard lamp screws.
Anyhow, I connected three of these lamps to two motion sensors and thought the Xiaomi Gateway I set up an automation.
“Once you enter the room, turn on the lights”
and
“Once there is no motion within 2 minutes, turn off the lights”
Hi and welcome, here is how you can automate your ceiling lights to turn on/off when you open the door.
With this setup I have automated the following task:
“Open door, turn on lights”
and
“Close door, turn off lights”
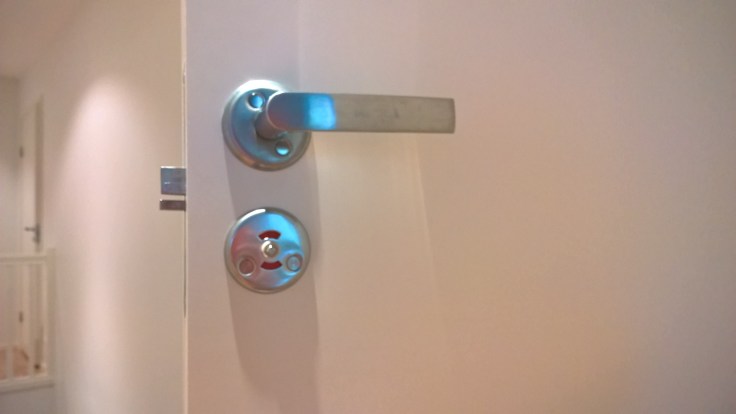
The automation works because I switched out the lighting switch with a Xiaomi Aqara Wall Switch that is connected to the Xiaomi gateway. I mainly do not use the switch so it works kinda like a relay.
Due note that the wall switch does NOT fit into the EU wall socket boxes. In order to make it fit I bought a ELKO DIMMER BOX / RISER and put it over the wall socket.
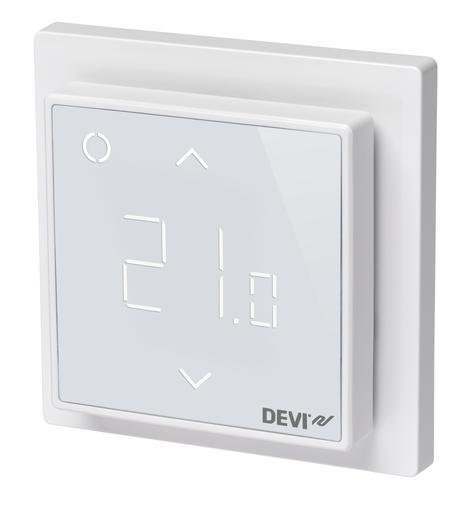
It was super easy and now I can control my AC and heatpump from away and set it to a schedule that will lower the heat during hours of sleep or when we are not at home.
Here is my normal schedule.
22.30-06.00 Night 17 Degrees (save mode)
06.00-08.00 Morning 22 degrees (heat mode)
08.00-15.00 work day (save mode)
15.00-22.30 at home (heat mode)
You can override it at any time with the app.
Drawbacks:
It needs power, hence you need to set it up close to an outlet. Its not a standard 220V socket, instad it uses a “cellphone” charger. so cabling can be an issue.
It uses IR with your AC unit, so it needs to be in line of sight of the unit.
Connecting the garage door with right cable and can be tricky since there are no manual for your specific Garage door opener. Luckily at https://gates.gogogate.com/gates.php there is a garage compatibility lookup tool.
I simply entered my Hormann ProMatic 3 and I got a easy to understand wiring diagram
Lucky me. If I did not have this there is no way I would find this out by myself. This configurator should be showcased on the front page in my opinion.
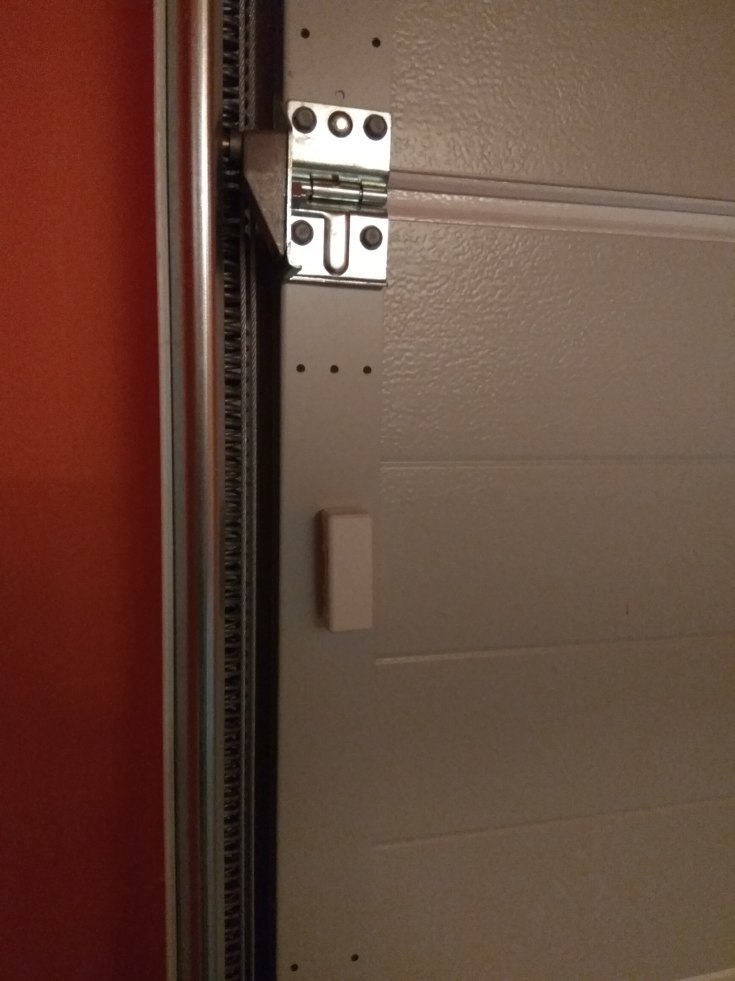
The rest was easy, I simply put the cables in and there, done! used the adhesive pad to stick the sensor underneath the opener. Not very beautiful but, it is only a garage 🙂
Don’t forget that you need to place the door open/closed sensor on the garage door itself. IMPORTANT that you place the sensor on the middle of the door. Some doors tend to be tilted and the sensor might give off a wrong reading if it is on the top.
Before you do any physical work with your garage door you need to configure the box, app and share it with the users in your house, here is how the box up:
Remember, you need an additional PC:
This slideshow requires JavaScript.
Here is how you set up the app and connect it you the service.
This slideshow requires JavaScript.
Here is how you add users, so everyone can open the garage door with their phone.
It is super smart and I can control all of them using my phone to turn them on or off when on vacation or simply have them turn off during night and during work. It was super easy for me to set this up and I only needed to google one thing in order to set it up properly.
Video here:
Here is the mounting process
Dismount the existing thermostat
Note down the cable settings
Screw it back on in the same way
Google your existing thermostat to find out the Resistance of the sensor and heating output. Here is the information from my old sensor:
Once that is done, simply turn the power back on and start the setup
Now I can do some really smart things with my thermostat, check this out
I was listening to a podcast and they did a good ad from Ring.com. I just had to go online and look at it. And what do you know it was all that cool.
TIP: you can not have it charging when you set it up. then it will not work
It is a standalone one-way video two-way audio doorbell that lets you answer any ring or motion outside with voice. It also records the motion and rings for you to look at later.
Look at these videos:
The doorbell comes in a nice box with all the tools you need.
By mistake I got a US adapter on the CHIME unit
You do not have to plug it in to power as the built in battery will last a long time and you can charge it with a standard USB cable.
You do not need to buy extra chimes as one chime unit comes in the box, but here make sure that you specify an international package. I did not know that the orginal box came with a chime unit so I ordered that aswell.


You must be logged in to post a comment.