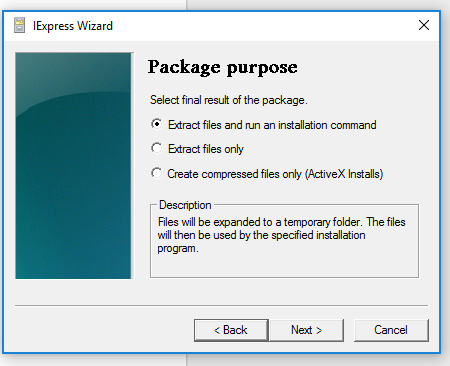
If you are a larger organization or a school, simply asking your users to enter a pin and start authenticating with a phone might be challenging. Even more so when they have never done that before.
Here is how you disable PIN challenge and phone verification when joining Azure AD
You can join Azure AD and use the Intune device agent for MDM and not the MDM channel when you enroll. It is a bit tricky and require manual touch on the device.
The best experience is to include the Intune agent in the Windows Image. If can not do this then here is how:
You need this:
Azure AD Enrollment Administrator
Microsoft Intune Agent on USB
Windows 10 clean install (OOBE)
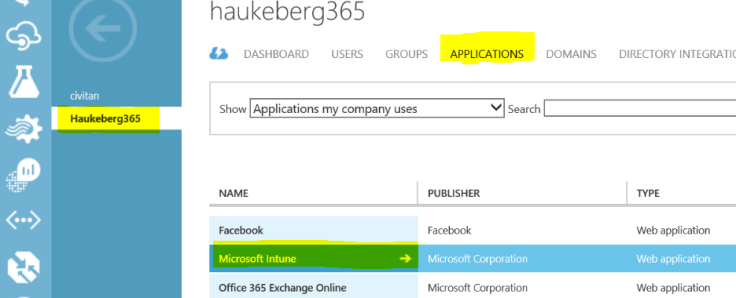
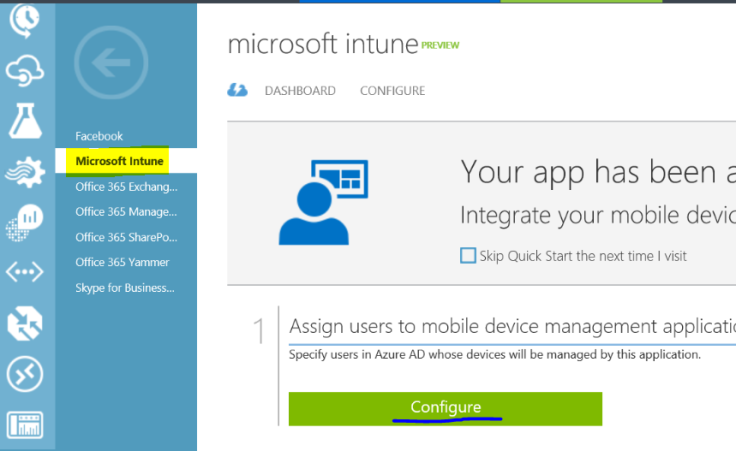
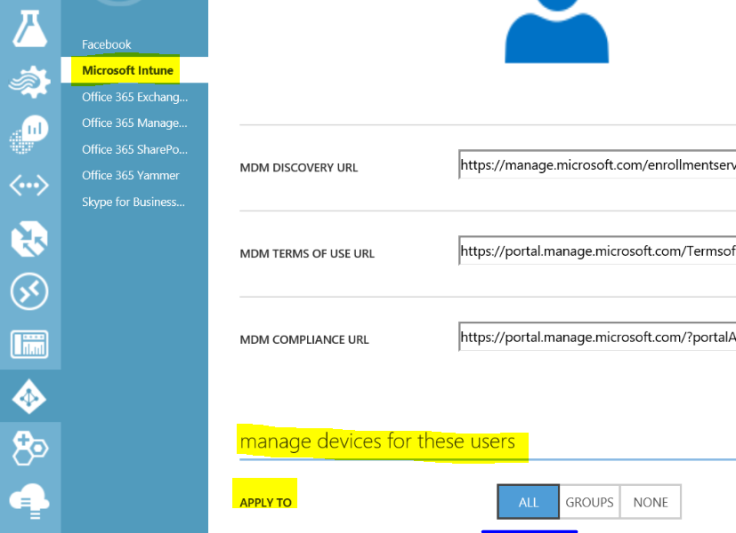
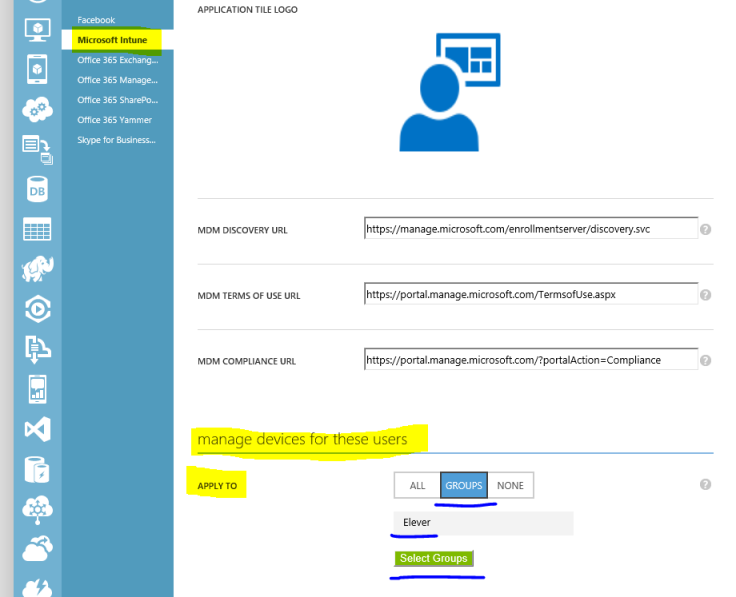
Configure Azure AD to only MDM enroll
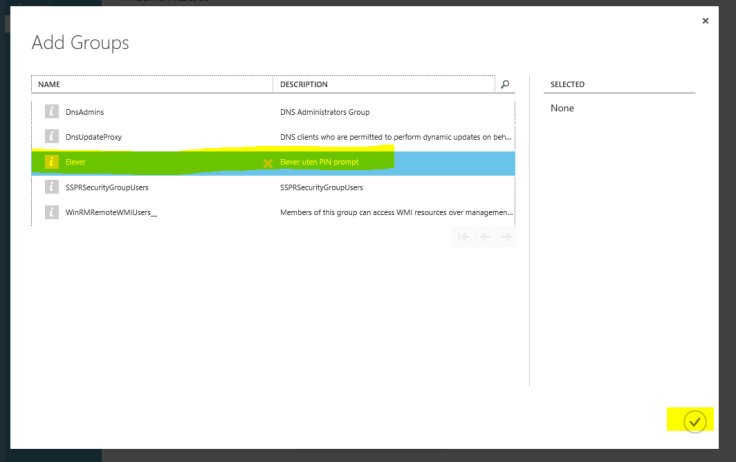
Create a group for Security Group with all students
Target Intune to only do MDM for that Group
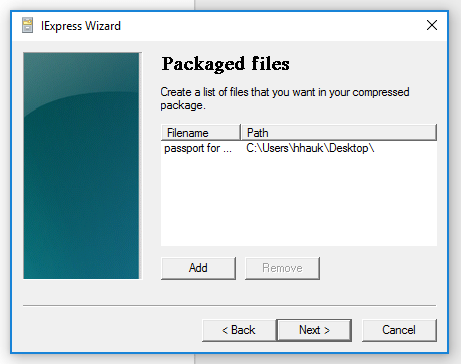
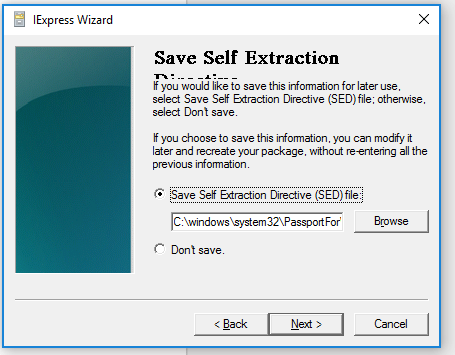
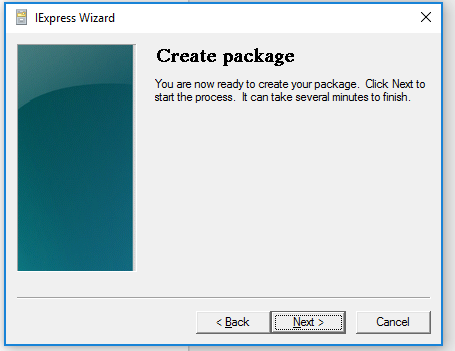
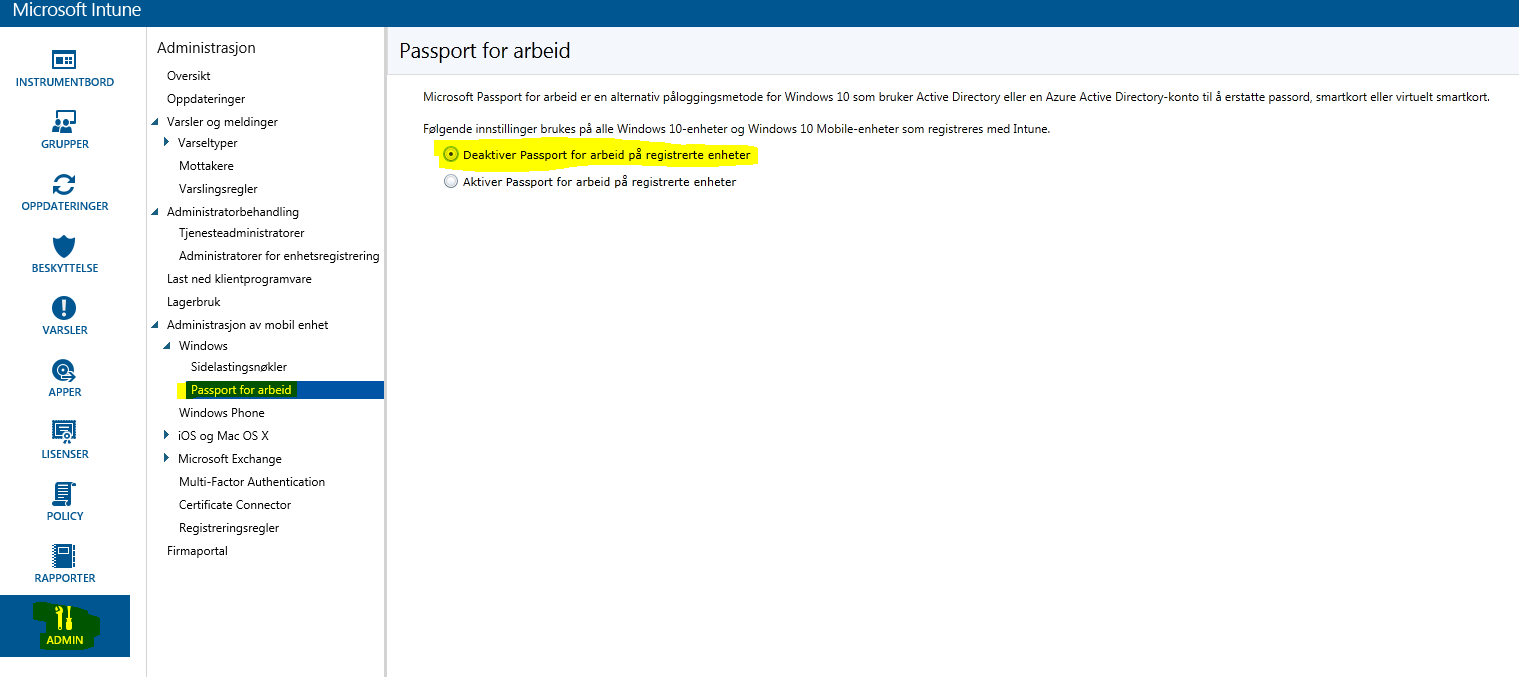
Optional: Passport for Work registry disable script
Under manage devices for these users, select Groups then browse and select the all students group. Select it and click on the check mark. Click Save down on the bottom bar.
In Intune:
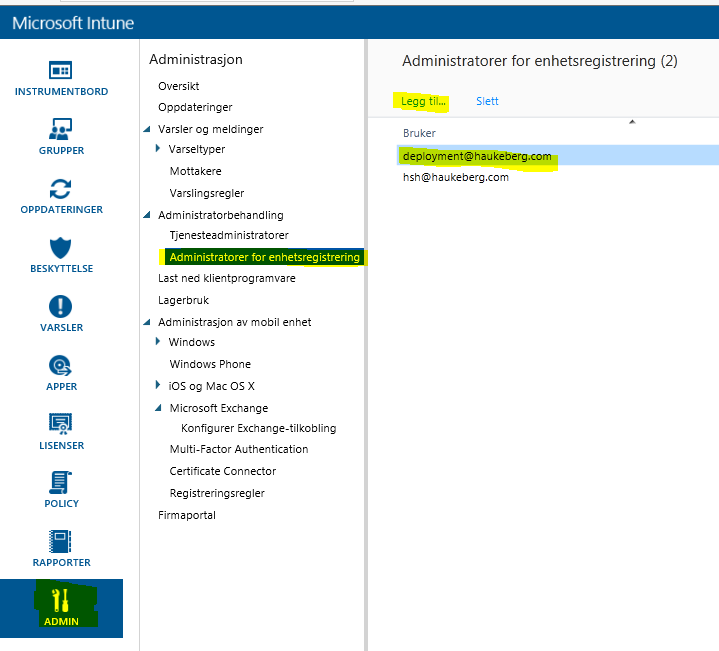
Create an enrollment administrator in the Intune Console
Go to ->Admin->Administrator->Device Enrollment Administrator Enter an Azure AD user as a device enrollment admin e.g. deployment@yourdomain.com
*Create group for the devices that the Device Enrollment Administrator is a part of so that all his devices get targeted for a script.
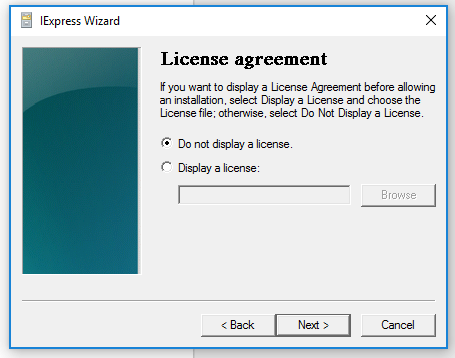
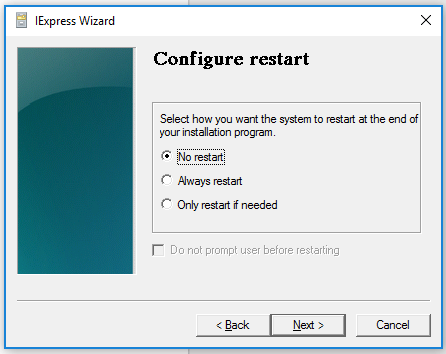
*Disable Passport for Work by pushing a Script to that group. This script Disables Passport for Work on the local machine so that you do not need to enter a pin.
*One client is visible in Microsoft Intune you need to either distribute the software on all clients or on a client that you manually move into a specific group.
That software will be pushed down in time. you may force the install on the device by pressing install on the client or refreshing the policy in Intune.
Get the Intune agent from Admin->Download Client Software and save it to a USB stick.
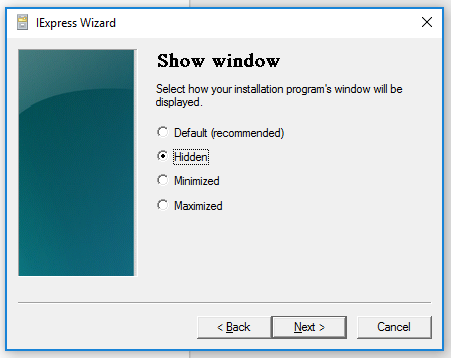
*Only nessecary if you want to disable the “Create PIN promt” on login.
Enrollment Admin Creation
On the Device:
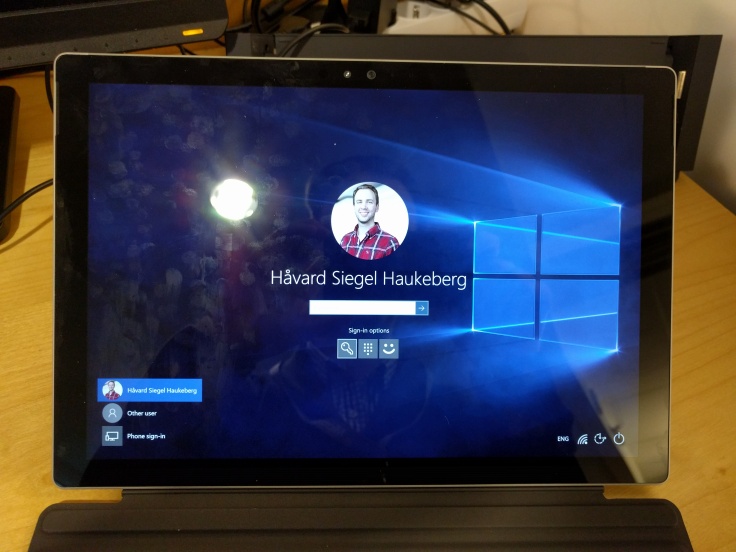
Boot the clean device.
Under the OOBE experience Select “My company owns this Device”
Log on with that enrollment administrator and complete the setup.
As the admin you will be challenged with a PIN prompt and you need to verify so bring your phone.
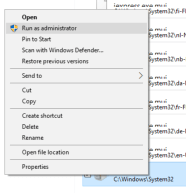
Plug in USB and run the EXE file. Remember you need both the EXE and that small certificate file to be in the same folder for the enrollment to be toward your account.
Let the machine sit if you can. The longer it sits, the more stuff will be downloaded so your next user do not have to wait.
Log of your enrollment admin and give the PC to the students and let them log in with their user that is in the Student security group.
The next user that logs on will be a standard user.
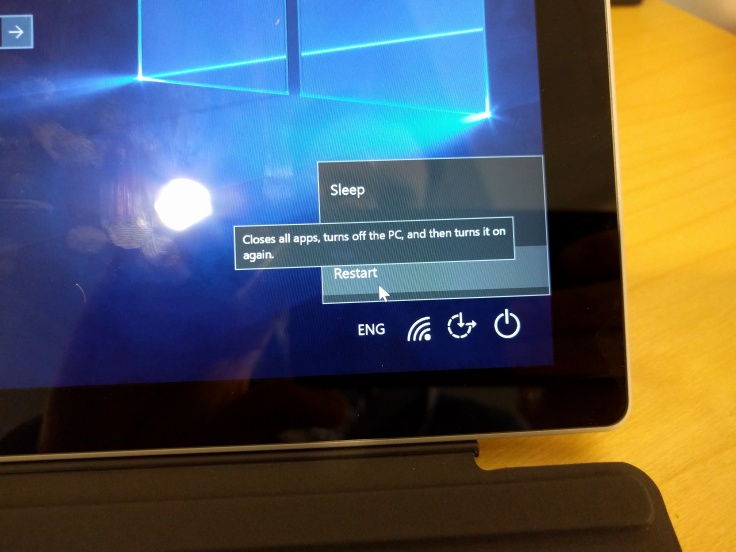
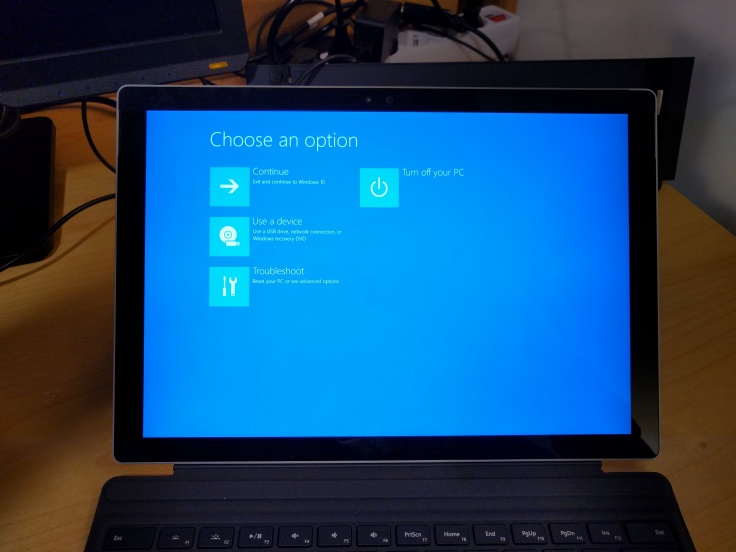
He/She will be prompted for a pin but it can be bypassed by doin this:
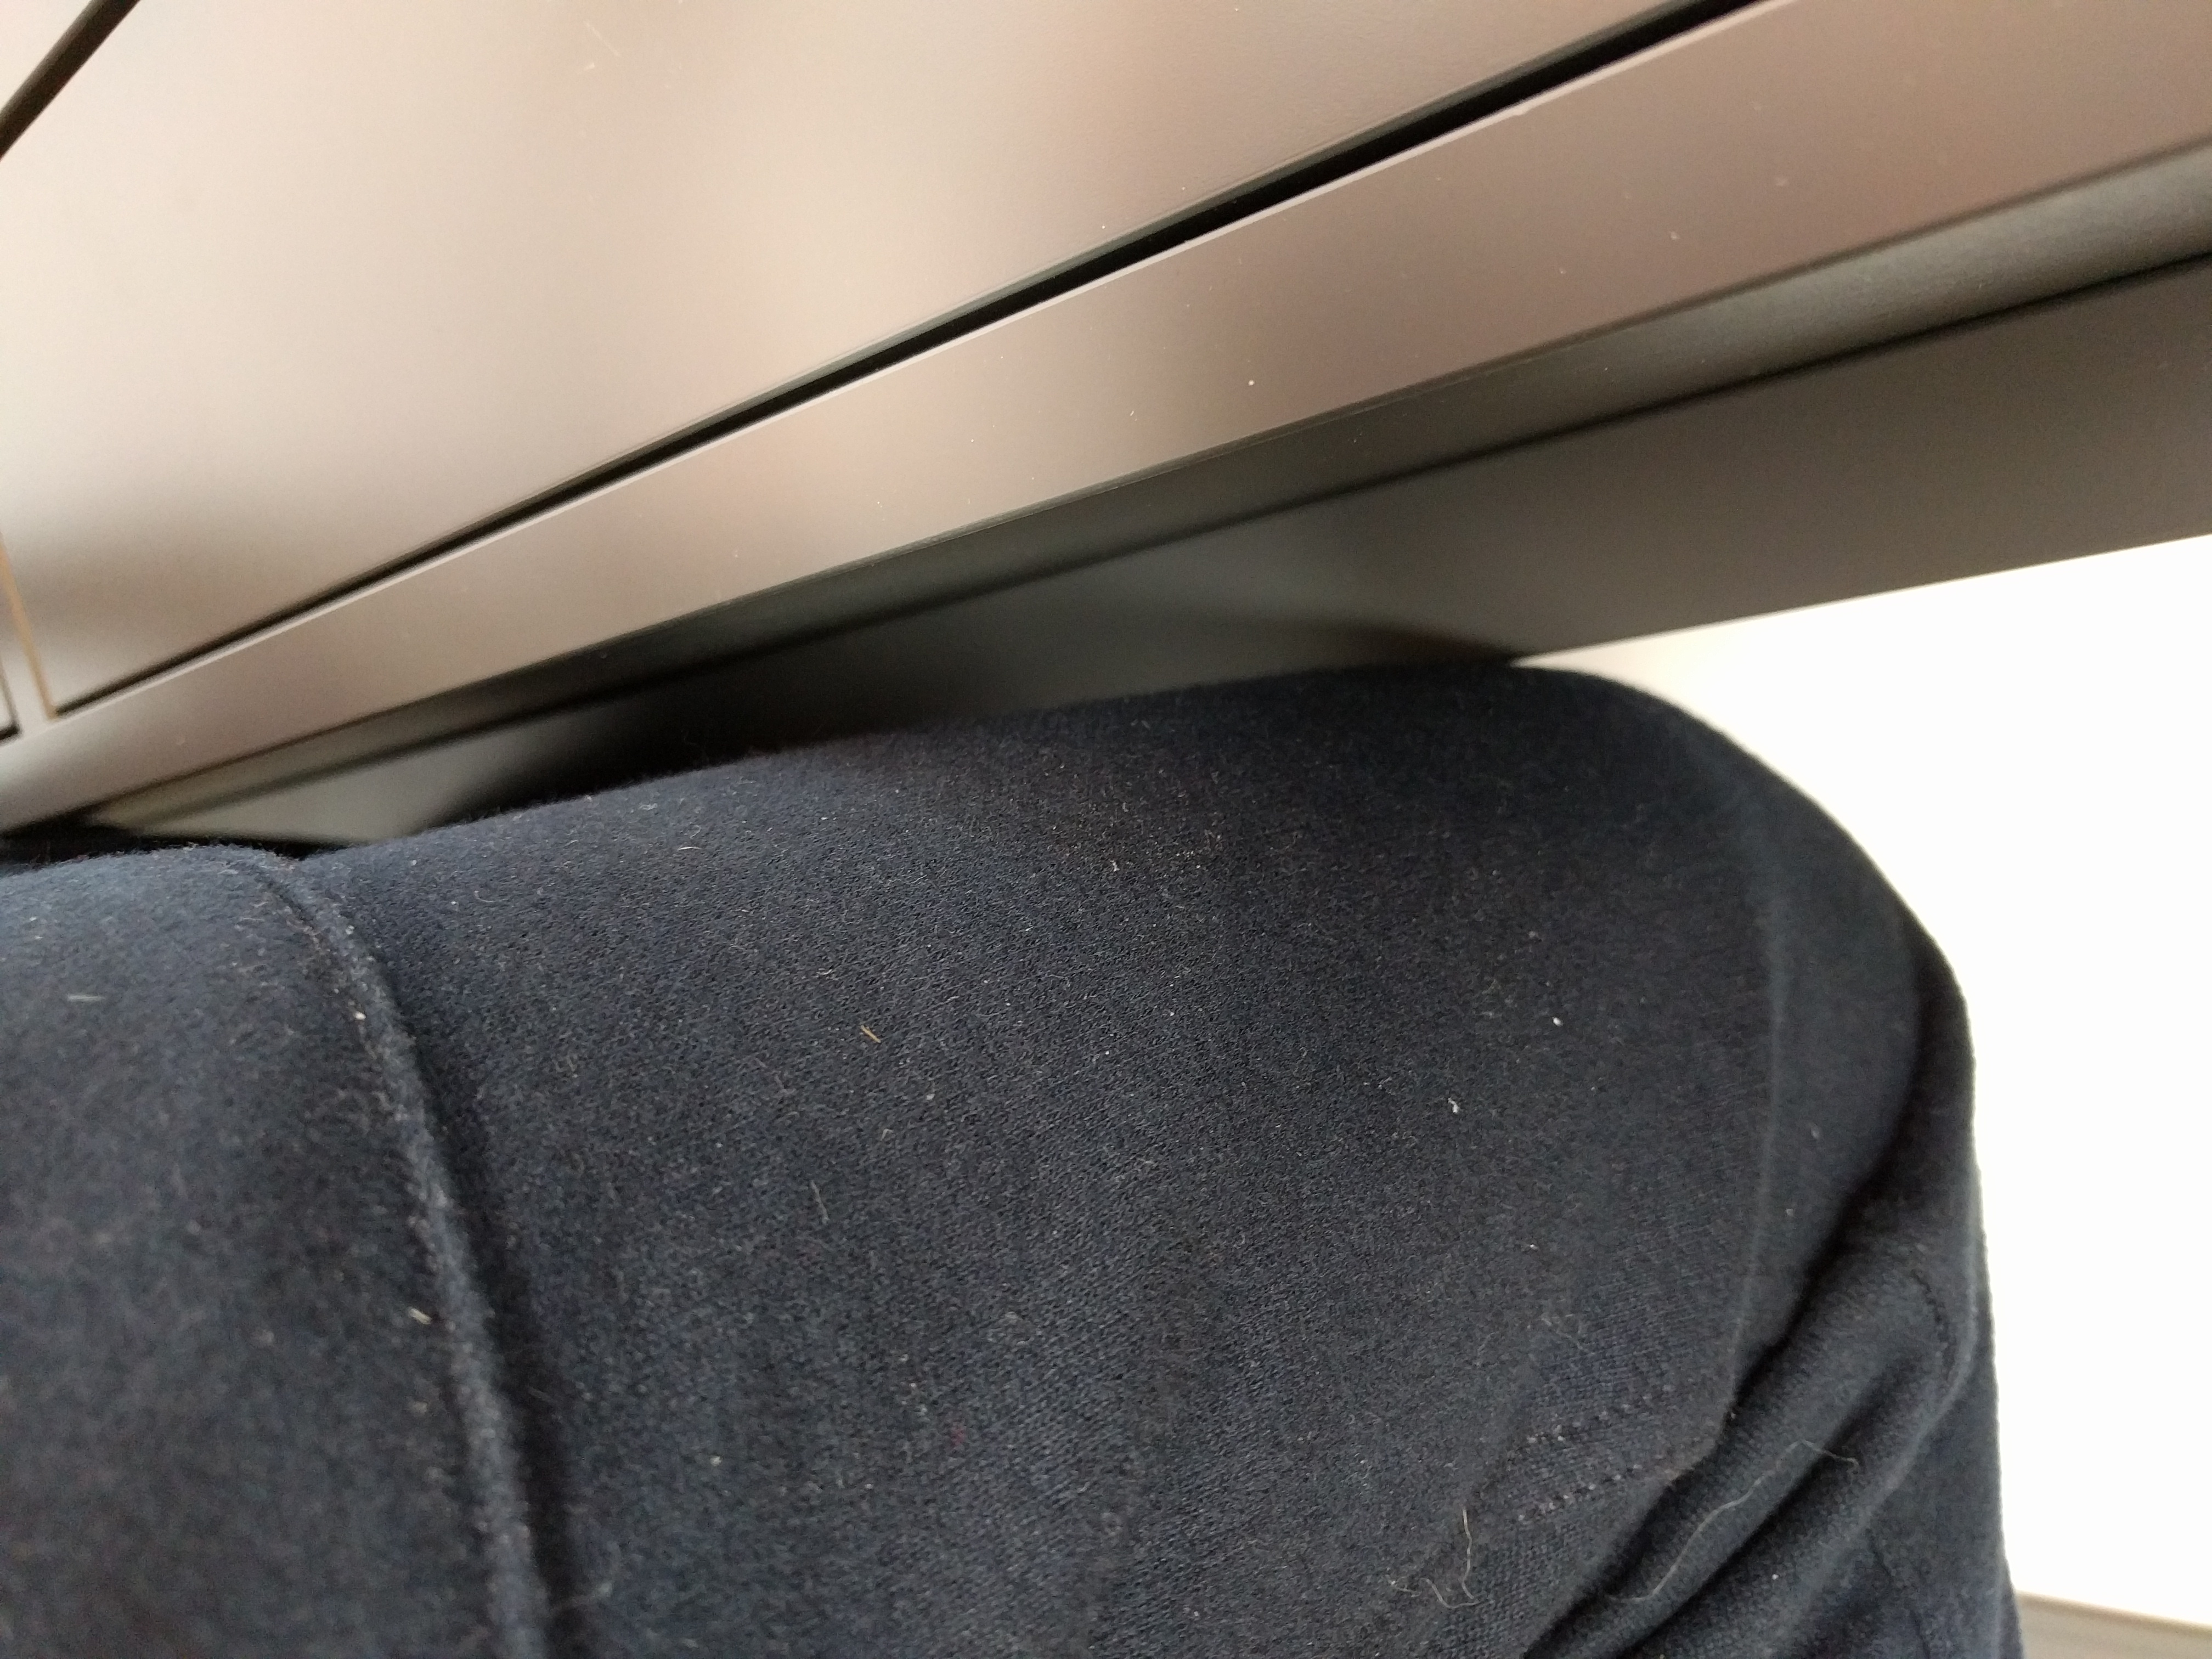
Kjøpte en IKEA ALEX skrivebordspult. Den var fin og greier men….
Husk at du skal ha beina under pulten også når du velger skrivebord. Derfor er det ekstremt upraktisk med skuff under bordet. for å gjøre vondt værre så er det også en metallstang under der igjen. Lite plass!!
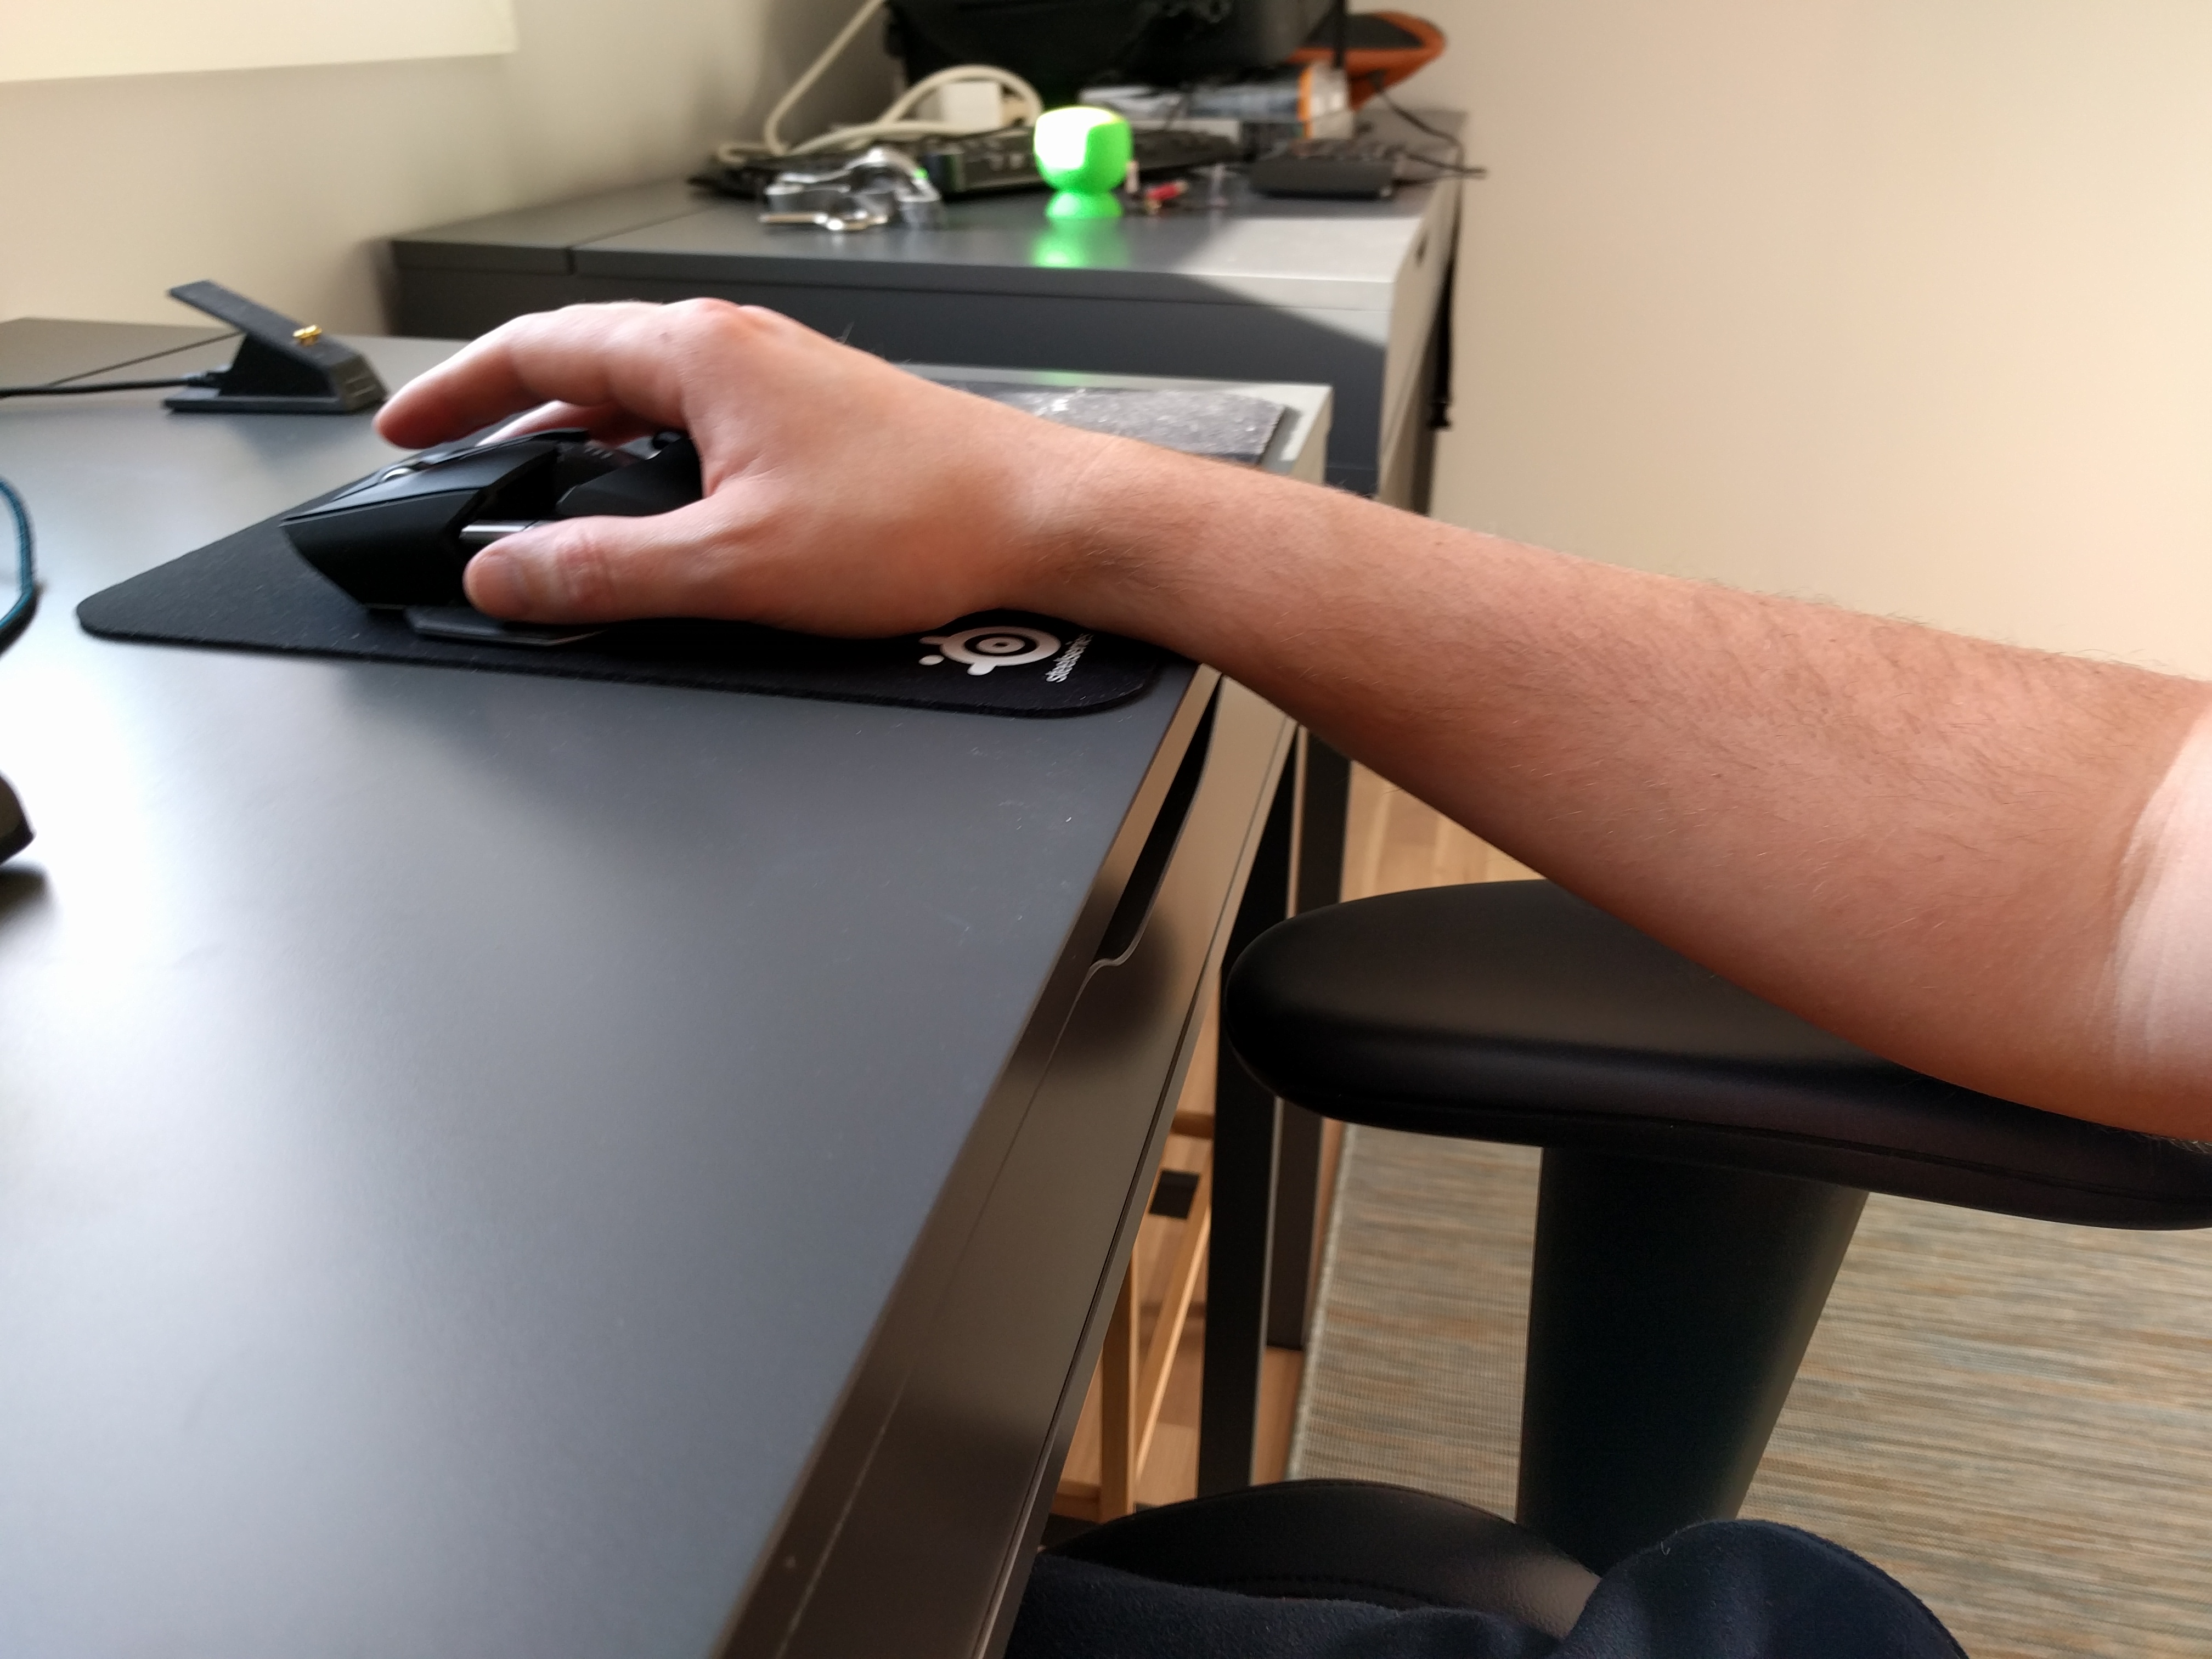
Du får også ikke stolen helt inntil så du må klemme beina for å få armlene høyt nok så du unngår det som skjer på nederste bilde
I was listening to a podcast and they did a good ad from Ring.com. I just had to go online and look at it. And what do you know it was all that cool.
TIP: you can not have it charging when you set it up. then it will not work
It is a standalone one-way video two-way audio doorbell that lets you answer any ring or motion outside with voice. It also records the motion and rings for you to look at later.
Look at these videos:
The doorbell comes in a nice box with all the tools you need.
By mistake I got a US adapter on the CHIME unit
You do not have to plug it in to power as the built in battery will last a long time and you can charge it with a standard USB cable.
You do not need to buy extra chimes as one chime unit comes in the box, but here make sure that you specify an international package. I did not know that the orginal box came with a chime unit so I ordered that aswell.
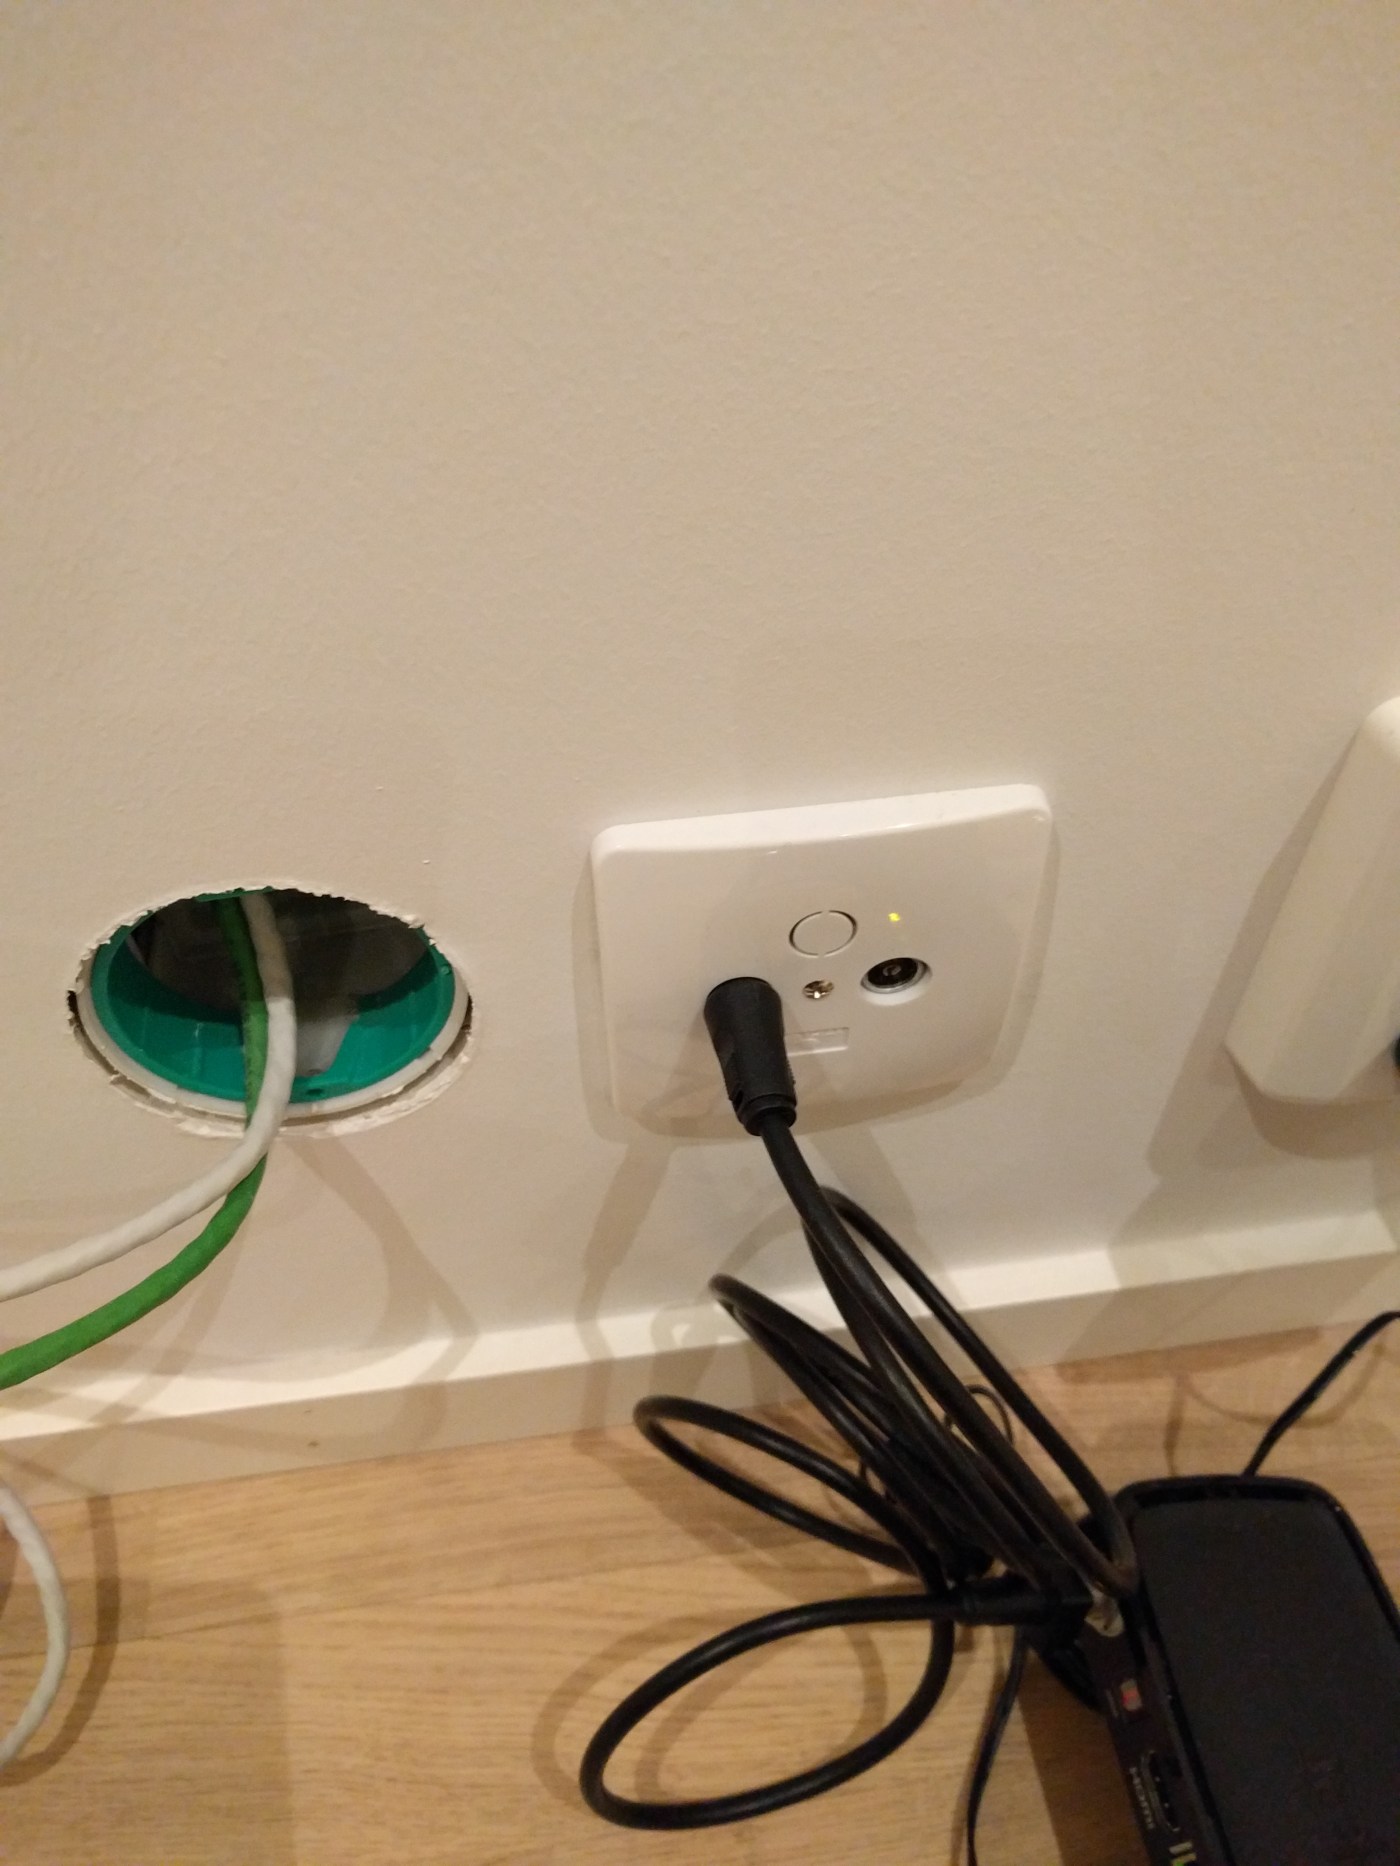
I was lucky and in my new house there were two CAT 5 TP cables that ran to two separate outlets on each floor and back into a compartment under the fusebox.
I am not very good with cables but putting a cable box on the wall socket was suprisingly easy.
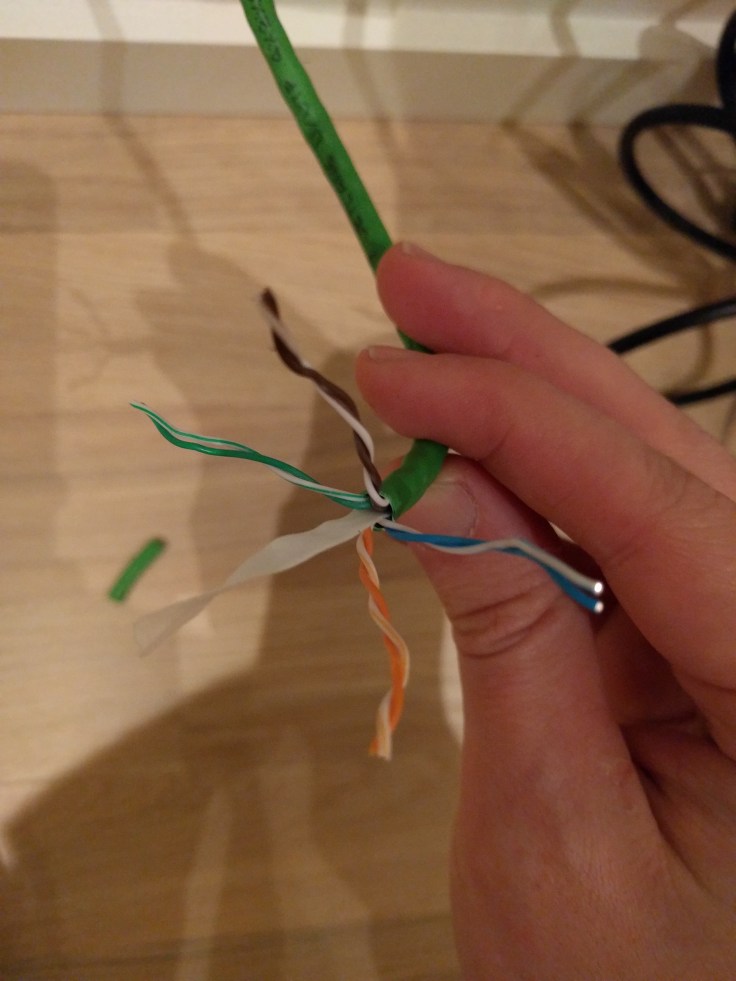
An ethernet tool to remove the plastic around the cable (you can also use your fingers)
Take the box apart and thread the cable through the plastic.
Now just push the small wires down on the respective clips. The clips are color coded so you can not do wrong. If you do not have the cables inside your wall, just strech them alongside the wall and use this kind of outlet from Jula


You must be logged in to post a comment.