Search

Håvard Siegel Haukeberg

Paste life: Ctrl+C -> Ctrl+V

Tag

windows phone

Alternative to Chromecast for Windows PC, Phone, Tablet and Android

Screenbeam Miracast alternative to Chromecast

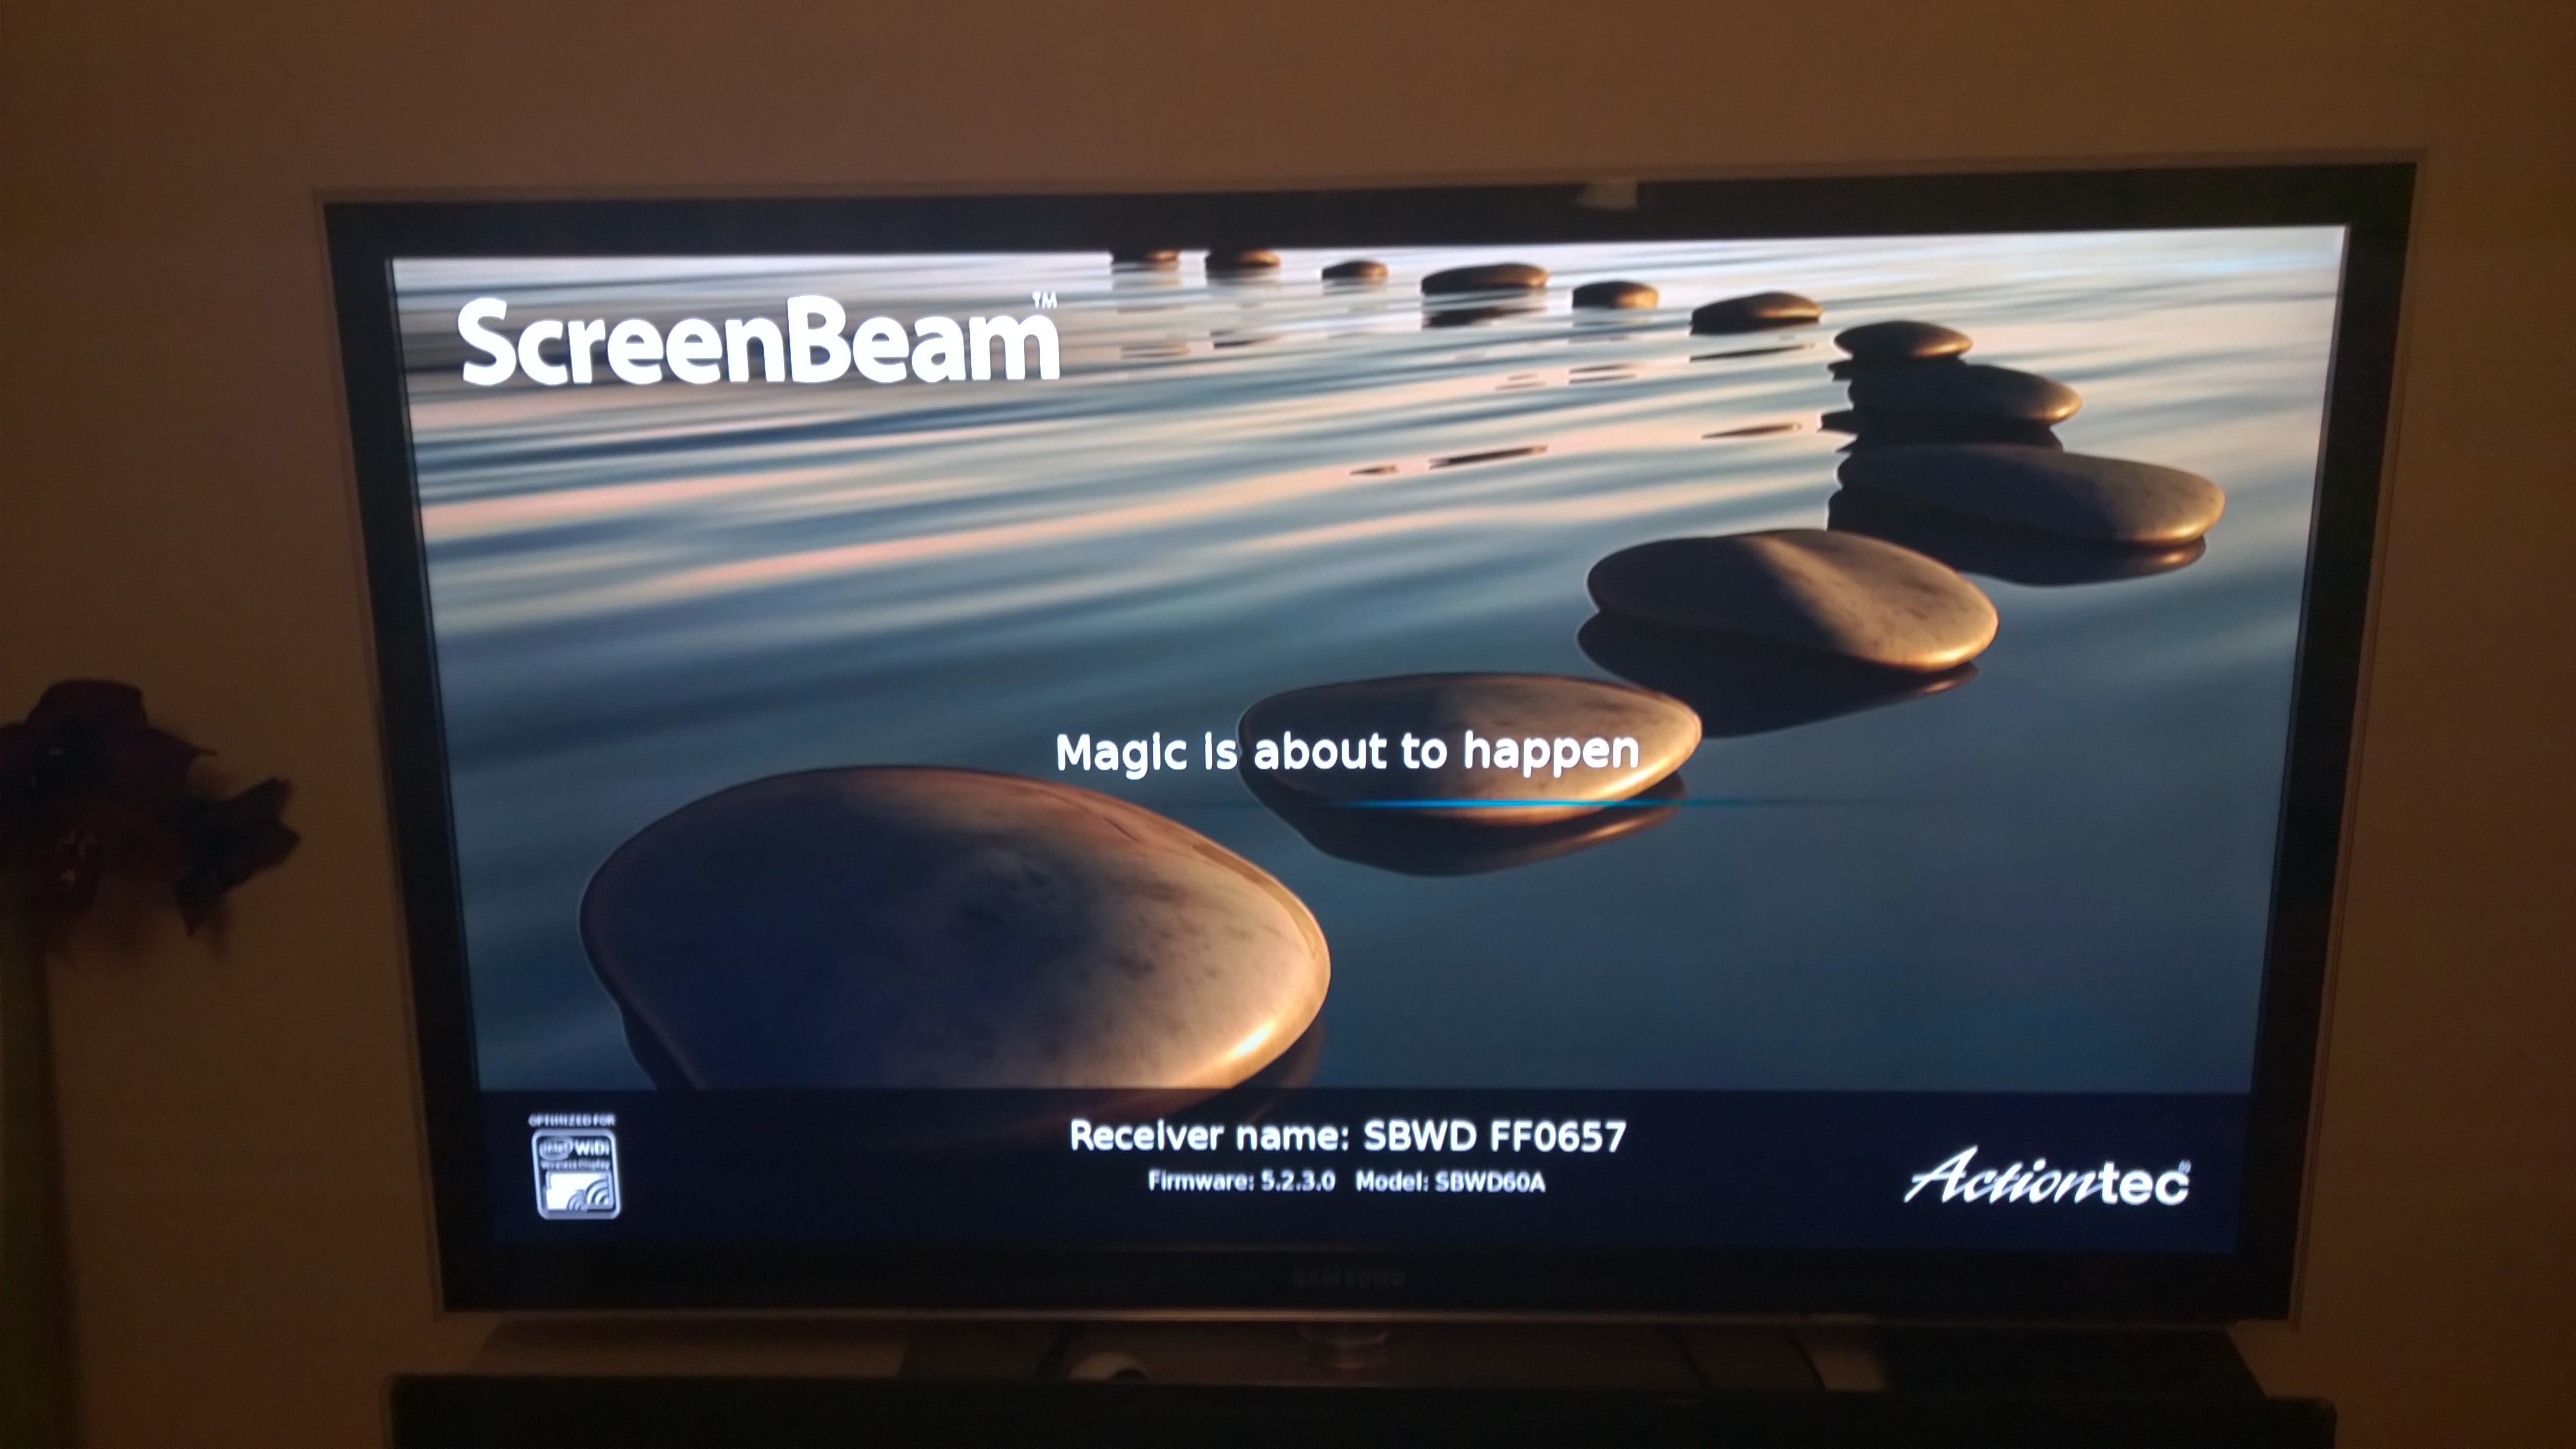
This is a hands on test of the Actiontec ScreenBeam Mini

Product Link: http://www.actiontec.com/327.html

If you are looking for a way to wirelessly transfer the content of Your screen to “the big screen” there are 3 popular ways to do it.

  1. Apple TV
  2. Chromecast
  3. Miracast

Of the 3 Technologies above, Miracast is probably the dumbest Technology. Miracast is only a Wireless HDMI/VGA cable. It does what the HDMI/VGA cable is supposed to, transmit sound and image. If you compare it to Apple TV or Chromecast the Miracast will disapoint you since you MUST Connect it to a computer for it to do anything at all.

The Box

The Box feature all you need, the adapter itself can take Power from USB on the tv or from the wall socket.

WP_20141012_21_21_57_Pro

Connecting the unit

There is also a HDMI extension cable if the dongle does not fit into the TV directly.
Here is a tip: Leave the metal band on the USB cable to avoid cable clutter!

A note on Power.

The unit require a larger powersupply like HDD’s so if Your TV has a HDD usb port it will supply the right amount of Power, plug it into any other port and it may start to reboot constantly. You may also Connect it to the wall socket.

WP_20141012_21_24_02_Pro

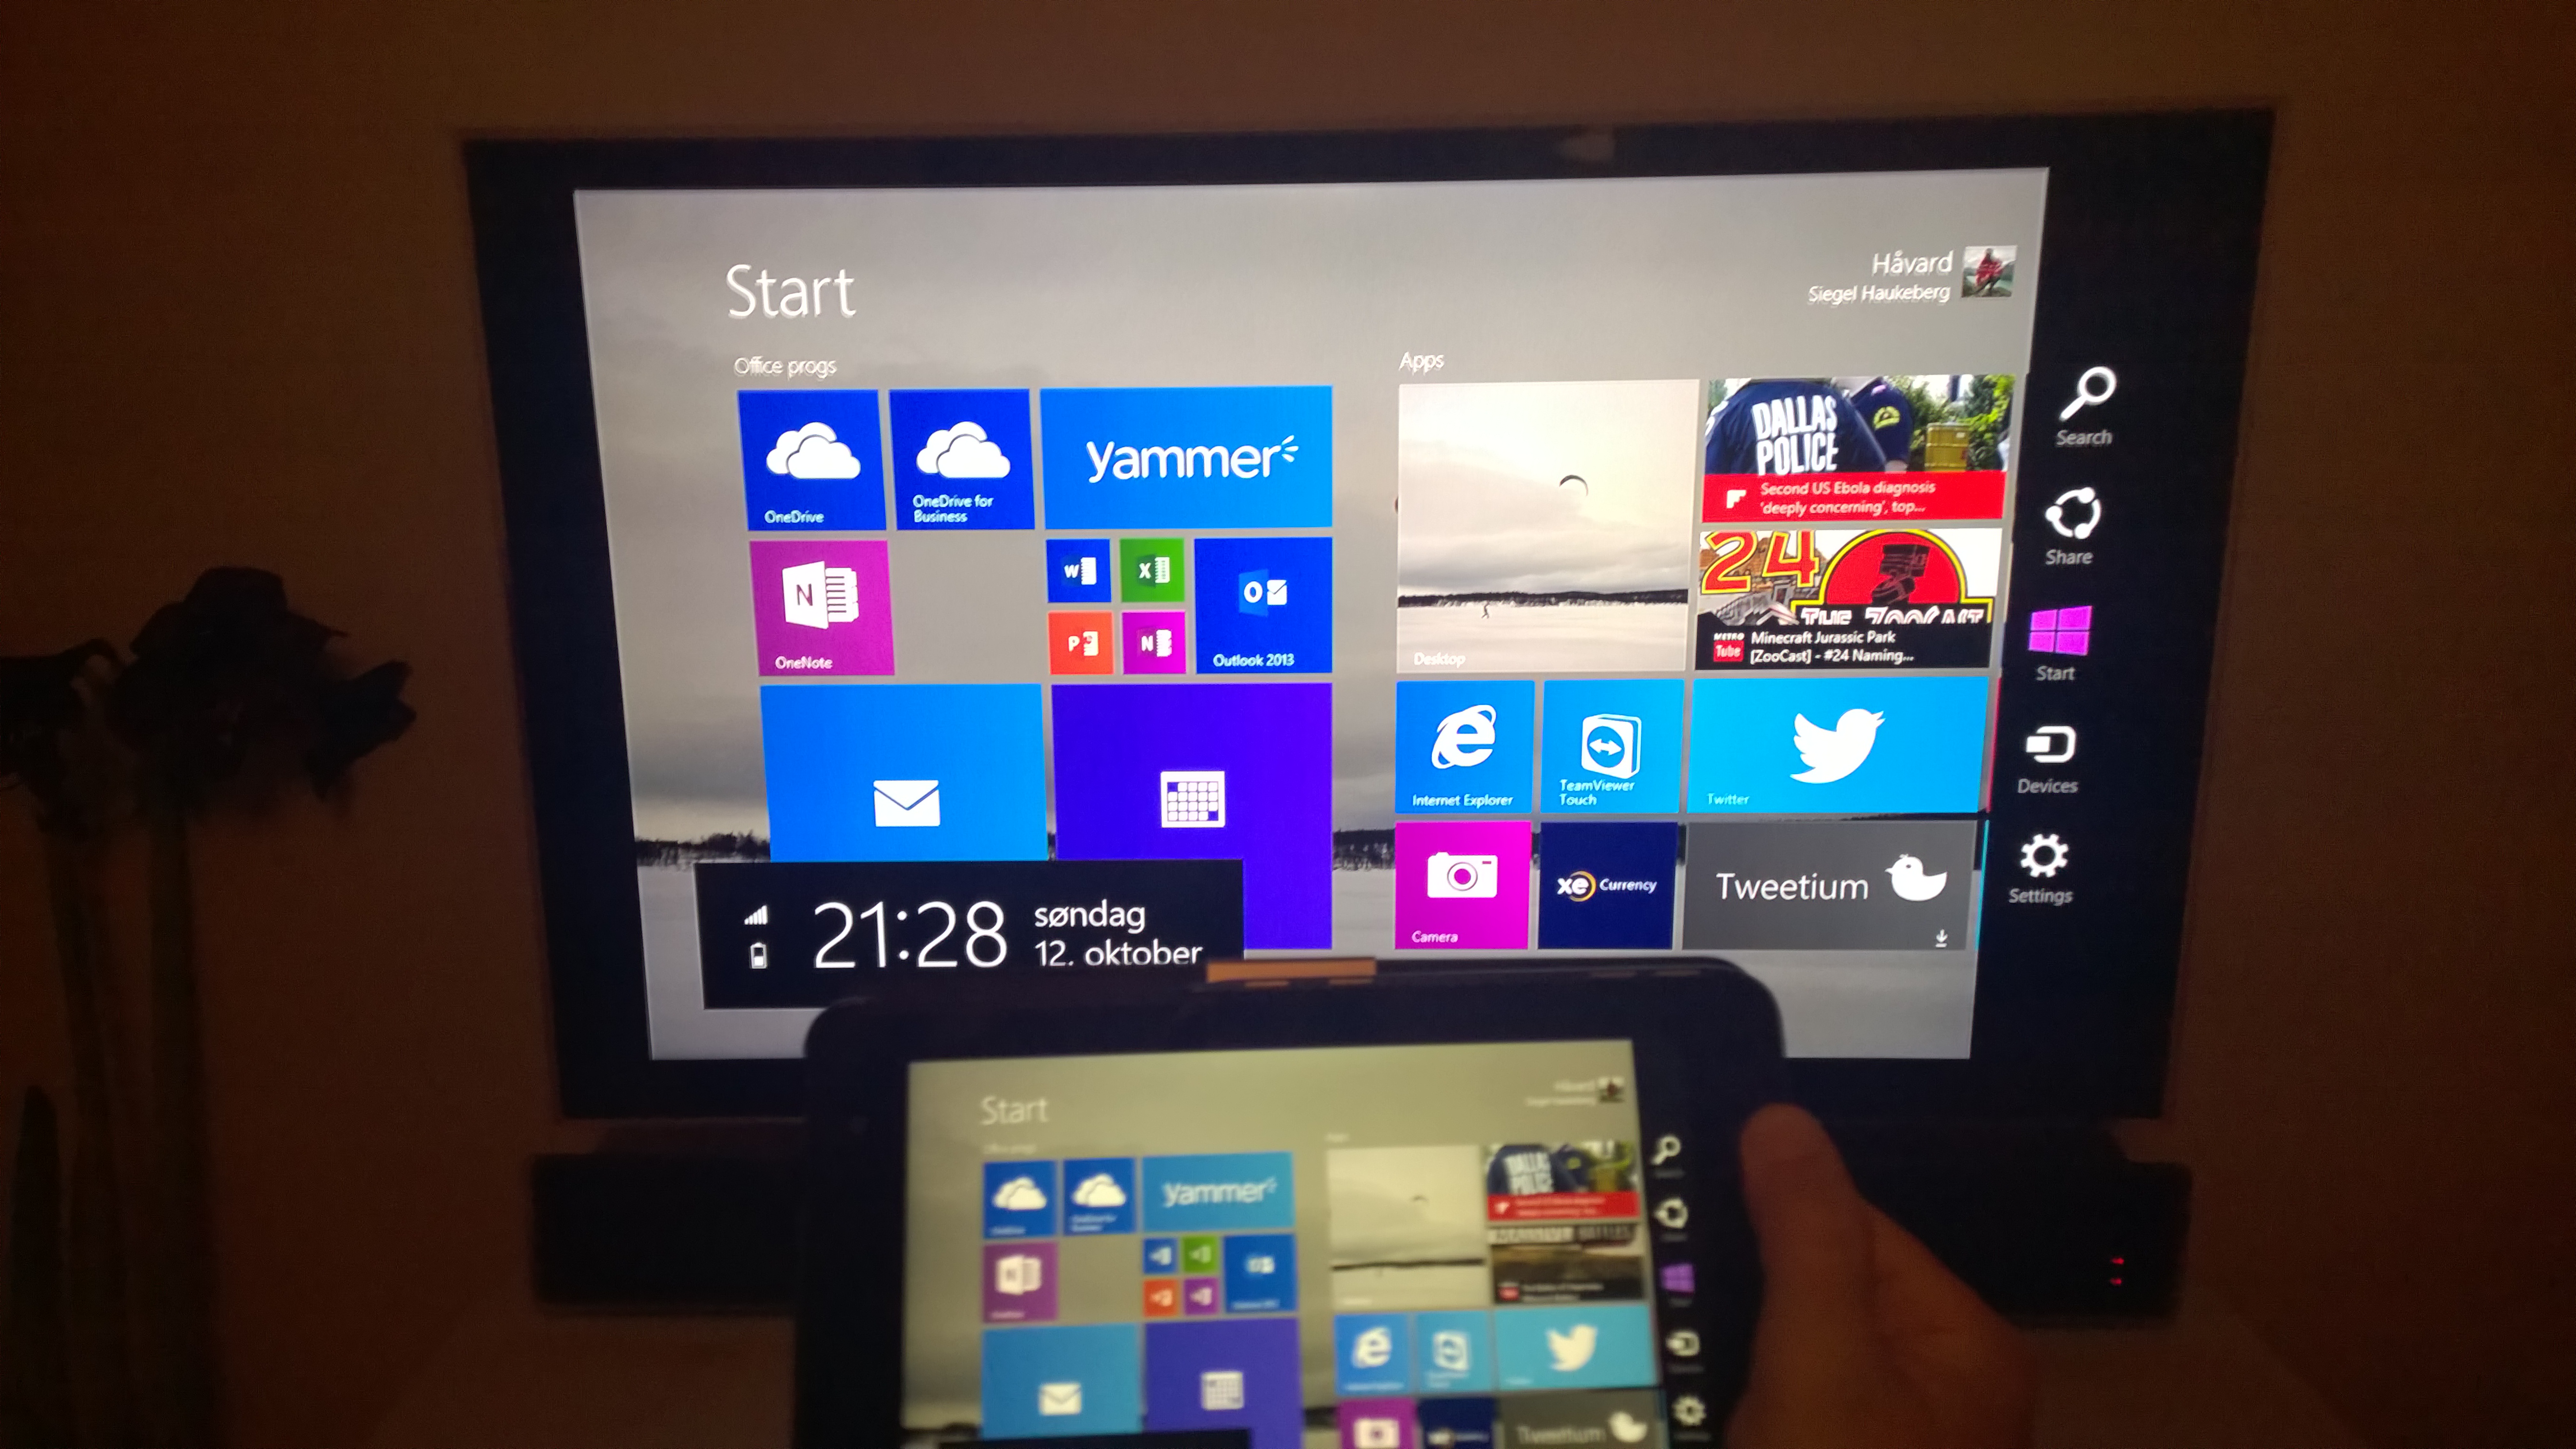
Connect it to Windows 8

It’s fairly easy to Connect it using a Windows tablet, here on a Dell Venue Pro 8

Personal touch on during connection

Mirrored 8" Dell Venue Pro 8

Connect it to Windows Phone

Fairly easy aswell. Go to Settings->Project my screen->Click Your adapter.

Wireless phone screen

Portrait on phone

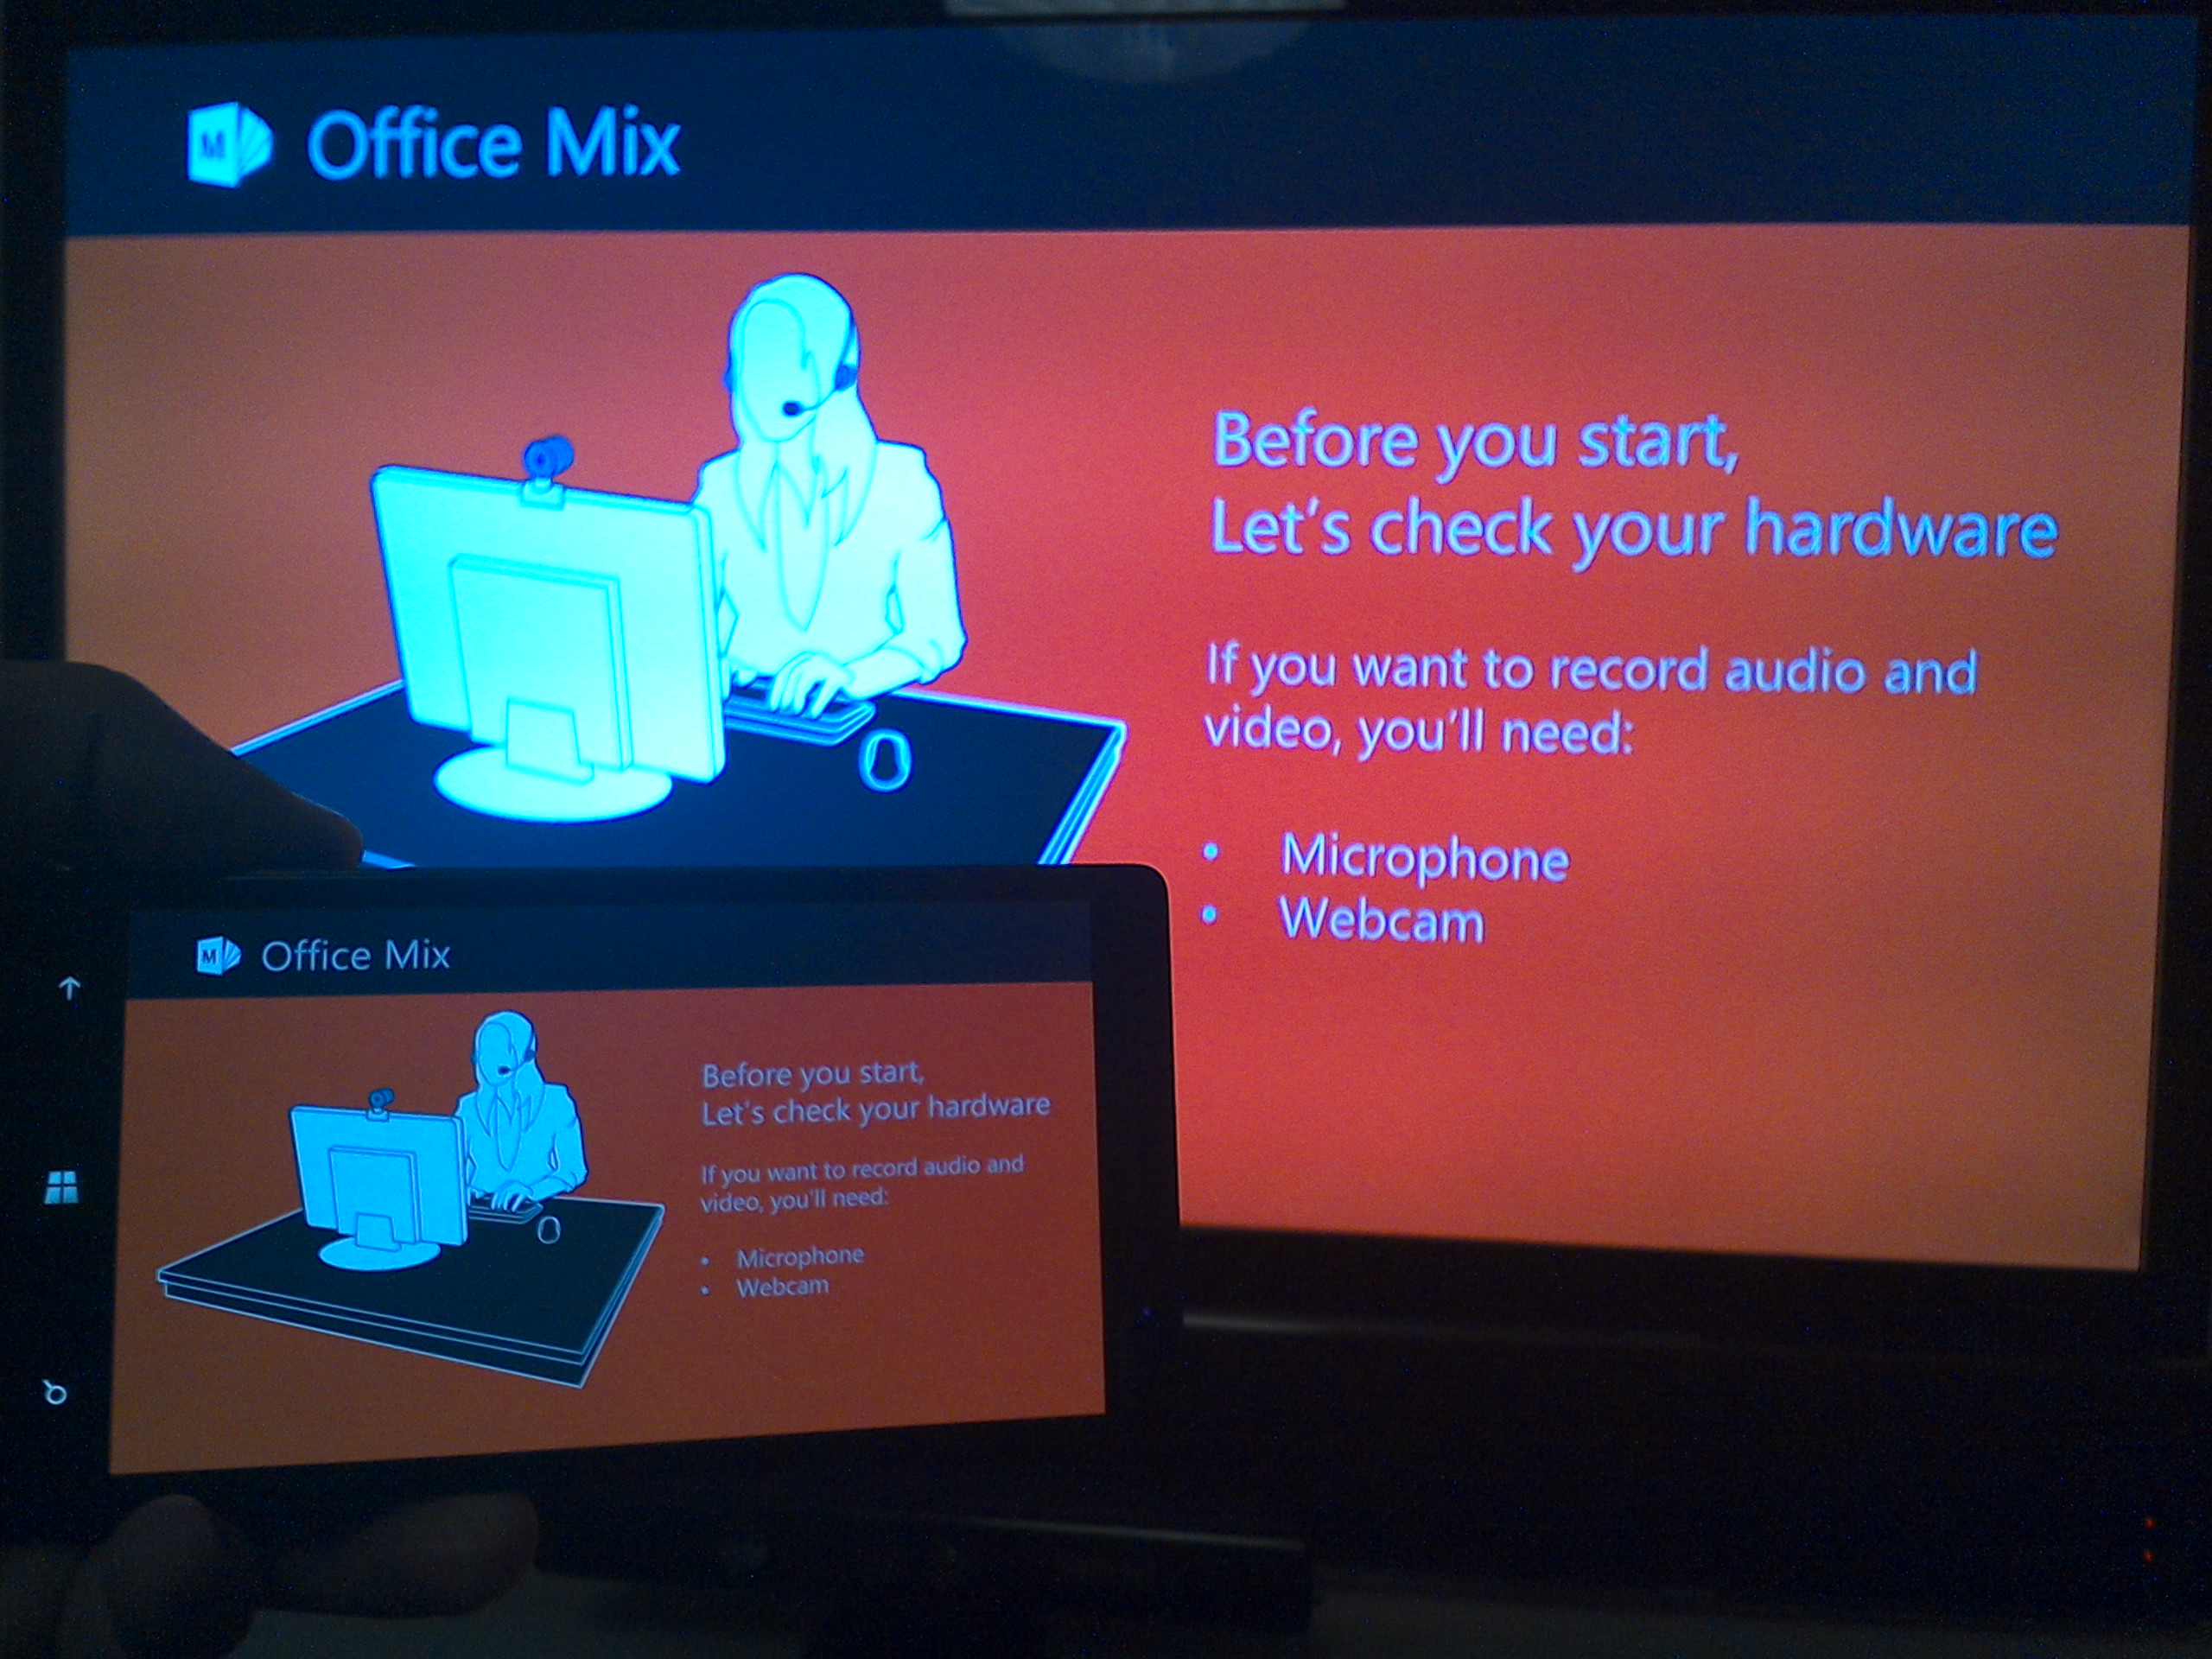
An other tip: Rotate the phone to landscape in order to watch a Movie from Youtube or to present a PowerPoint presentation.

Landscape on phone

Microsoft Recently Launched its own Miracast Dongle: http://winsupersite.com/mobile/microsoft-wireless-display-adapter-first-impressions?r
Product Link: http://www.actiontec.com/327.html

Putting Pictures in your App

This is how you add and use pictures in Your App:

1. Find
2. Save Locally
3. Create a folder in Visual Studio
4. Import into Visual Studio
5. Put Picture in objects

—FINDING PICTURES—
Just bing them

—SAVE LOCALLY—
Your Pictures need to be saved in a temporary folder and this folder has no Connection to the App

—CREATE FOLDER IN VISUAL STUDIO—
image
Notice the folder structure in this App. ALWAYS put folders in the Assets folder (makes it easier)
Right click on Assets to create more folders.

—IMPORT INTO VISUAL STUDIO—
Single Click on the folder you want the picture to be in (here i clicked on Assets)
Then Drag and Drop the picture from your folder to the folder in Visual Studio.
image

—PUT PICTURE ON OBJECTS—
Click on SplitPage.xaml to load the designer
image
Click the Object you want to fill with a picture (Here i clicked on the background):
image

Now, in the properties windows select BRUSH and Click the IMAGE BUTTON (you might have to resize the right bar to see the image source button)
image

Click on the ImageSource arrow down
image

Your picture is now visible and it should cover the entire background of the app.
notice that once you dragged the image into the assets folder in Visual Studio, you also move the image file to a different folder on the disk. You may delete the orginal picture in your temporary folder.

Coding Without Code for Windows Phone 7 – HubTiles (Live Tiles)

Example of an app made with LiveTiles

Want to make fancy LiveTiles aka HubTiles?

Its really easy, and best of all. No code needed!

First:
You will need the Windows Phone Toolkit. Its here:
http://silverlight.codeplex.com/ and select one of the Download options:

  • Silverlight for Windows Phone Toolkit – Aug 2011.msi

Second:
Install the package

Third:
Connect Expression Blend to the Toolkit!
This is how you do it:

Add a reference to your project by right clicking on references.
then browse here to find the reference you need to add.

path of the windows phone toolkit

Forth:
Add a reference in the MainPage.xaml
Select “code view” – dont be afraid, we are just going to copy paste.
Add this line of code to the start:
xmlns:toolkit=”clr-namespace:Microsoft.Phone.Controls;assembly=Microsoft.Phone.Controls.Toolkit”

The reference you need to add in MainPage.xaml

Fifth:
Now just start adding HubTiles.
You find the HubTiles here

this is where you find the HubTile control
Just double click on a HubTile to add it to a list on e.g. a panoramic app

Sixth and finally:
Now, to add content to the HubTile you have to use the “code view” dont be afraid, its just to add text! look at my sample below. You find the code in the MainPage.xaml

A screen snip of all the code in one set of LiveTiles with and without content.

Want to read more about this cool feature?
http://www.windowsphonegeek.com/articles/Windows-Phone-HubTile-in-depth-Part1-key-concepts-and-API

Coding Without Code for Windows Phone 7

Learn to Love Blend
i ❤ Blend

Windows Phone 7
Create something!

The art of making a  Windows Phone App with little or no coding at all.

Welcome to this tutorial for those of you that just want to create something fast and easy.
If you have used PowerPoint or shapes/figures in Word, then you are set for this tutorial

Step 1 – Get the tools and Register

Windows Phone SDK, Expression Blend og Visual Studio.
www.create.msdn.com

You have to create an account for Marketplace in order to release your app. The price in Norway is 819NOK.
This process takes some time and require a credit card. Once completed the account validation takes some time aswell.
Start this before you code so there is no snag when you want to release your app

Please note. You must have Expression Blend, without Blend it will be very hard to code without code.
Read more about Expression Blend here:
http://www.microsoft.com/expression/products/blend_overview.aspx

Blog at WordPress.com.

Up ↑

%d bloggers like this: