![]()

If you have Office 365 at work or personal and you use the 365 services on the web often you can input your credentials in Windows 10 and have Windows sign you in automatically.
Here is how to:


![]()
If you have Office 365 at work or personal and you use the 365 services on the web often you can input your credentials in Windows 10 and have Windows sign you in automatically.
Here is how to:
![]()
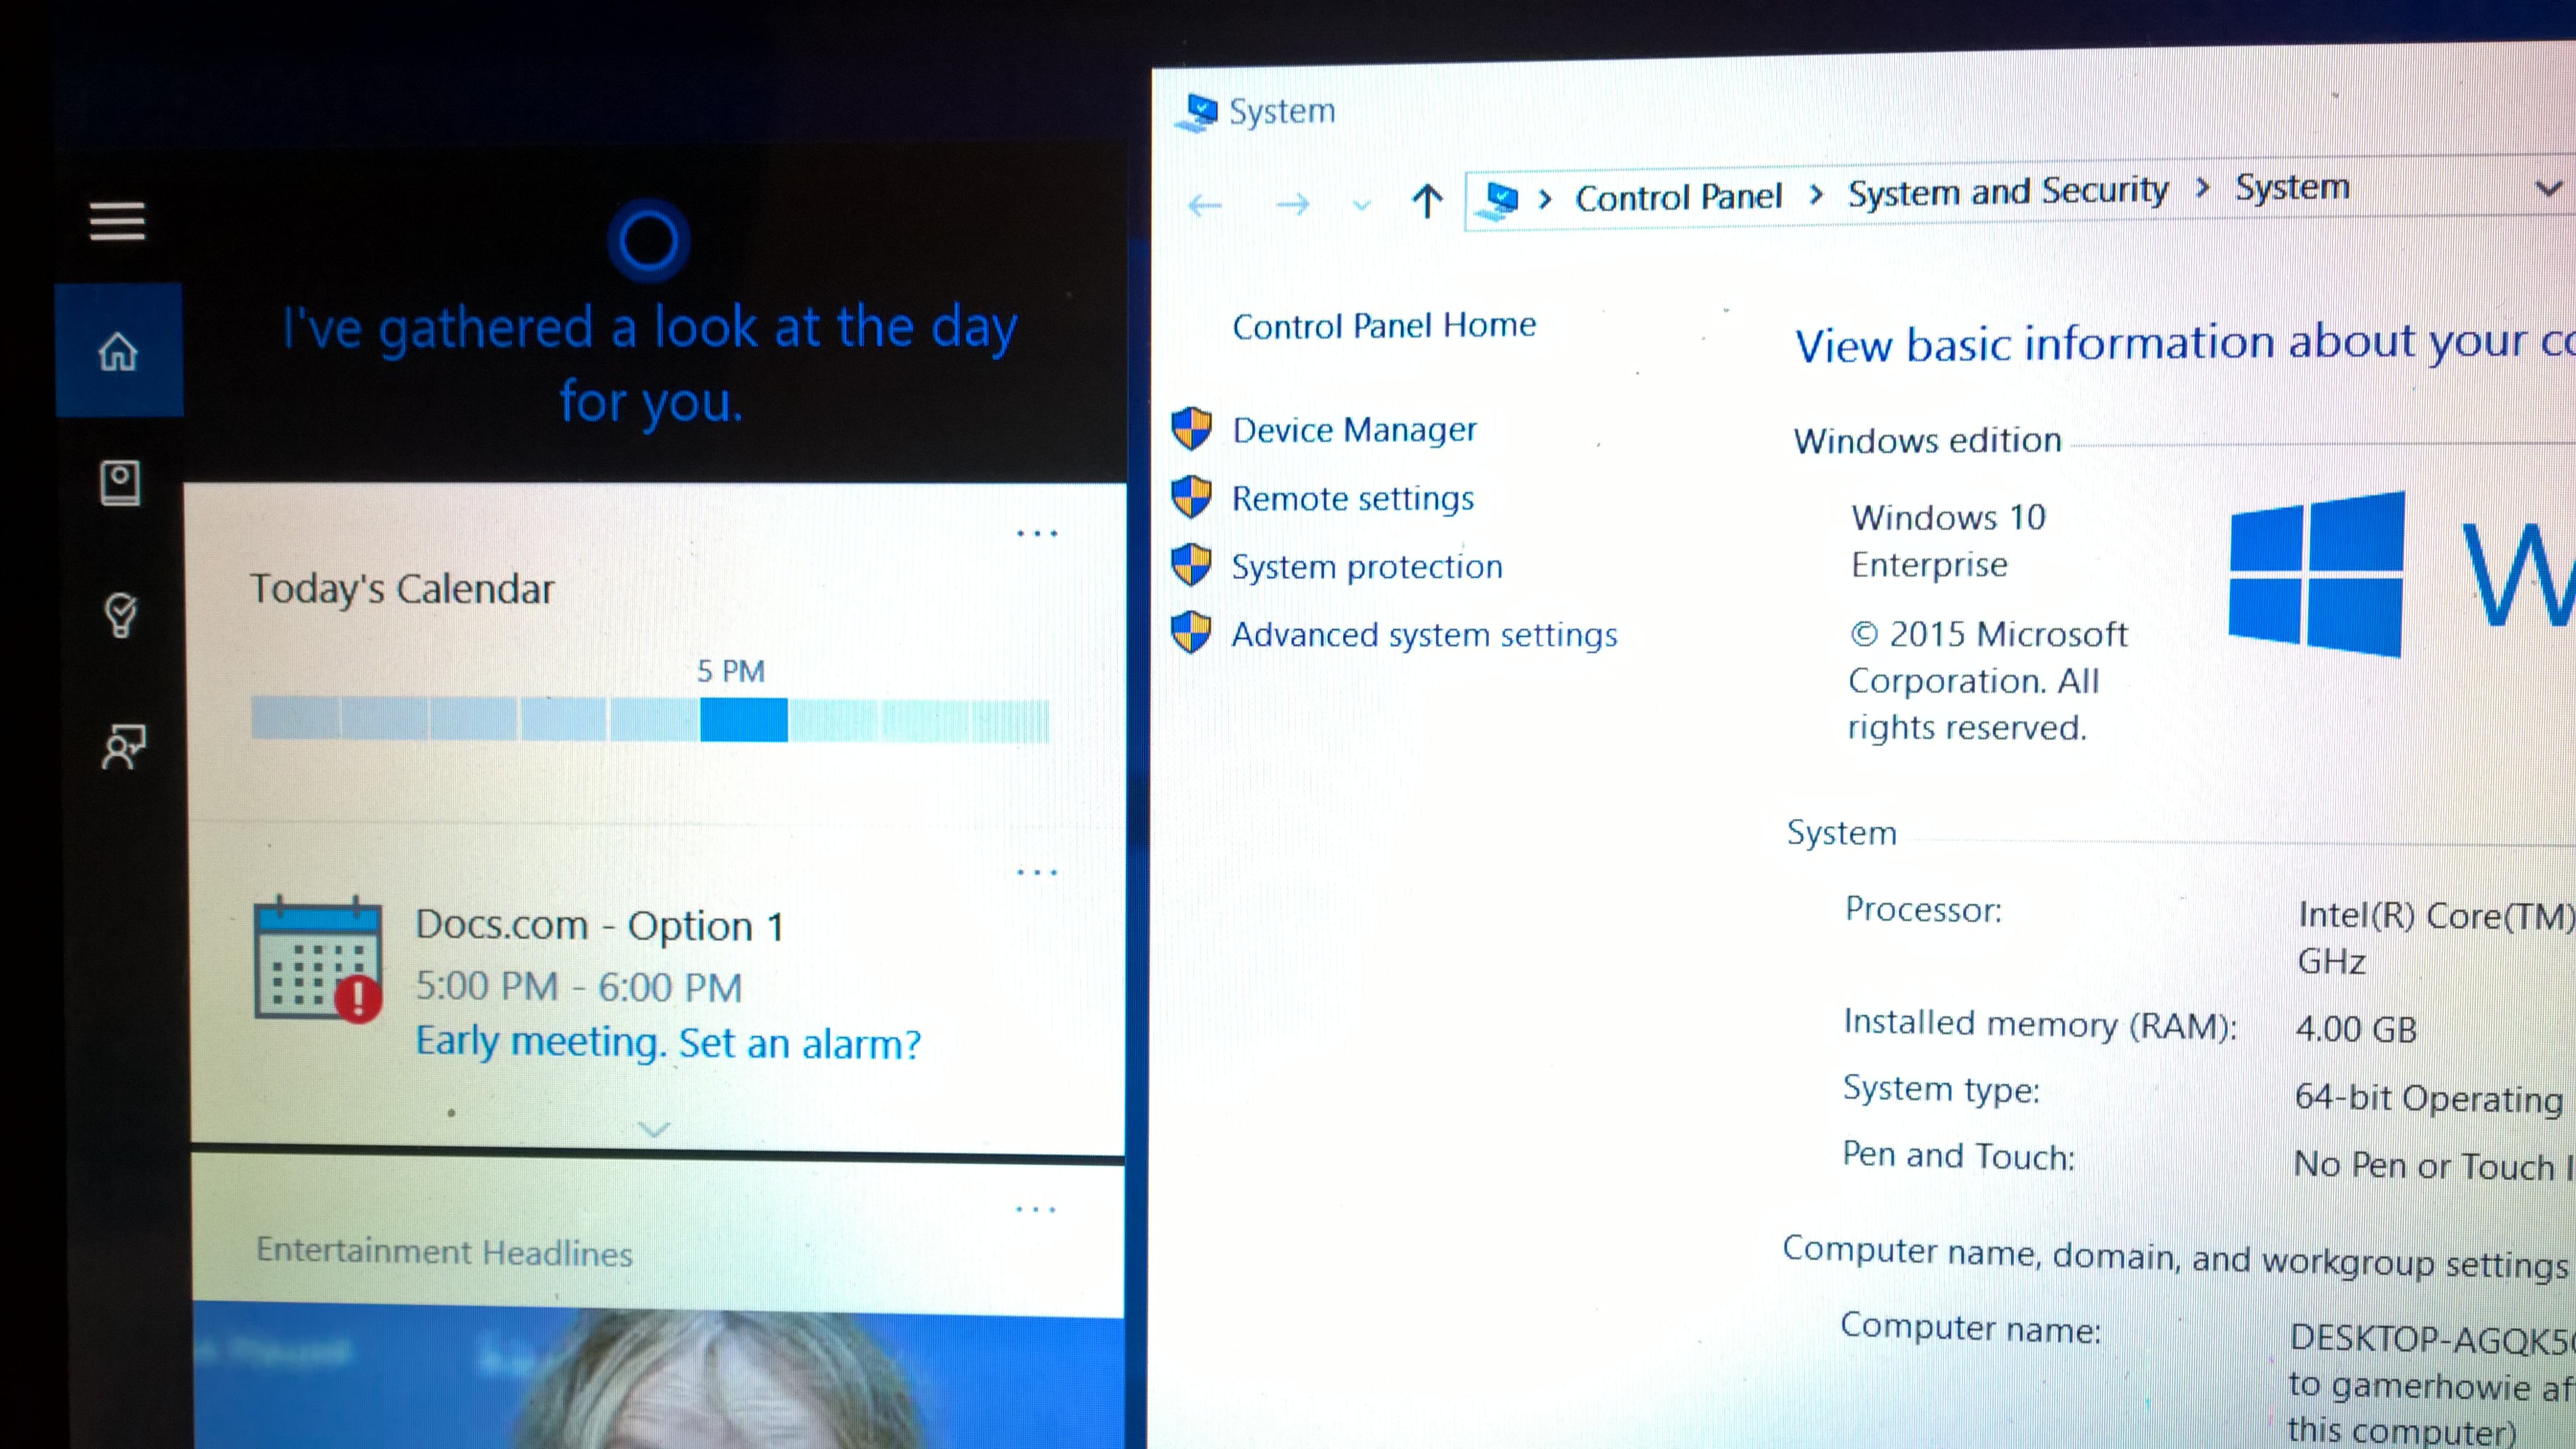
Testing the Windows 10 Enterprise image from MSDN or VLSC?
If Your machine is not domain-joined or you do not have a KMS server, you can activate Your enterprise installation With a MAK-key. This is usually if you have a MSDN or VLSC account.
Activation it easy:<
Press:
Win key
Type:
CMD
Right Click on Command Promt and Select “Run As Administrator”
Then type:
slmgr.vbs /ipk <windows key>
Your machine is now activated and configured as a KMS (Key Management Service) host

![]()
Install correct Language:
For all MSDN & VLSC users out there, if you want to make use of Cortana remember to install US-English version or another supported language of Windows 10. If you do not do that, there is no way to enable Cortana at the moment.
Don’t change default language
Install in with default keyboard, language. Just leave everything to default.
Don’t log in with a Microsoft Account Yet
It seems that if you log in with your MSA/Azure AD account even on a supported language Cortana will be disabled because your Azure AD or MSA might have regional settings.
Choose “Join a domain”

Run Cortana
She will prompt you to log in with your Microsoft Account, that’s okay now
Activate Windows
Do it.
Connect your Microsoft Account
Then connect your MSA and log in/out
You can now use Cortana
![]()
How to make a Windows 10 Bootable USB stick that support UEFI boot. |
Requirements:
|
| Make a bootable USB flash drive using DISKPARTRun CMD.EXE as an administrator (Win-X then A), then run DISKPART with the following commands (not case-sensitive): |
| Command | What it does |
| LIST DISK | Shows all mounted disks. Find your USB flash |
| SELECT DISK n | Selects the disk that future commands will use. Replace ‘n’ with the disk # for your USB flash drive.NOTE: Be careful that you don’t select your hard disk! The next command will wipe the selected drive clean. |
| CLEAN | Erases all previous partition & volume information on the flash drive. |
| CREATE PARTITION PRIMARY | Partitions the flash drive as one partition for the whole drive. |
| SELECT PARTITION 1 | Selects the new partition so future commands will operate on it. |
| ACTIVE | Marks the new partition as active so the BIOS/UEFI can boot to it. |
| FORMAT FS=FAT32 QUICK | Formats the partition as FAT32.(NOT NTFS!) EXTREMELY IMPORTANT! |
| ASSIGN | Assigns a drive letter to the flash drive. |
| EXIT | Exits DISKPART |
At this point your USB drive is formatted. DO NOT format the drive with Windows Explorer or format.com; you will not be able to boot from it.
| Simply Copy files to the USB Drive and Prep the Windows 10 Image on the USB drive.
1. Copy Files
or
2. Prep the USB using CMD
|
Booting from the USB drive:Method 1:
Method 2
|
| Install Windows 10Go through normal Windows 10 |
Finishing up
|

You must be logged in to post a comment.